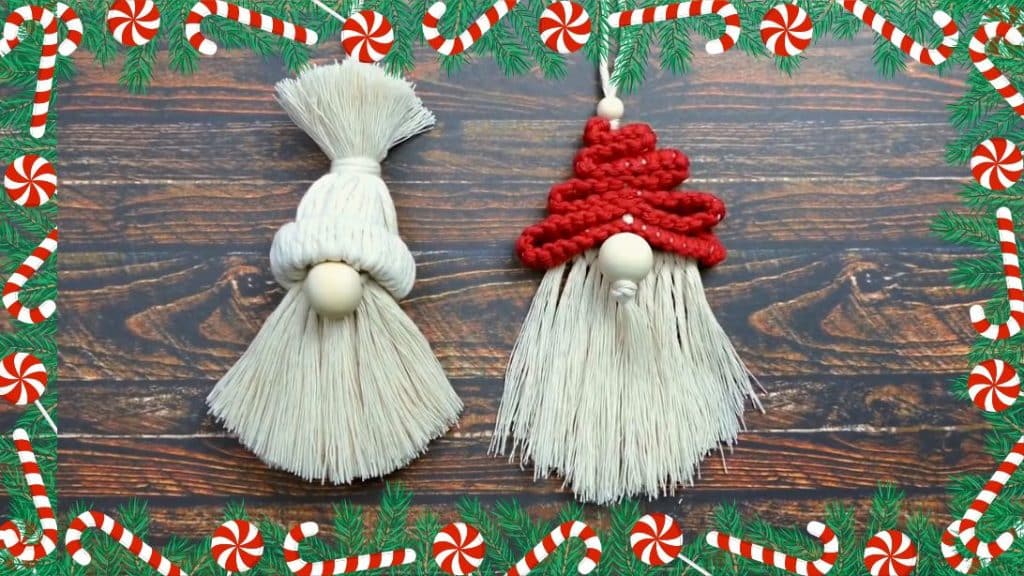
Christmas is near! It’s time to decorate your space and feel the Holiday spirit. Here are some easy rope Christmas gnomes DIY by Macrame School that you can easily make and use as decorations for your home. You can hang these cute decor pieces on your front door, wall, or Christmas tree. Love wrapping presents? These will also make great designs for your packages. Learn how to make them by reading the instructions or watching the video below. Happy crafting!
Materials:
- single twisted cotton cord
- 0.7 inches bead
- 1.18 inches waste cords
- cardboard tube or paper towel tube
- scissors
[social_warfare buttons=”facebook,pinterest,twitter,whatsapp”]
Instructions:
Step 1:
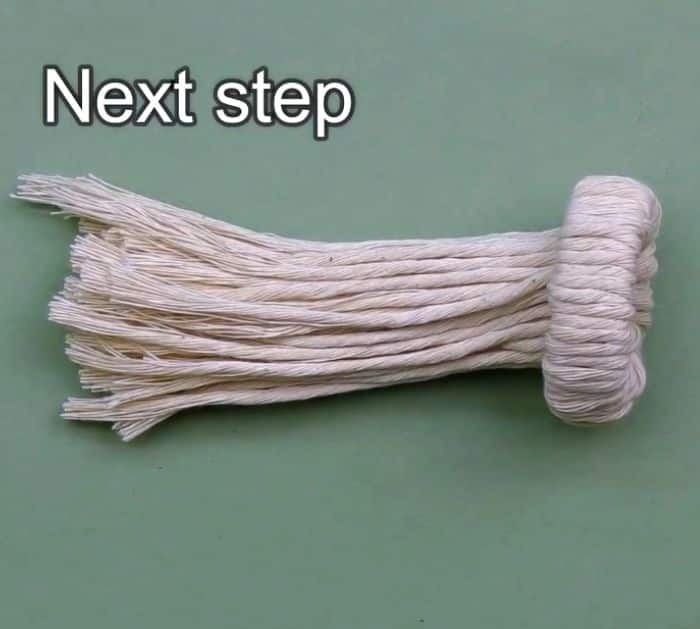
Cut a small piece of tube and get one of the waste cords. Fold it in half and insert the folded end into the tube. Insert the ends of the cord into the loop to make a knot. Do the same for the remaining cords until you cover the whole tube. After that, pull the cords inside. This will be the hat of the gnome.

Step 2:
Loop the cotton cord onto your 4 fingers several times. Insert a small piece of cotton cord into the loop of cords and tie it into a knot. Cut another small piece and insert the bead. Tie it on the loop of threads for the nose of the gnome. Once done, cut the excess. This will be the head of the gnome.
Step 3:
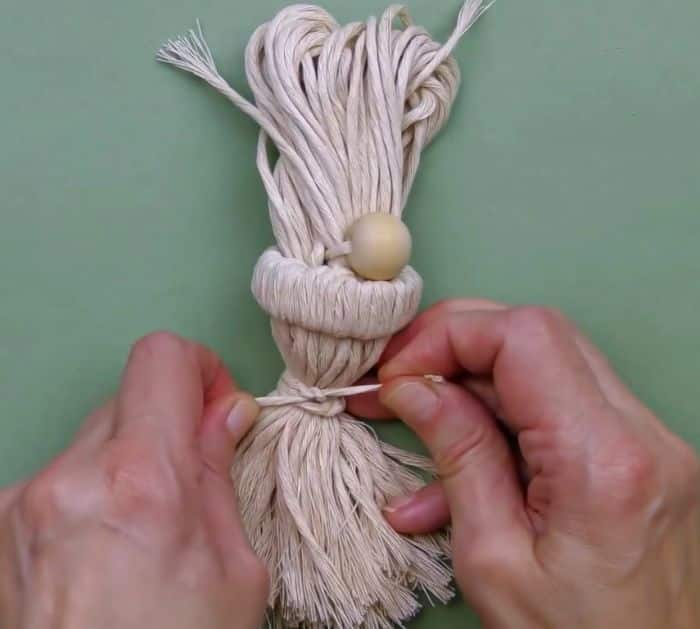
Place the hat on top of the head. Pull the cord tied on the top inside of the hat. Next, cut a small piece of cord, then tie it to the middle of the hat.

Step 4:
Trim the ends of the hat. After that, cut the middle of the loops of the head of the gnome. Fix the threads using a fork or comb. Lastly, tie the ends of the cord on top, so you can hang it.


