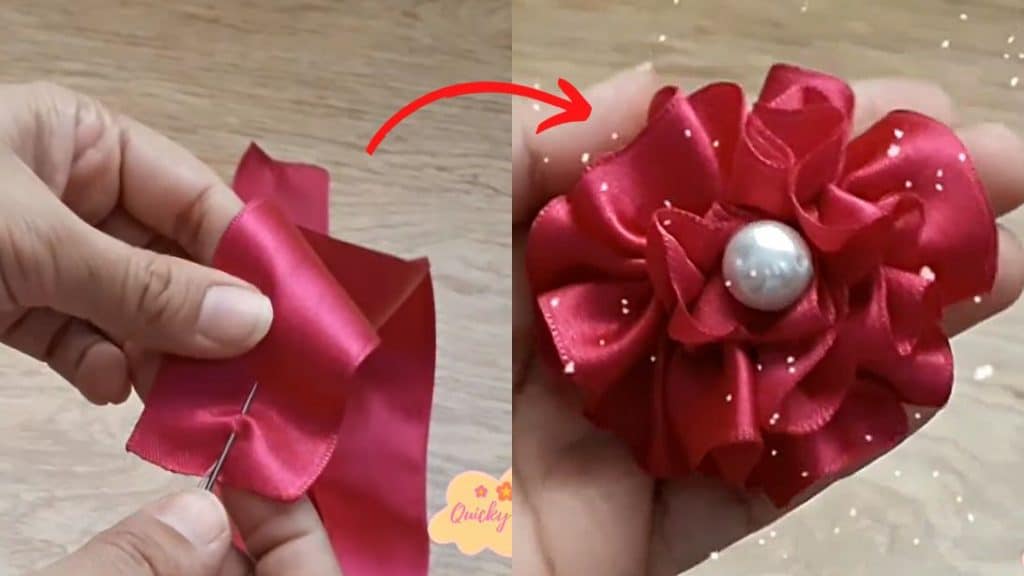
I recently made a hat and bag. Both are lovely as they are, but I wanted to add more design. I think they will look more beautiful with some embellishments. I was thinking of adding beads or patches to them to add more colors and elements. But I realize the beads will consume more time, and the patches will make them look playful, which isn’t the style I am going for. So I looked for more ideas and found this easy ribbon flower DIY. I wasn’t originally planning to put flowers, but when I saw this creation by Quicky Crafts, I instantly knew it was the best design to add to both items. It was so simple to make, so I made a ton in different colors. I am sure this will look good on your projects too. Read on or watch the video below for full instructions.
Materials:
- 1.6 inches wide satin ribbons
- scissors
- thread needle
- ruler
- lighter/candle
- beads
[social_warfare buttons=”facebook,pinterest,twitter,whatsapp”]
Instructions:
Step 1:
Measure 23 inches from the satin ribbon and cut. Heat the edges with a lighter so they will not fray.
Step 2:
Fold the ribbon in half lengthwise and press to make a crease.
Step 3:
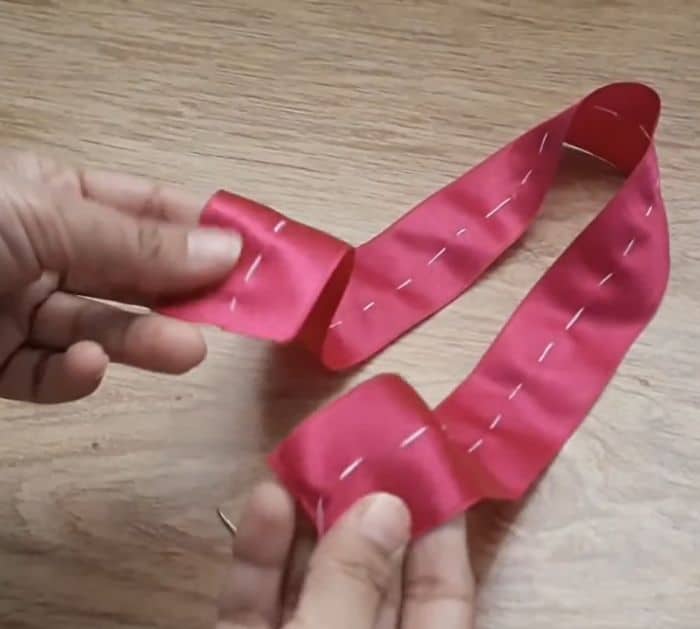
Get a needle with a thread and baste stitch on the center crease from one end to another.

Step 4:
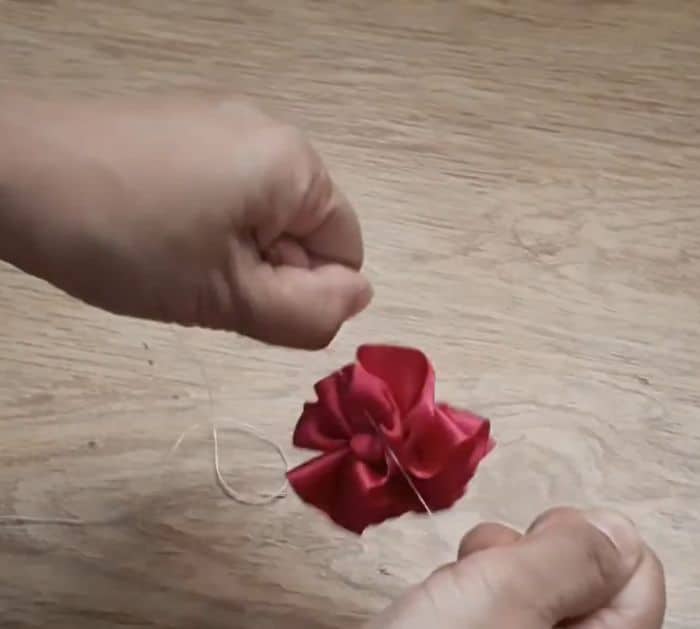
Once you reach the end, gently pull the thread from both ends then tie it together tightly to secure it. You will create a flower-like ribbon.

Step 5:
Take another thread and insert it into the needle. Pass the needle through the center of the flower then insert the bead. Pass the needle again to the center and tie it tightly.
For more easy and beautiful ribbon DIYs, visit and subscribe to Quicky Crafts on Youtube. She has tons of amazing tutorials you will surely love.


