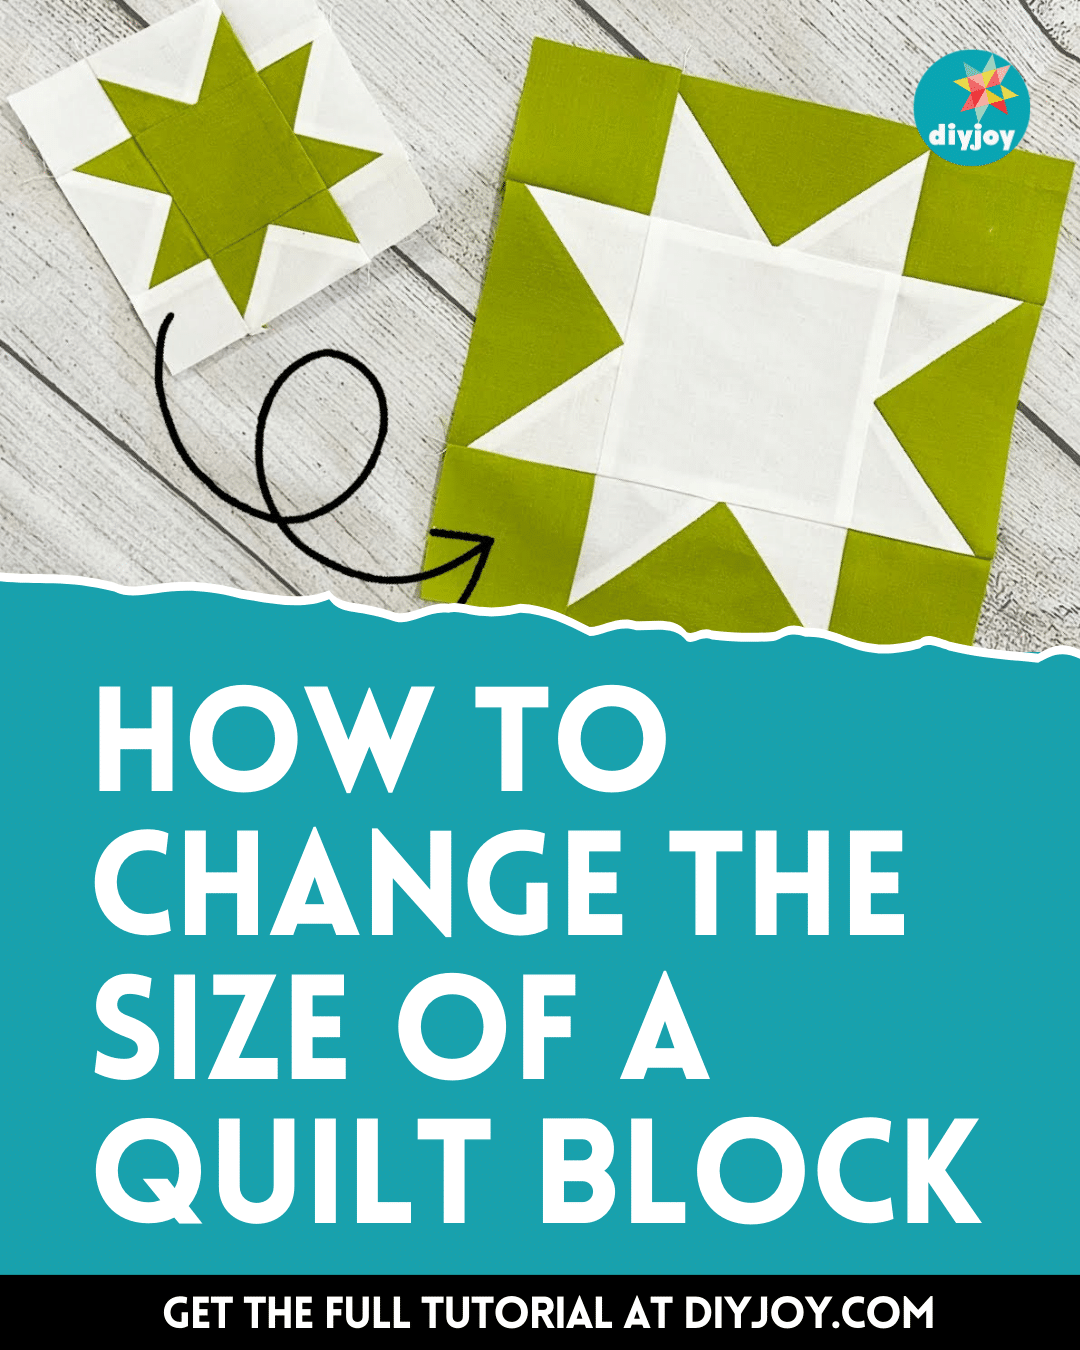
I have been quilting for a while now and have adapted this activity as a hobby, and I have experienced a fair amount of mishaps before. One obstacle I kept encountering was finding a quilt block that was a different size than I wanted. Changing it to a smaller or larger size isn’t as simple as you may think unless you find a good tutorial to show you an easier step to follow.
RELATED: How to Join Pre-Quilted Blocks Perfectly
I have watched a couple of videos and they all confused me rather than helped me, that was until I found this video tutorial by Tiny Orchard Quilts on YouTube. I realized that it wasn’t that difficult once I learned the right technique, and now that I know it, I can choose any quilt block that I want to make knowing that I can resize them to my preference.
Materials Needed for Changing Quilt Size:
- Pen or pencil
- Ruler
- Scissors
- Needle and thread
How to Change the Size of a Quilt Block:
Step 1
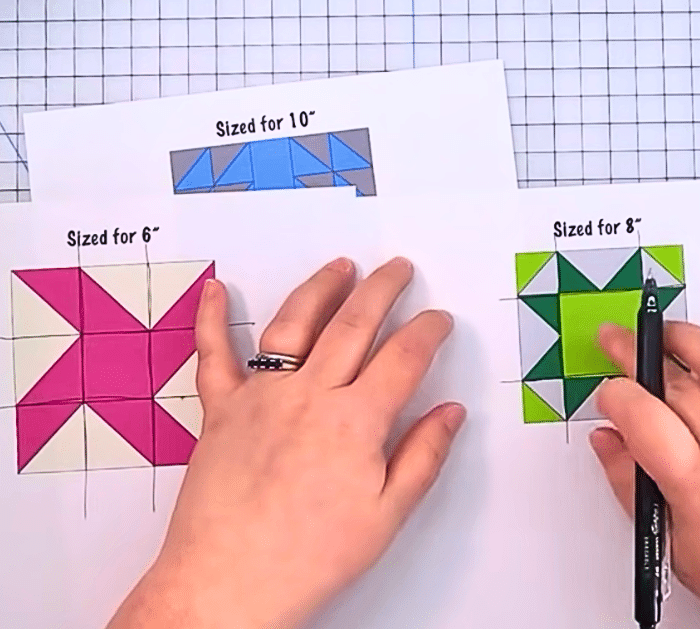
The first thing you have to do is to identify the grid system of your block, it can vary from 3×3, 4×4, or 5×5, depending on how complex the block is.
Step 2
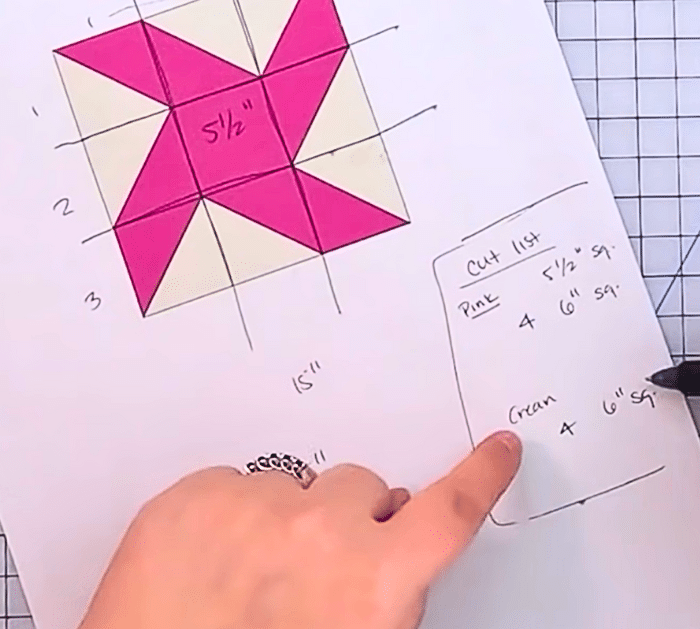
Draw the grid on a printed-out block, then use simple math as demonstrated in the video, and identify the amount of fabric that you will need.
Step 3
You can write a cut list on the paper, then cut the fabrics accordingly, and then proceed to assemble the block.
Step 4
For the assembly, piece them together the same way that you did with the smaller quilt block only this time it’s a different size. Watch the video tutorial for resizing more complex blocks.
*All image credit belongs to Tiny Orchard Quilts via YouTube. Follow and subscribe to her channel for more!
