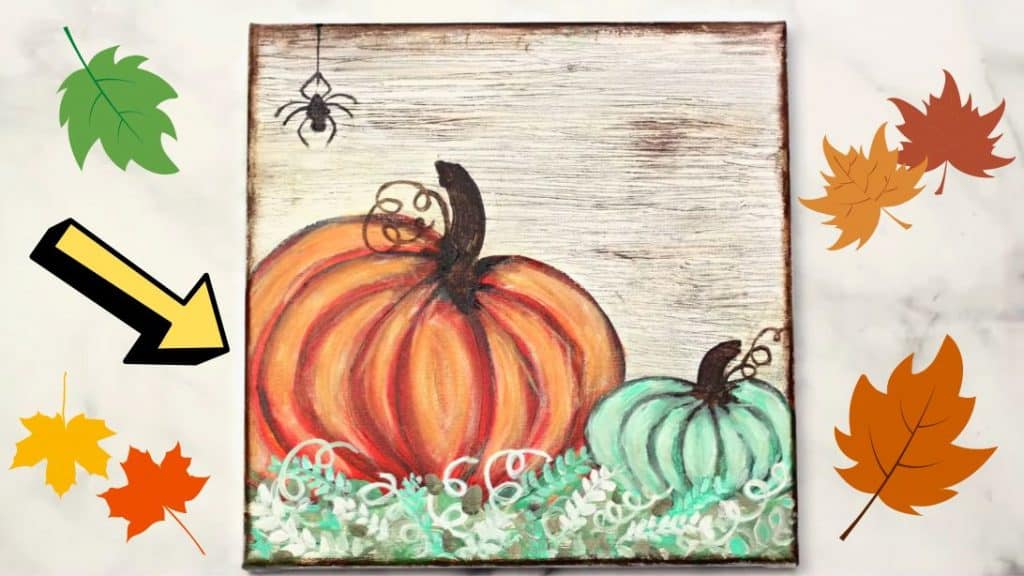
Do you want to create cute Fall-themed art but are new to painting or are not particularly good at it? Watch this video tutorial by Jasmine – Feeling Nifty Painting Tutorials on YouTube and you’ll change your mind for sure! You will learn how to easily draw a pumpkin using simple techniques and very few easy steps that will make you look like a professional in painting.
Materials:
- Cadmium orange hue paint
- Burnt umber paint
- Titanium white paint
- Mars black paint
- Aqua green paint
- Light green permanent paint, optional
- Plastic cutlery fork
- 1″ flat wash brush, for the background)
- ½” flat brush, for the pumpkin and highlights
- ¼” flat brush, for the pumpkin stem
- Size 0 round brush or any small round brush, for the spider and foliage
- A few of your favorite small brushes, for the foliage
Directions:
Step 1
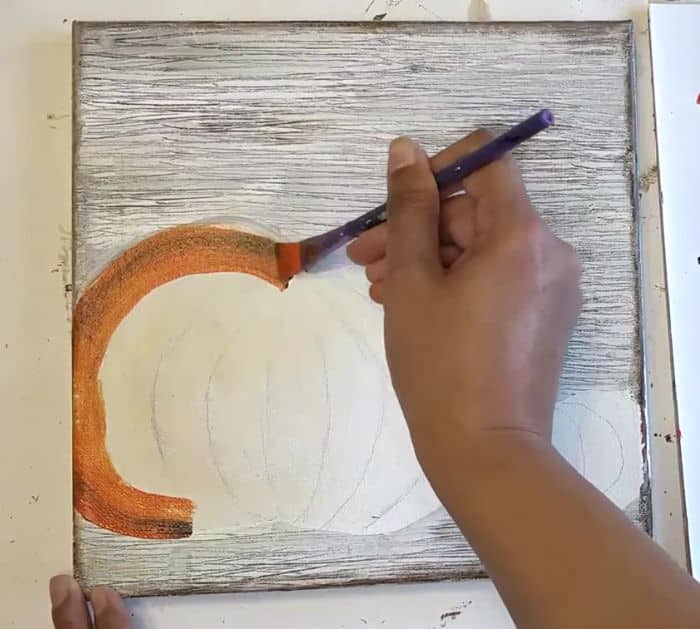
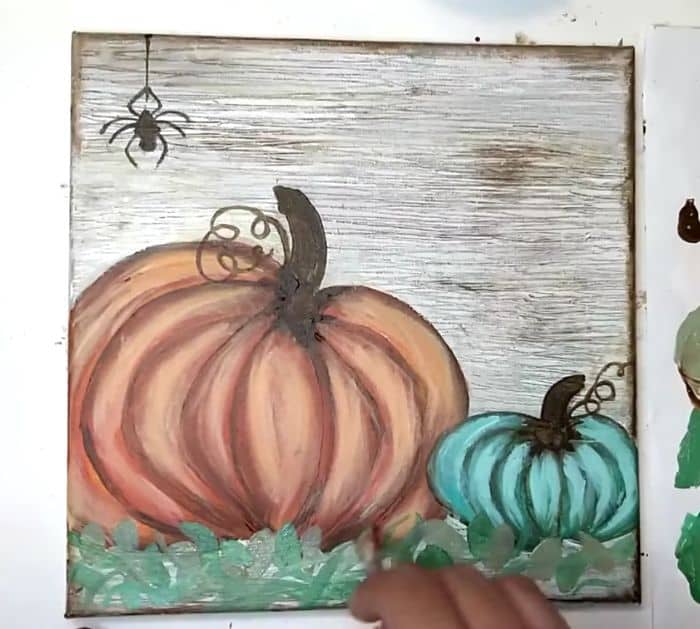
First, sketch the pumpkins on your canvas, then start filling in the background with burnt umber paint making sure to avoid the pumpkin, and leave it to dry. Paint over the background with a thick layer of titanium white over the background as well as the sides, then while the paint is still wet, drag a plastic fork over the canvas to add texture, and let it dry completely. Using your fingers, paint the edges of the canvas with burnt umber, then draw lines on the pumpkins to create the ridges, and paint it orange with a double loading technique (load a ½” flat wash brush with orange paint covering the bristles up to the metal ferrule and dip one corner of the brush into burnt umber).
[social_warfare]
Step 2
Paint a “C” stroke with the wide edge of the flat brush and repeat for all pumpkin ridges, then paint the smaller pumpkin with aqua green and burnt umber using the same technique and stroke. Paint highlights on the pumpkins by mixing white with orange and white with aqua green. Paint a bold stem on the top center of each pumpkin using burnt umber, then draw some curly branches with a size 0 round brush, and paint a cute spider at the top of the canvas. Use assorted green colors and white to paint the leaves at the bottom and finish the details of the paint.
*All these images are credited to Jasmine – Feeling Nifty Painting Tutorials via YouTube. Give her channel a visit and subscribe for more!

