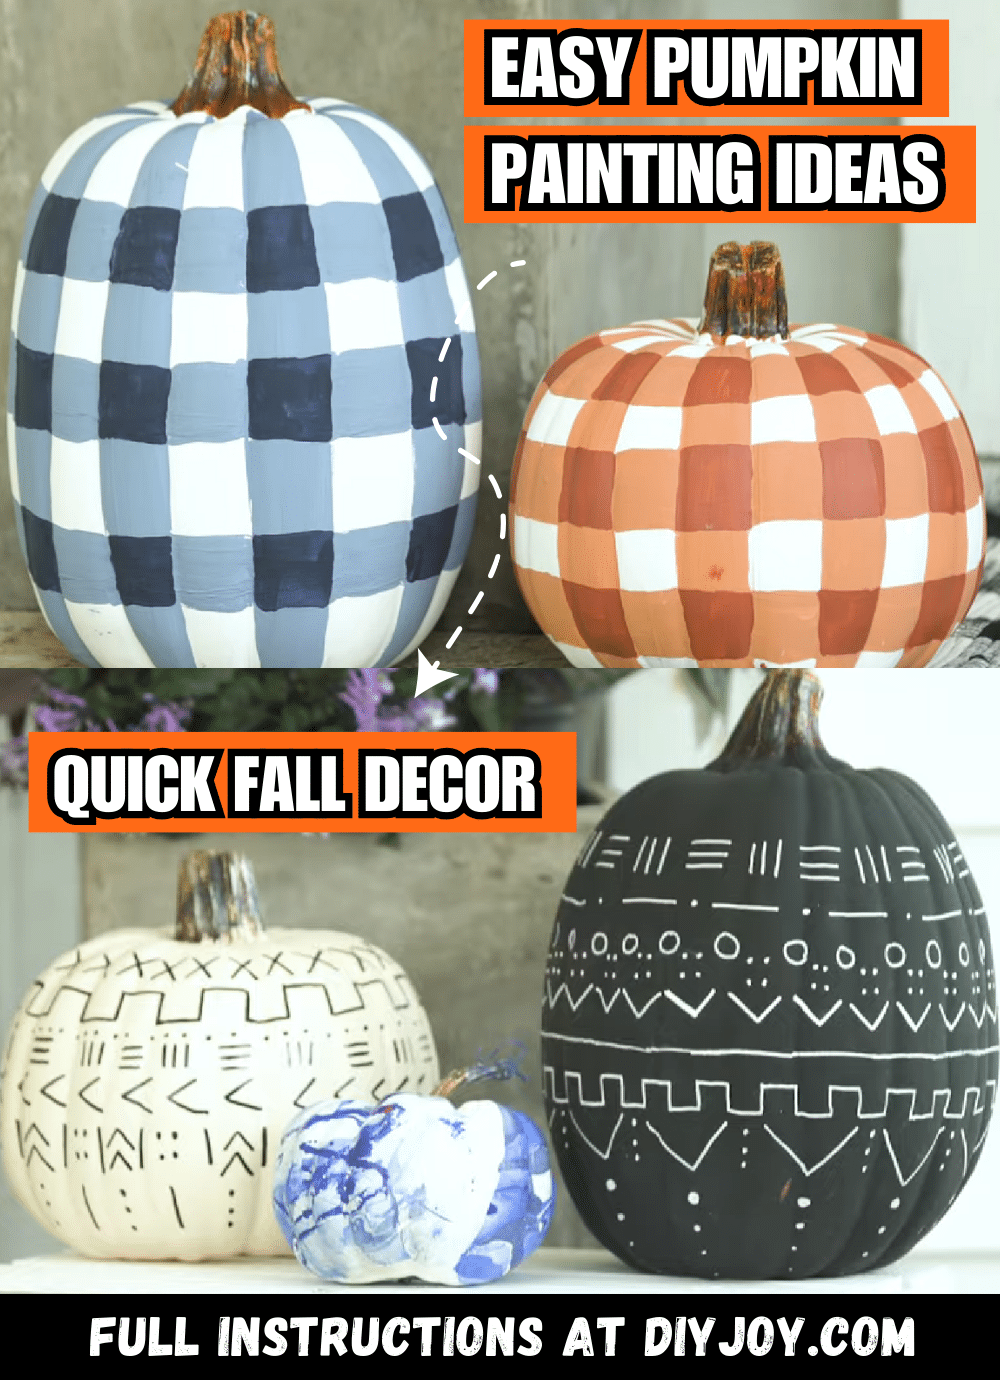
Start decorating your pumpkins now and display them on your house or front porch to impress your family, friends, or your neighbors. Instead of carving them, try these wonderful painting ideas that are very beautiful and easy to do,, it does not require that many steps so this is perfect if you only have limited time to spare. Watch this video tutorial by HGTV Handmade on YouTube now!
Materials:
- Pumpkin
- White paint
- Black paint
- Any color of paint that you want
- Foam paint applicator
- Paintbrush
- Painter’s tape
- Plastic cups
- Nail polish
- White paint marker
- Bowl
Directions:
#1: Striped Pumpkin
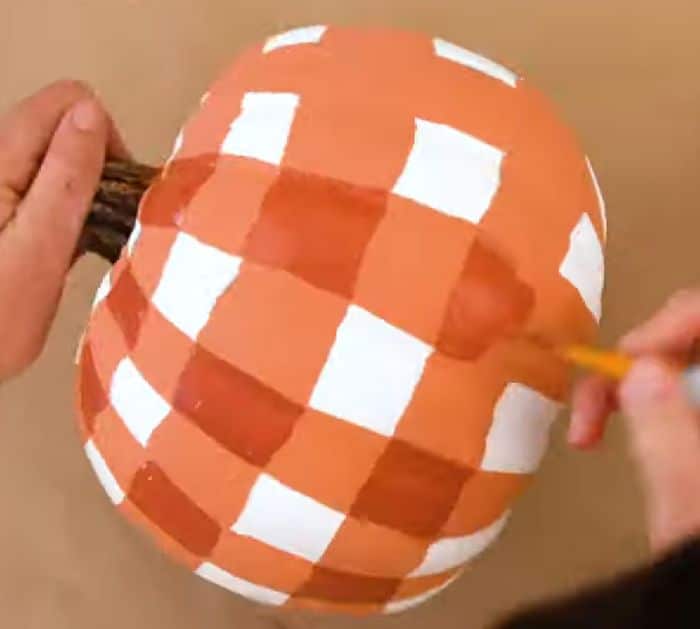
Pick the pumpkin that you want, then coat it completely with white paint, and allow it to dry before adding another coat if needed. Once the paint has completely dried, wrap the painter’s tape horizontally around the pumpkin, then make sure to space them as evenly as possible, and start mixing the color of paint that you want. Apply the paint on the spaces in between the tapes, then remove the tape, and adjust the width of each stripe as needed. Draw vertical lines around the pumpkin making sure they’re about the same width as the horizontal stripes, then make sure to apply more paint on the intersections, and let them dry completely.
[social_warfare]
#2: Black Pumpkin
Pick the pumpkin that you want, then coat it completely with black paint, and allow it to dry before adding another coat if needed. Once the paint has completely dried, wrap the painter’s tape horizontally around the pumpkin about 3 times making sure they are spaced evenly. Draw any lines or shapes in between the tapes using a white paint marker, then remove the tapes, and draw more lines on the space left by the tape to add some border.
#3: Nail Polish Coated Pumpkin
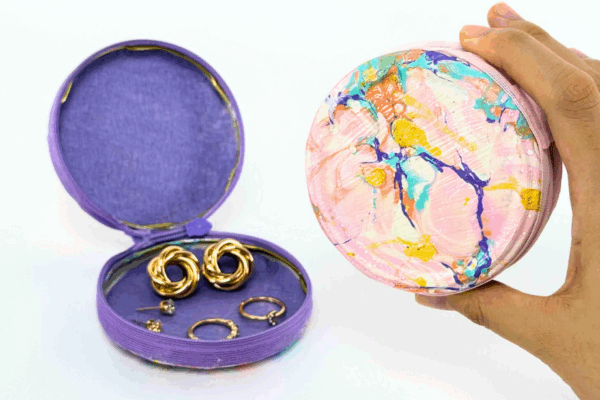
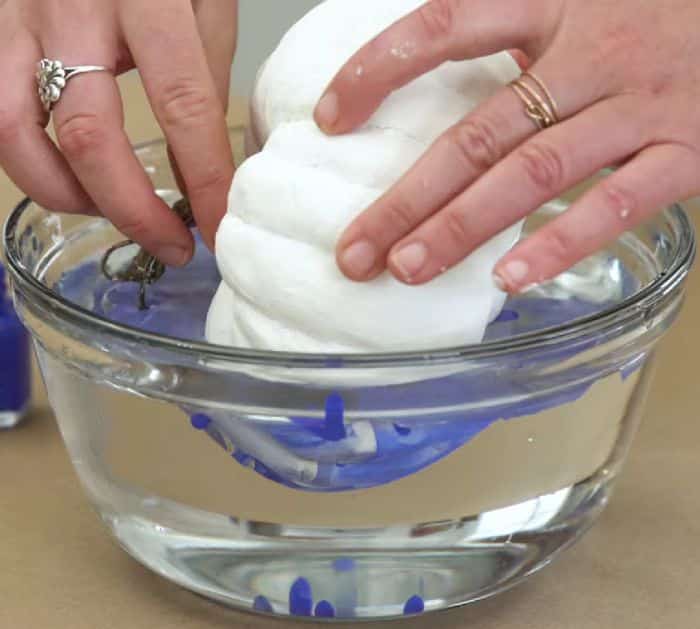
Fill a container or bowl with water, then drizzle nail polish on the water mixing any color you want, and then working quickly, dip the pumpkin making sure it takes most of the nail polish to its exterior. Repeat the same process as needed or until satisfied with how the pumpkin looks like. Allow it to dry completely and you’re done.
*All these images are credited to HGTV Handmade via YouTube. Give their channel a visit and subscribe for more!
