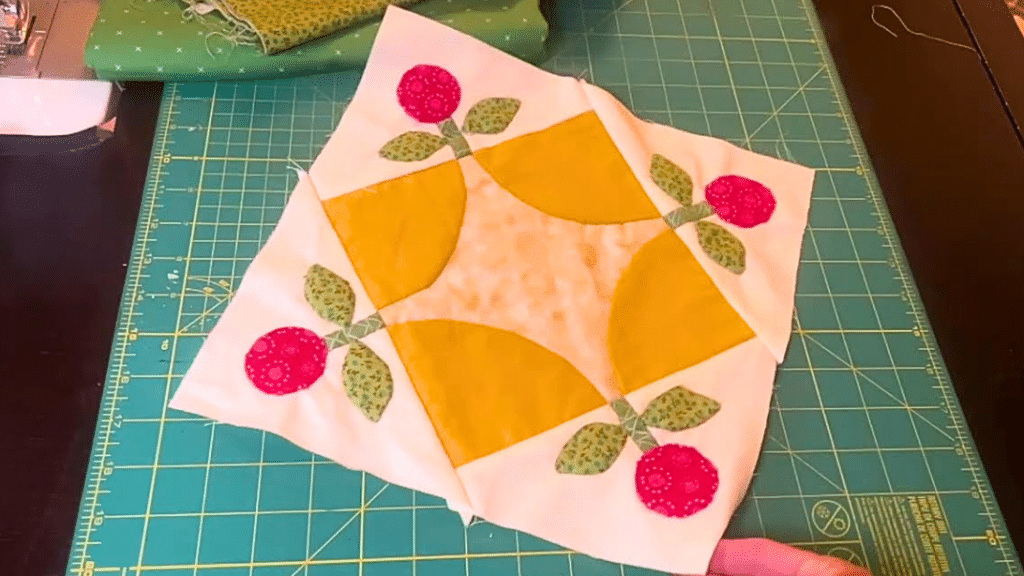
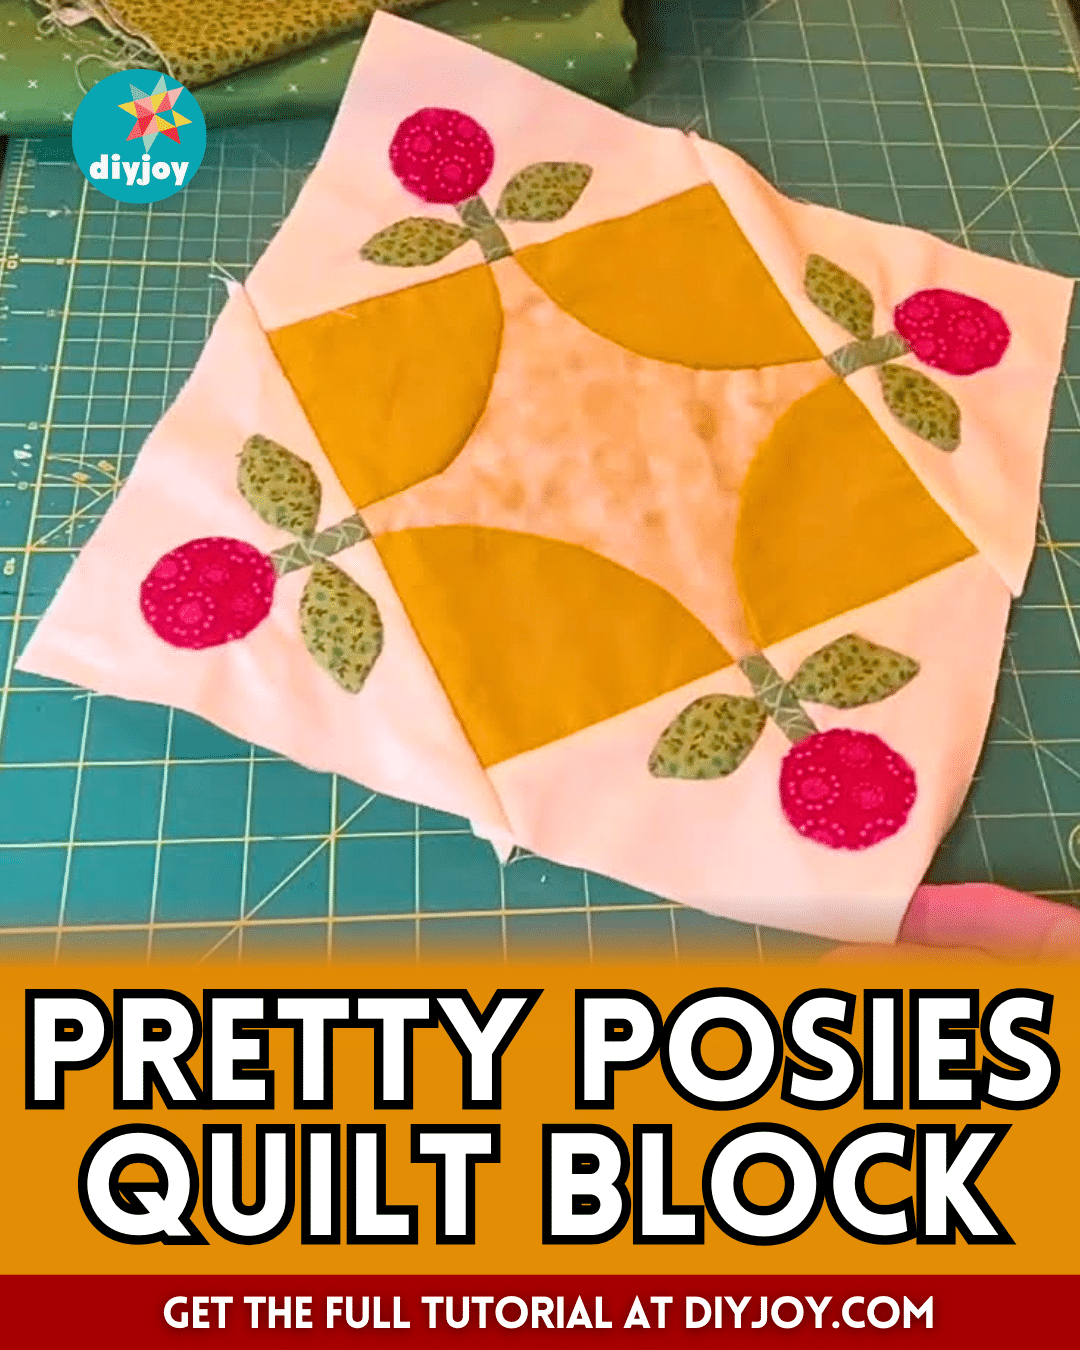
This pretty posies quilt block is one of the most beautiful projects I’ve ever seen and it was instantly my favorite to make! What I love about this quilt block is the details, the combination of colors, and how neatly it was pieced together. This is a project that I can see myself doing again but with more variations and combinations of colors.
RELATED: Easy “Flower with a Stem” Quilt Block Tutorial
If you’re a beginner and you’re worrying about the process, whether you can follow it with ease or not, you don’t have to. This video tutorial by my sewing room on YouTube is beginner-friendly and I bet that you can make this quilt block perfectly even on your first try! Check out the instructions down below now and see for yourself.
Materials for Pretty Posies Quilt Block:
- Red print fabric
- Yellow print fabric
- Dark green print fabric, for the stem
- Light green print fabric, for the leaves
- Low-volume print fabric, for the center
- Background fabric
- Interfacing fabric
- Marking pen, pencil, or chalk
- Ruler
- Scissors or rotary cutter and a cutting mat
- Fabric pins
- Needle and thread
- Iron, for pressing
- Sewing machine
- Template (Click here to download the template)
How to Make Pretty Posies Quilt Block:
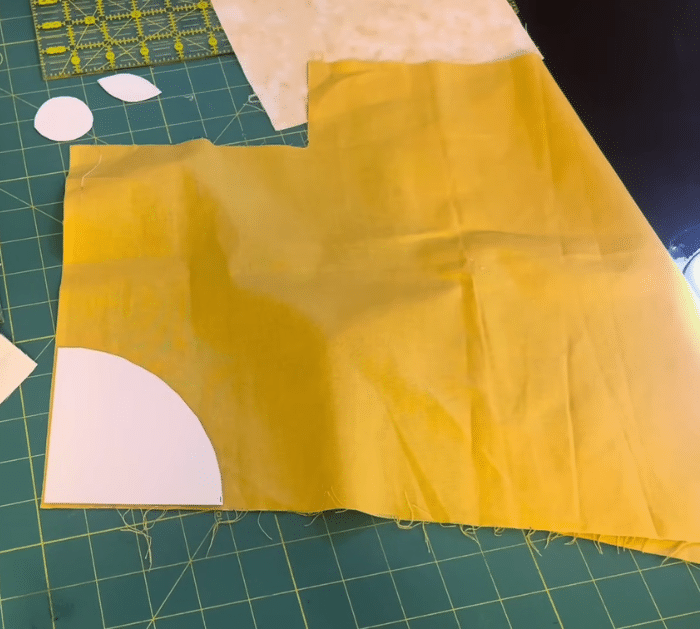
Step 1
Download and print the template, then cut it out, and cut your fabrics to size. Using the template, cut out the pieces that you’ll need making sure to add some seam allowance around, then fold the edges of the fabric over the curved template, and press it nicely. Make 3 more for a total of 4 quarter circles, then stack the white squares, cut them in half diagonally from corner to corner, and set them aside.
Step 2
Place the quarter circle on top of the center square corners, then lay the background triangles on all sides of the block, and set them aside. Make the stem by folding a green strip into thirds and stitching it, then cut it into 4 short stems, and place them in the center of the background triangles.
Step 3
Trace the circle on your red fabric, then stitch around the edges, and pull them tightly to gather them in the center before pressing it down nicely. Make more red circles, then trace the leaves template on the interfacing, cut it out with some seam allowance, and place it on top of the green print fabric’s wrong side.
Step 4
Stitch around the line, then cut out with seam allowance, notch around the sides and cut a hole in the center, and then turn the piece right side out poking the edges nicely. Place the leaves on the sides of each stem, then start stitching everything together starting from the center before proceeding to the corner units, and make sure to press the seams as you go.

*All image credit belongs to my sewing room via YouTube. Follow and subscribe to her channel for more!
How to Make Pretty Posies Quilt Block


