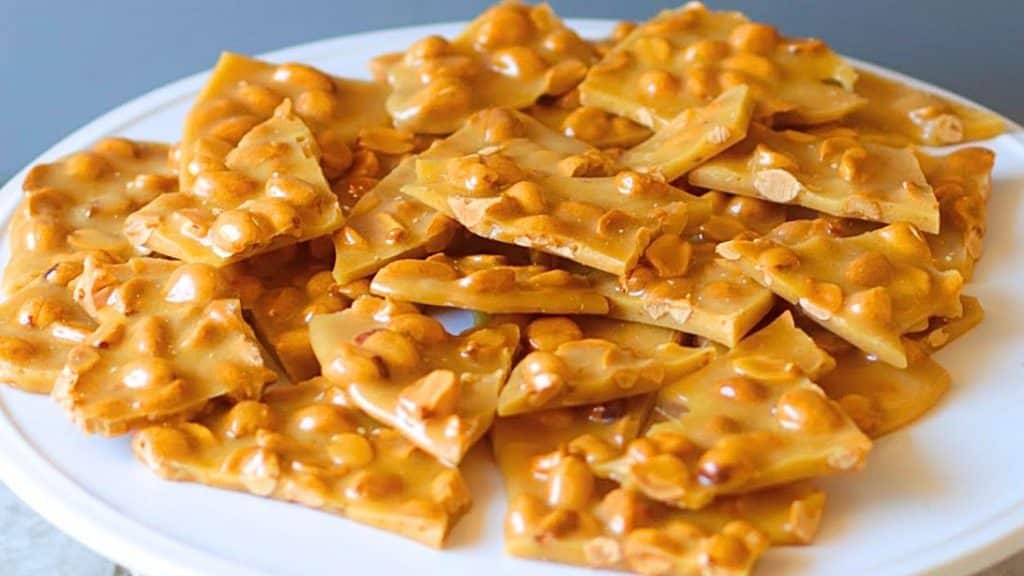
Aside from boiled peanuts, I go crazy for peanut brittle, it’s just perfect to munch on, and it’s a treat for those who have a sweet tooth, like me! This is a candy that will surely get you addicted and make you keep coming back for more until it’s all gone. You can make a large batch of this, then store them in a tight lid jar, and serve them for snack or dessert time, or whenever you want.
RELATED: Super Easy Microwave Peanut Brittle Recipe
You can also make and serve this for parties, holidays, or other special occasions, and I’m sure both kids and adults alike will love this. Peanut brittle is a pretty easy candy to prepare as long as you follow the instructions and work quickly, you can have this ready within just a few minutes, and the ingredients are quite simple, too. Learn how now by watching this video tutorial by In The Kitchen With Matt on YouTube.
Ingredients for Peanut Brittle:
- 1 cup of white granulated sugar
- ½ cup of light corn syrup
- ¼ cup of water
- 1/8 tsp of salt
- 1 cup of dry roasted or raw peanuts
- 1 tbsp of butter, salted and unsalted
- ¾ tsp of baking soda
- 1 tsp of vanilla extract
How to Make Peanut Brittle:
Step 1
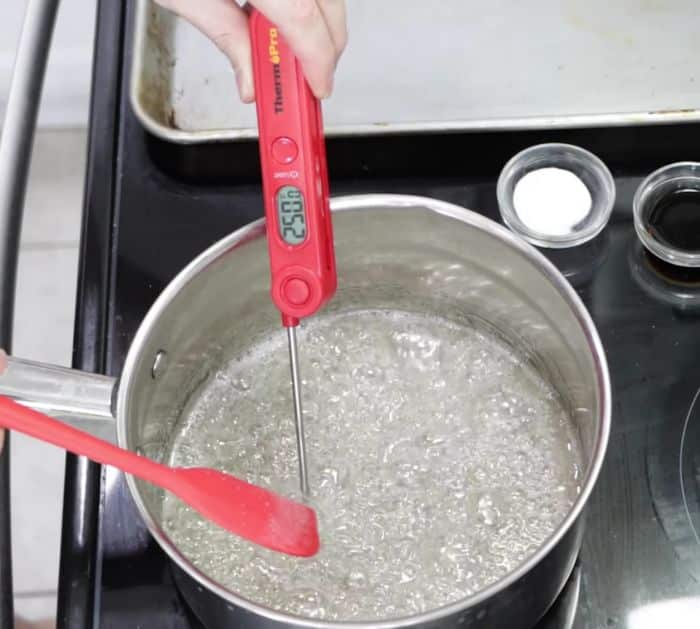
Grease a baking sheet with butter or nonstick cooking spray, or line it with parchment paper, and set it aside. Place a medium or large heavy bottom pot on a stove over medium heat, then add the water, sugar, corn syrup, and salt, and stir everything to combine (if you’re using raw peanuts, add them now). Allow the mixture to heat until it reaches a temperature of 250°F or 121°C while stirring occasionally, then scrape the sugar crystals that formed on the sides, and damp them with a basting brush.
[social_warfare]
Step 2
Once the mixture has reached the right temperature, add the dry roasted peanuts (if this is the one you’re using), then stir them continuously until it has reached the temperature of 300°-310°F or 148°-154°C, and turn off the heat. Remove the pot from the stove, then quickly add the vanilla, butter, and baking soda, and keep stirring until incorporated. Pour the peanut brittle mixture onto the prepared baking sheet, then spread it out with forks until thin and the peanuts are in a single layer, and allow it to cool completely for about 30 minutes or until set. Break it apart, then serve, and enjoy!
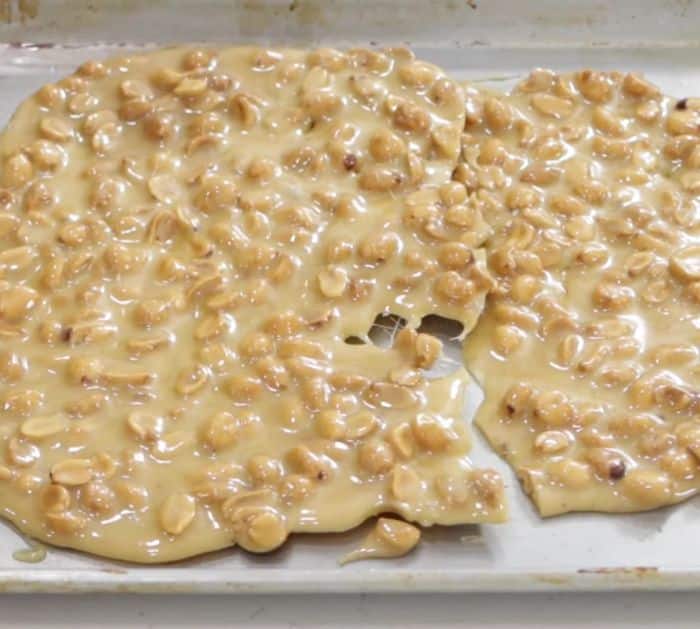
*All these amazing images are thanks to In The Kitchen With Matt via YouTube. Do visit his channel to see more videos like this!

