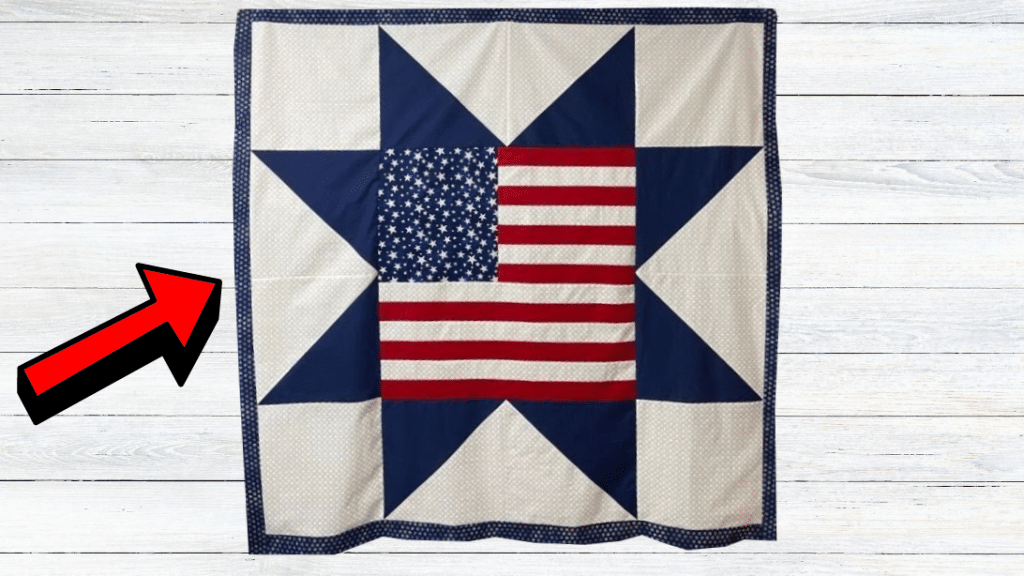
If you love making patriotic projects such as wreaths, quilts, or other decor ideas, then you might just love this wall-hanging quilt by The Crafty Author on YouTube. This would also be the perfect patriotic piece to display in your home just in time for the 4th of July.
RELATED: Easy 4th of July Flag Quilt Block Tutorial
This is a very simple quilt project that you can make with just a few easy steps and I’m sure that you can get this perfectly on your first try or even if you’re a beginner in quilting. Learn how now by watching the video tutorial below and give it a try!
Materials for the 4th of July Spangled Quilt:
- Solid white fabric or strips
- Solid red fabric or strips
- Blue star/print fabric
- Solid blue fabric
- Border fabric
- Ruler
- Marking pen, pencil, or chalk
- Scissors or rotary cutter and a cutting mat
- Needle and thread
- Iron, for pressing
- Sewing machine
How to Make a 4th of July Spangled Quilt:
Step 1
Make 7 red and 6 white strips at 2.5 inches wide, then stack 2 opposite strips with their right sides facing, and stitch them together. Keep adding strips alternately making sure that the red strip is at the very top, then open them up as you go, and press them to the darker side.
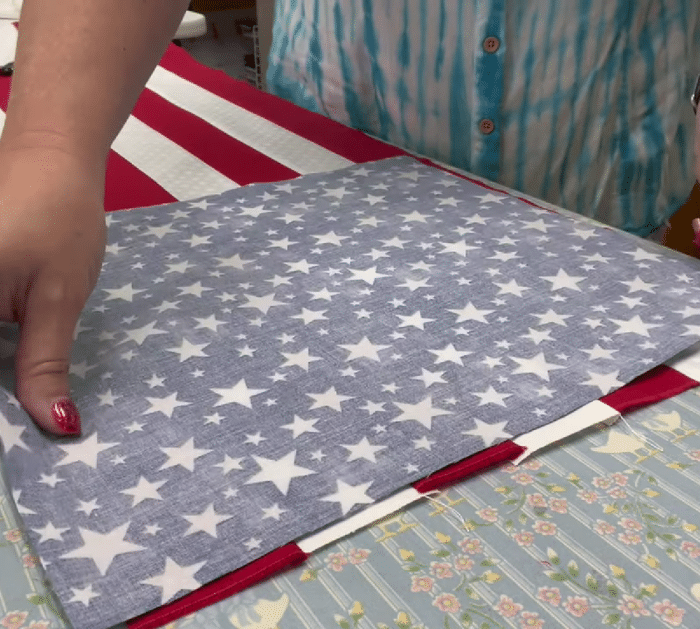
Step 2
Take the square star fabric, then place it on the edge of the strip set with their right sides facing, and stitch them together. Cut the excess strip, then open up the fabric, press the seams, and even up the edges of the star fabric to the edges of the stripe.
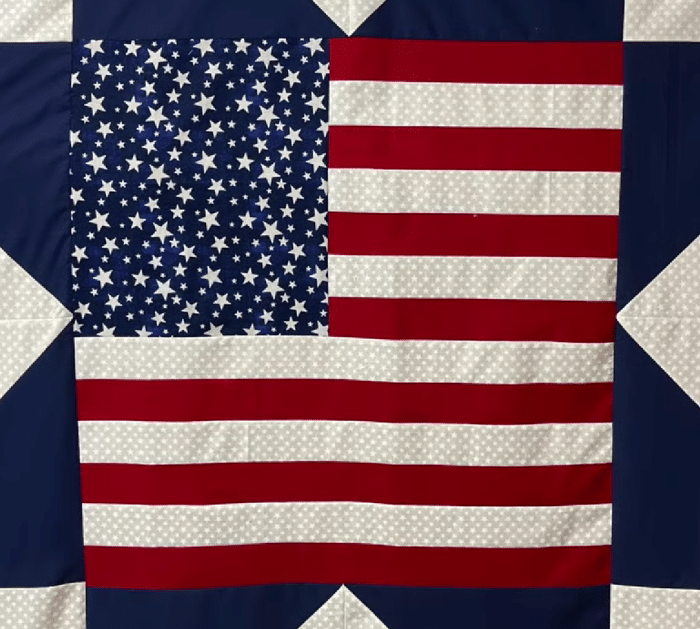
Step 3
Trim the patchwork to 26 inches, then take the rest of the strips, and sew them to the bottom of the patchwork as shown in the video. Cut the background and solid blue fabric into squares for the sawtooth block, then stack them with their right sides facing, and line the wrong side diagonally from corner to corner. Stich on either side of the line, then cut them apart in half, and press the seams toward the dark fabric.
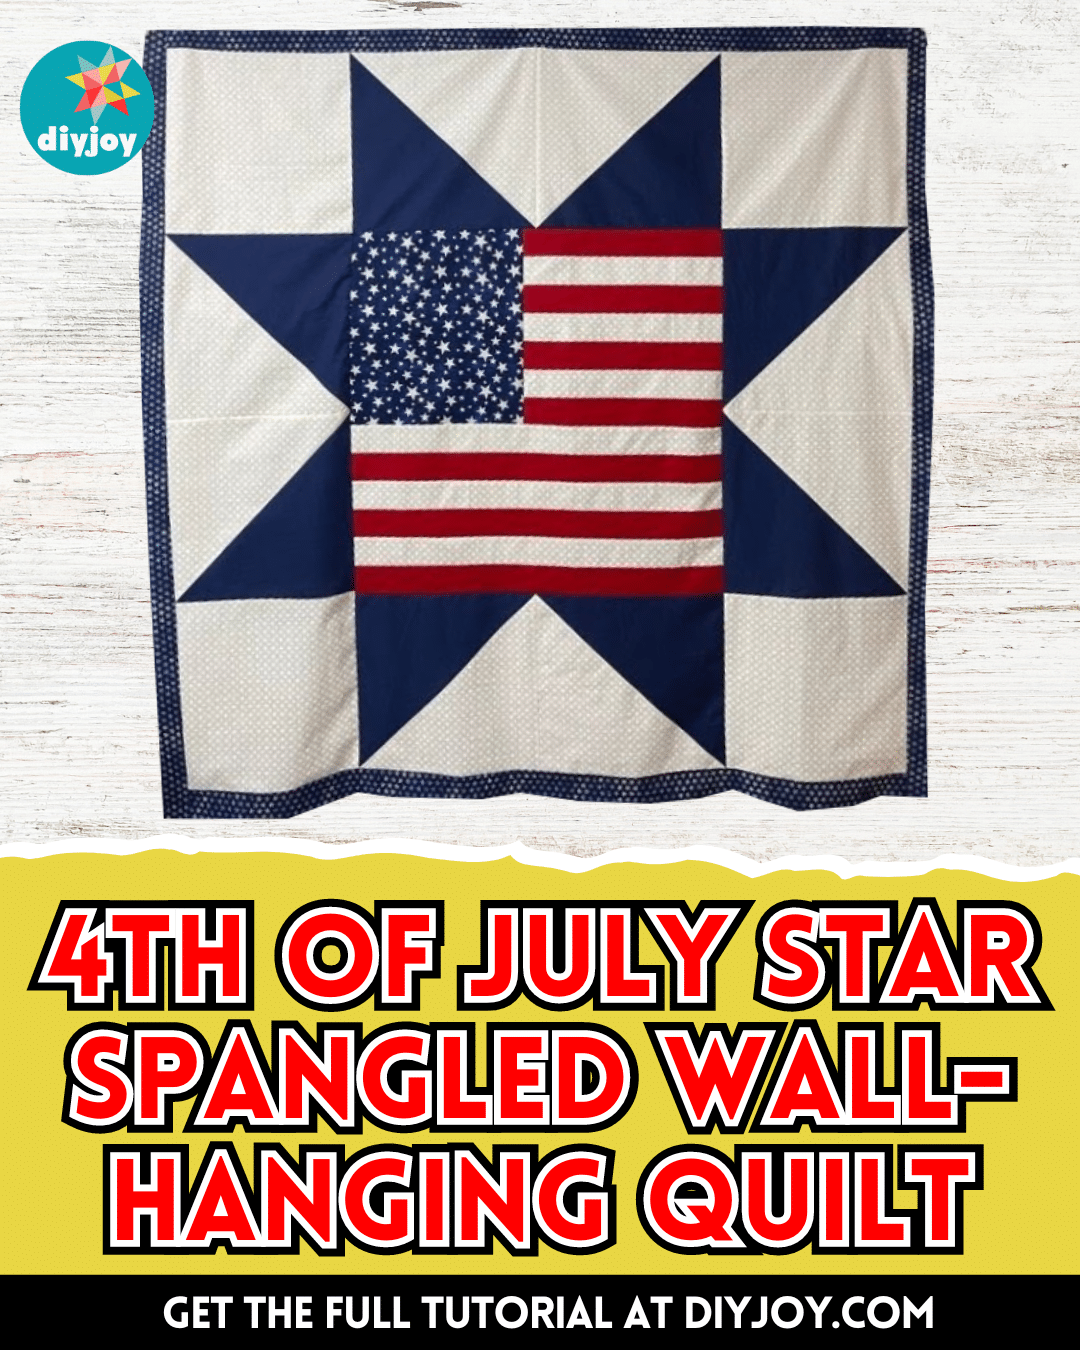
Step 4
Stitch two half-square triangles together with the whites in the center, then make a total of 4 sets for each side, and assemble everything together as demonstrated in the video filling the empty corners with plain background squares. Stitch them together one at a time, then press the seams as you go, and add the border to complete your quilt.
*All image credit belongs to The Crafty Author via YouTube. Follow and subscribe to her channel for more!
4th of July Star Spangled Wall-Hanging Quilt Tutorial


