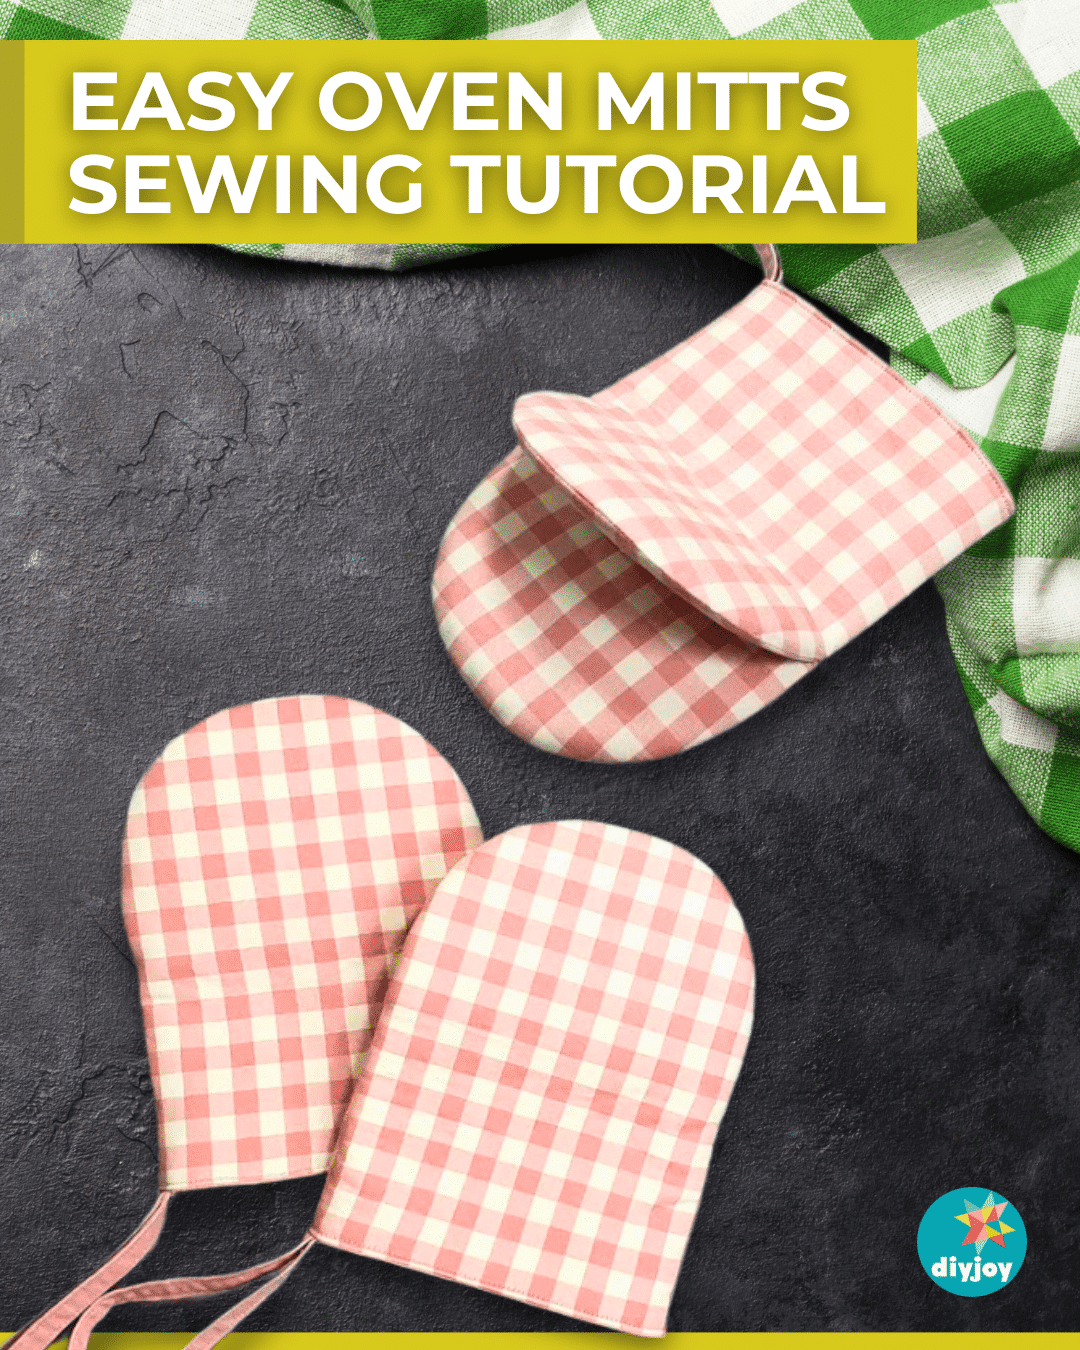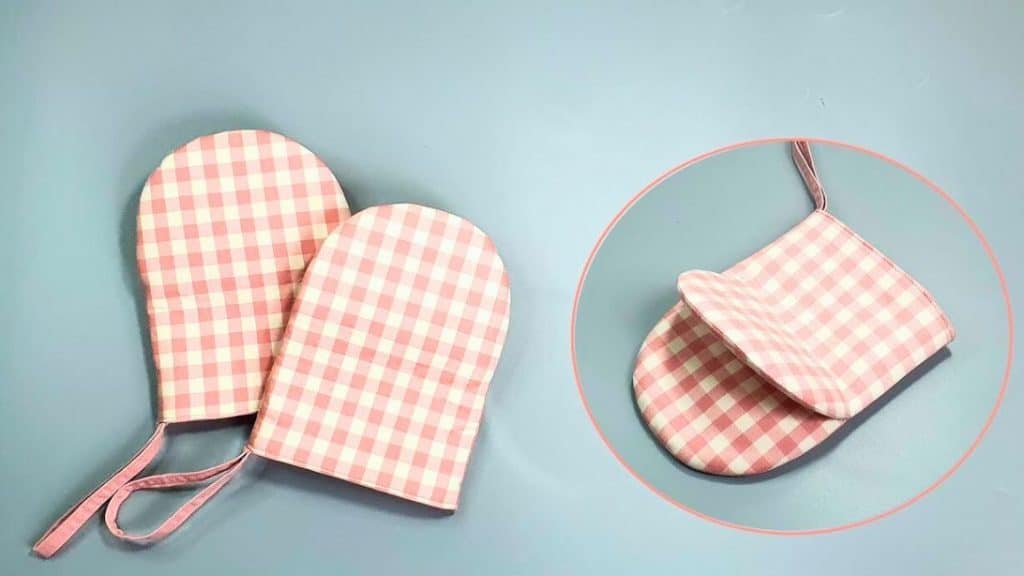
Are you searching for the perfect sewing project to tackle this weekend? Look no further than these adorable oven mitts! How cute are these pink oven gloves from Tendersmile Handmade? If you love sewing and cooking, this project is for you.
RELATED: DIY Kitchen Towels Using Fabric Scraps
This tutorial will teach you how to make the free pattern with just a piece of paper and a ruler. The steps are very easy to follow and not as complicated as you might think. They make perfect gifts for friends and family! Watch the video below for the full instructions. Happy sewing.
Here’s another project you might want to try: DIY Reusable Kitchen Sponges Tutorial
DIY Oven Mitts Materials
- (A) 6.3″ x 7.9″ rectangles – (1) front and (1) back
- (B) 6.3″ x 7.1″ rectangles – (2) front and (2) back
- (C) 1.6″ x 9.85″ back strip
- curved ruler
- fusible interfacing
How to Make Oven Mitts
Step 1:
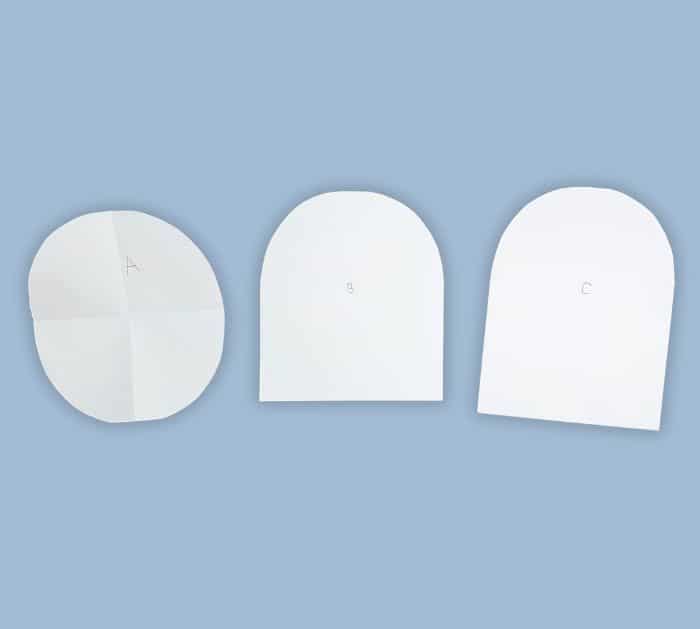
Make the pattern.
Take a 5.5″ x 6.3″ rectangle paper and fold it half twice crosswise. Get a curved ruler and connect the top left corner to the bottom right corner with a curved line. Cut directly on the line. Open and mark it as pattern A.
Get another 5.5″ x 6.3″ rectangle paper and a 5.5″ x 7.1″ rectangle paper. Fold pattern A in half, then place it on top of the smaller rectangle paper, trace, cut, and mark it as B. Repeat on the other piece and mark it as C. See the photo below for reference.
Step 2:
Cut two pieces of pattern A, 1 piece of pattern B, and one piece of pattern C on the fusible interfacing.
Step 3:
Place fusible C on top of the front fabric A and press with an iron.
Place one fusible A on top of the front fabric B and press with an iron. Take the other fusible A and place it on top of the back fabric B and press with an iron.
Place fusible B on top of the front fabric B and press with an iron.
Step 4:
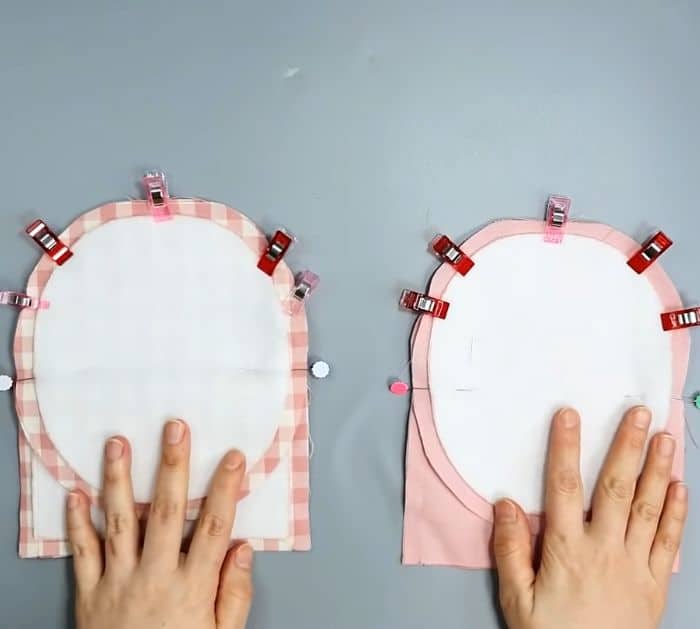
Place the front fabrics with fusible on top of the back fabrics, right sides together. Pin and trim excess by following the shape of the fusible, leaving a small allowance for all sides.
Step 5:
Separate the front from the back pieces. Place the small arch-shaped piece on top of the large arch-shaped piece, right sides together. Pin them together. Do the same for the back pieces.
Measure 3.94″ inches from the bottom edge and mark. Do it on both sides. Sew from the bottom up to the mark with a 0.4″ seam allowance.
Step 6:
Fold the small arc on the front piece, then place the front oval-shaped piece on top, right sides together. Pin in place. Do the same for the back pieces.
Sew the top curve with a 0.4″ seam allowance. Pin the bottom curves together.
Step 7:
Fold the straight edge up for the front and bottom pieces, then sew the bottom curves with a 0.4″ seam allowance. Trim excess fabric to remove bulk.
Step 8:
Flip the front fabric right side out.
Step 9:
Take the strip and fold the long sides toward the center. Fold in half lengthwise. top stitch with a 0.08″ seam allowance.
Fold it in half then place it on the side of the front oven mitt. Sew with a 0.2″ seam allowance.
Step 10:
Insert the front oven mitt in the lining. Sew the edge with a 0.4″ seam allowance, leaving an opening on one side. Flip it right side out through the opening. Insert the lining inside the oven mitt, then sew the opening close.
Easy Oven Mitts Sewing Tutorial