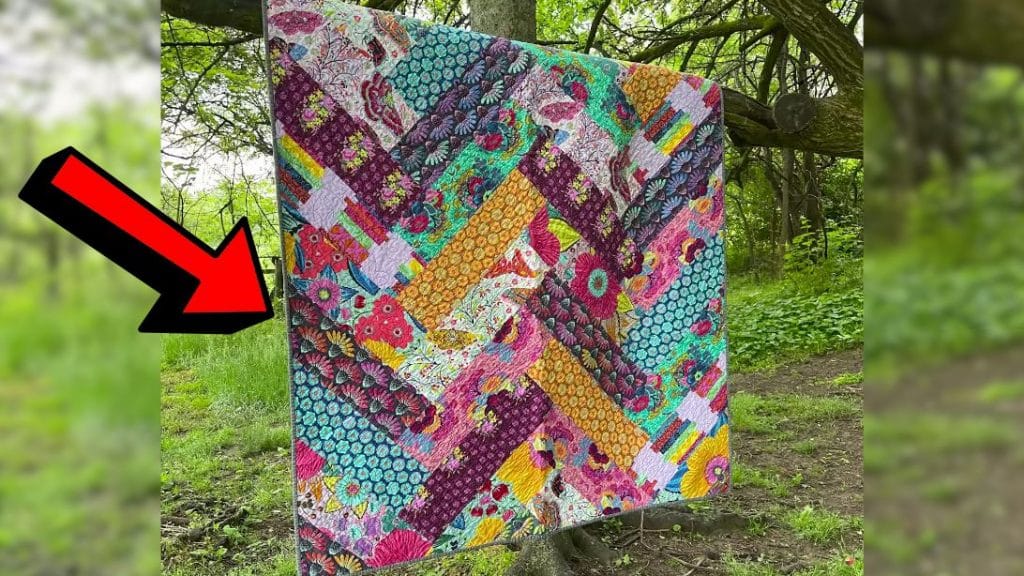
This lovely quilt project by Tiny Orchard Quilts on YouTube is a must-try because not only is it super easy and simple to make but it also had little to no leftover scraps at all! This uses a very efficient and brilliant technique that ends with a clean and neat block without having to cut out a lot of excess fabric. Learn how now with this video tutorial and see for yourself.
Materials:
- Fabric, different colors, and patterns
- Binding fabric
- Backing fabric
- Ruler
- Scissors or rotary cutter and a cutting mat
- Iron, for pressing
- Needle and thread
- Sewing machine
- Pattern (Click here to download the pattern)
Directions:
Step 1
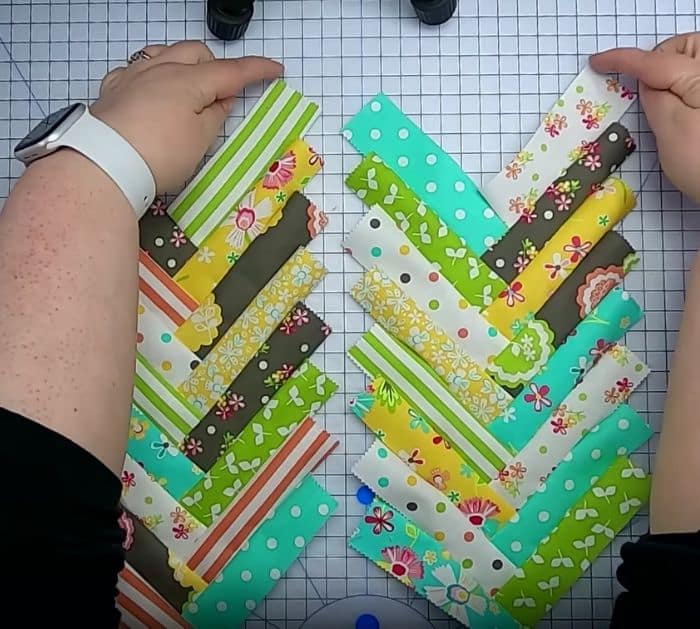
Cut the fabric into strips, then divide them into 4 sets, and lay them out into arrow-like shapes as shown in the video. You can mix up the patterns, then make sure that the center is forming some sort of zigzag, and start sewing them together one at a time. Flip the lower strip over the upper strip making sure to keep its position and that their right sides are facing, then sew them down the side, and press it open. Continue to sew the next strips until you’ve completed the herringbone column, then make another set, and match them together at the center, they should fit just right.

[social_warfare]
Step 2
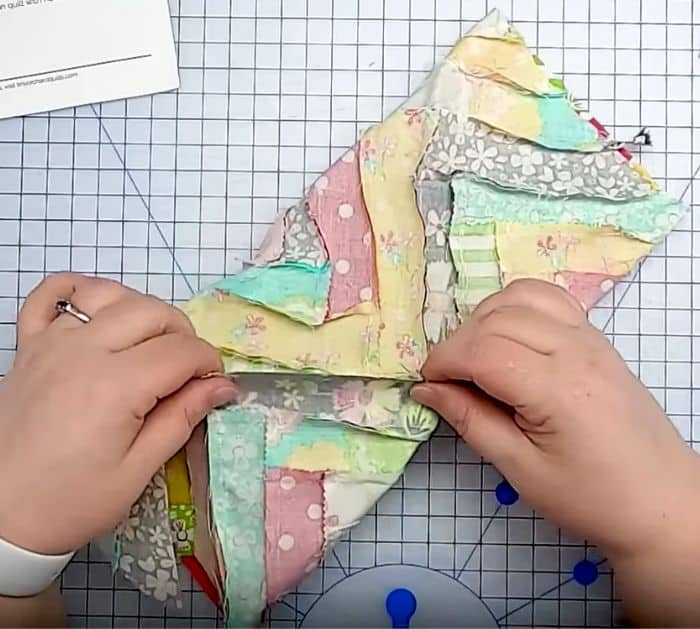
Sew the center together one at a time, then once done, fold the edges towards the center, and sew the seams together at the center. Now, position the patchwork nicely, then press it flatly, and cut just a sliver of one folded side straight using a ruler. Open the piece nicely, then fold the top and bottom toward the center, and match the edges nicely. Sew them together as you did earlier, then press, and slice one folded side a bit. Open the block and add the backing and binding fabric, and you’re done with your block!

*These amazing images are all credited to Tiny Orchard Quilts via YouTube. Check her other content and follow for more!


