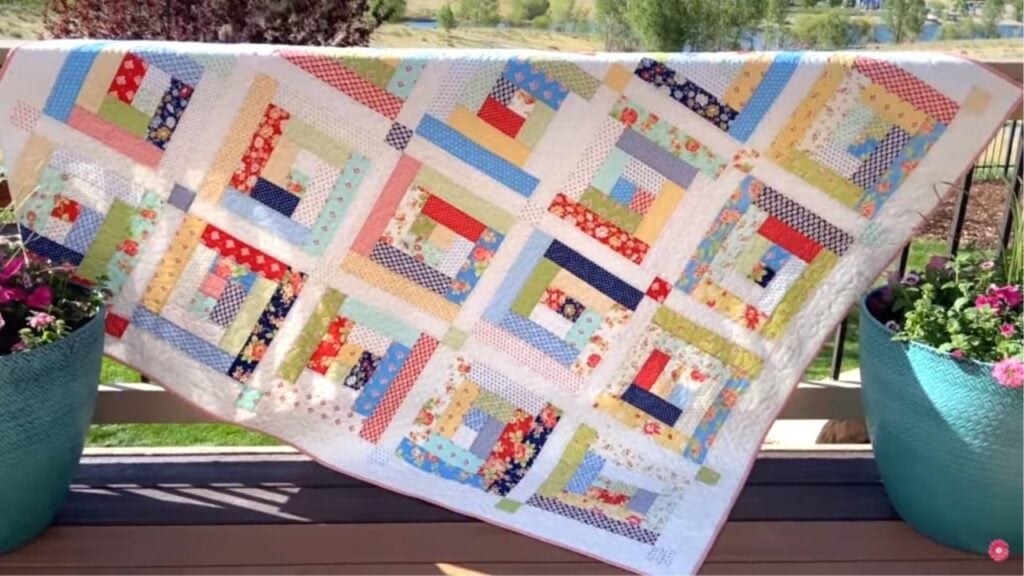
This easy log cabin quilt tutorial for beginners by Erica Arndt is perfect for your fabric scraps or jelly rolls. If you are new to quilting, this will help you get started. You just need to add the pieces of fabric as you go to create this block! The steps are super simple – 1 block can be done in a few minutes. If you are going to try this pattern, make sure to use different fabrics with lively colors and designs for a beautiful finish product. Read on or watch the video below for the full instructions.
Materials:
- print fabric – 1 Moda jelly roll or 16 FQS
- 1 3/4 yards background
- 4 3/4 yards backing
- 1/2 yard binding
- ruler
- rotary cutter
- pins
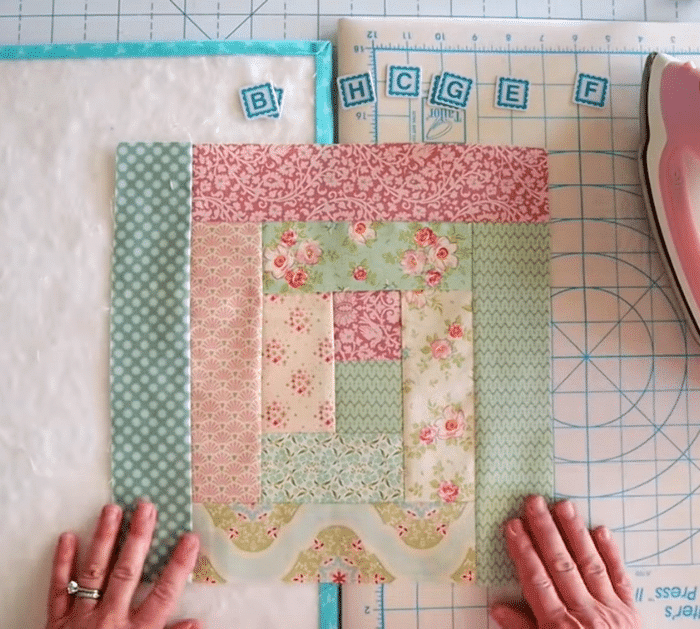
Cutting measurements:
- 2 pieces (C) 2-1/2 ” x 2-1/2″
- 2 pieces (D) 2-1/2″ x 4-1/2″
- 2 pieces (E) 2-1/2″ x 6-1/2″
- 2 pieces (F) 2-1/2″ x 8-1/2″
- 2 pieces (G) 2-1/2″ x 10-1/2″
- 1 piece (H) 2-1/2″ x 12-1/2″
Instructions:
Step 1:
Cut all the print fabric based on the cutting measurements above.

Step 2:
Take the C squares and sew the right sides together using a quarter-inch seam allowance. Press on one side. You don’t need to worry about which way you press it because there are no seams that are going to line up or need a nest.
Step 3:
Grab the D squares. Add one square to the left side and one to the bottom. Sew them together with a quarter-inch allowance and press with an iron.
Step 4:
Add the E strips. Put one to the right side and one to the top. Sew with a quarter-inch seam allowance, then press.
[social_warfare buttons=”Facebook,Pinterest,twitter,WhatsApp”]
Step 5:
Grab the F pieces and add one to the left and one to the bottom. Just continue with the circle-like pattern with the fabrics. Sew then press.
Step 6:
Next, the G strips. Lay one on the top and one on the right. Sew to the block and then press.
Step 7:
Add the last H strip to the left of the block. Sew with a quarter-inch allowance and press.
Step 8:
Trim your finished block to 12-1/2″ square.
Easy Log Cabin Quilt Tutorial


