Ever since I discovered the world of DIY crafts, I haven’t been able to stop. My supply stash keeps growing, and so does my list of project ideas. I’m always exploring and experimenting with different types of crafts—from quick and easy projects to more detailed and challenging ones.
Lately, my favorite craft material to work with is the foam sheet. It’s lightweight, affordable, and incredibly versatile—you can use it in everything from simple school projects to intricate handmade decorations. Plus, it’s so satisfying to cut and shape, making it perfect for both beginners and seasoned crafters.
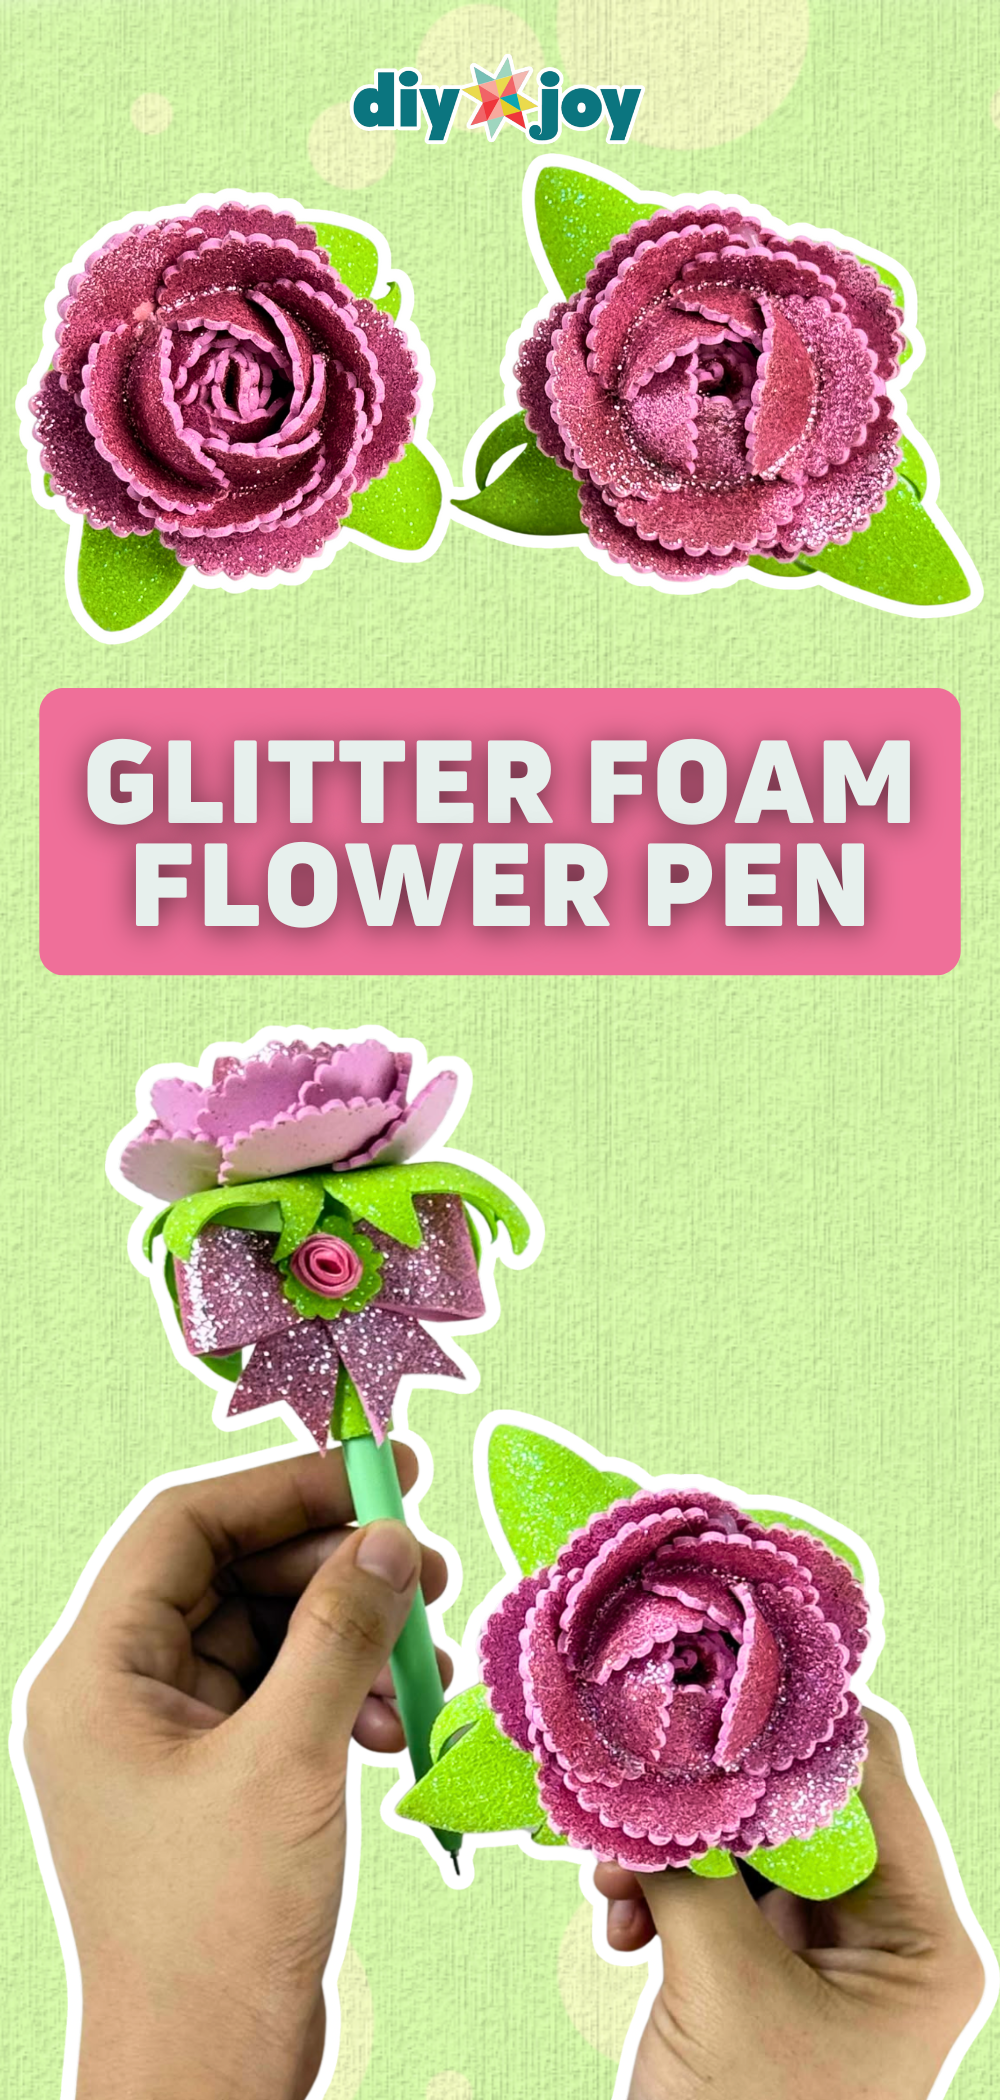
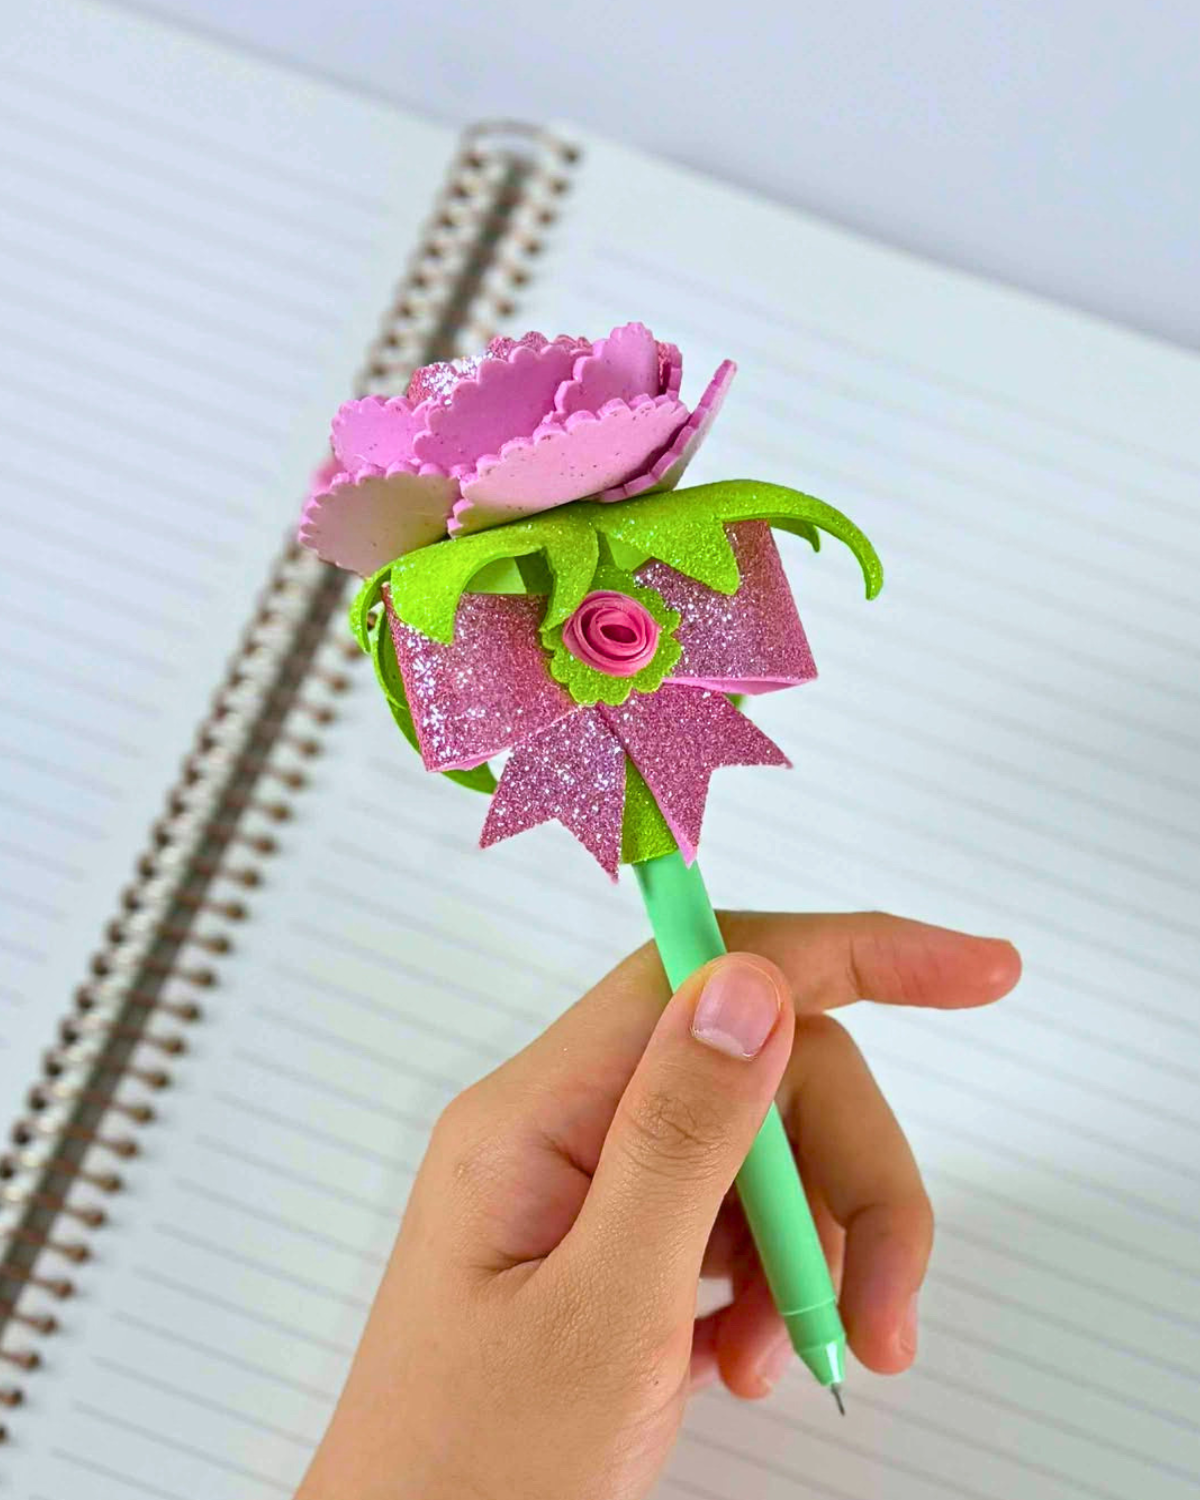
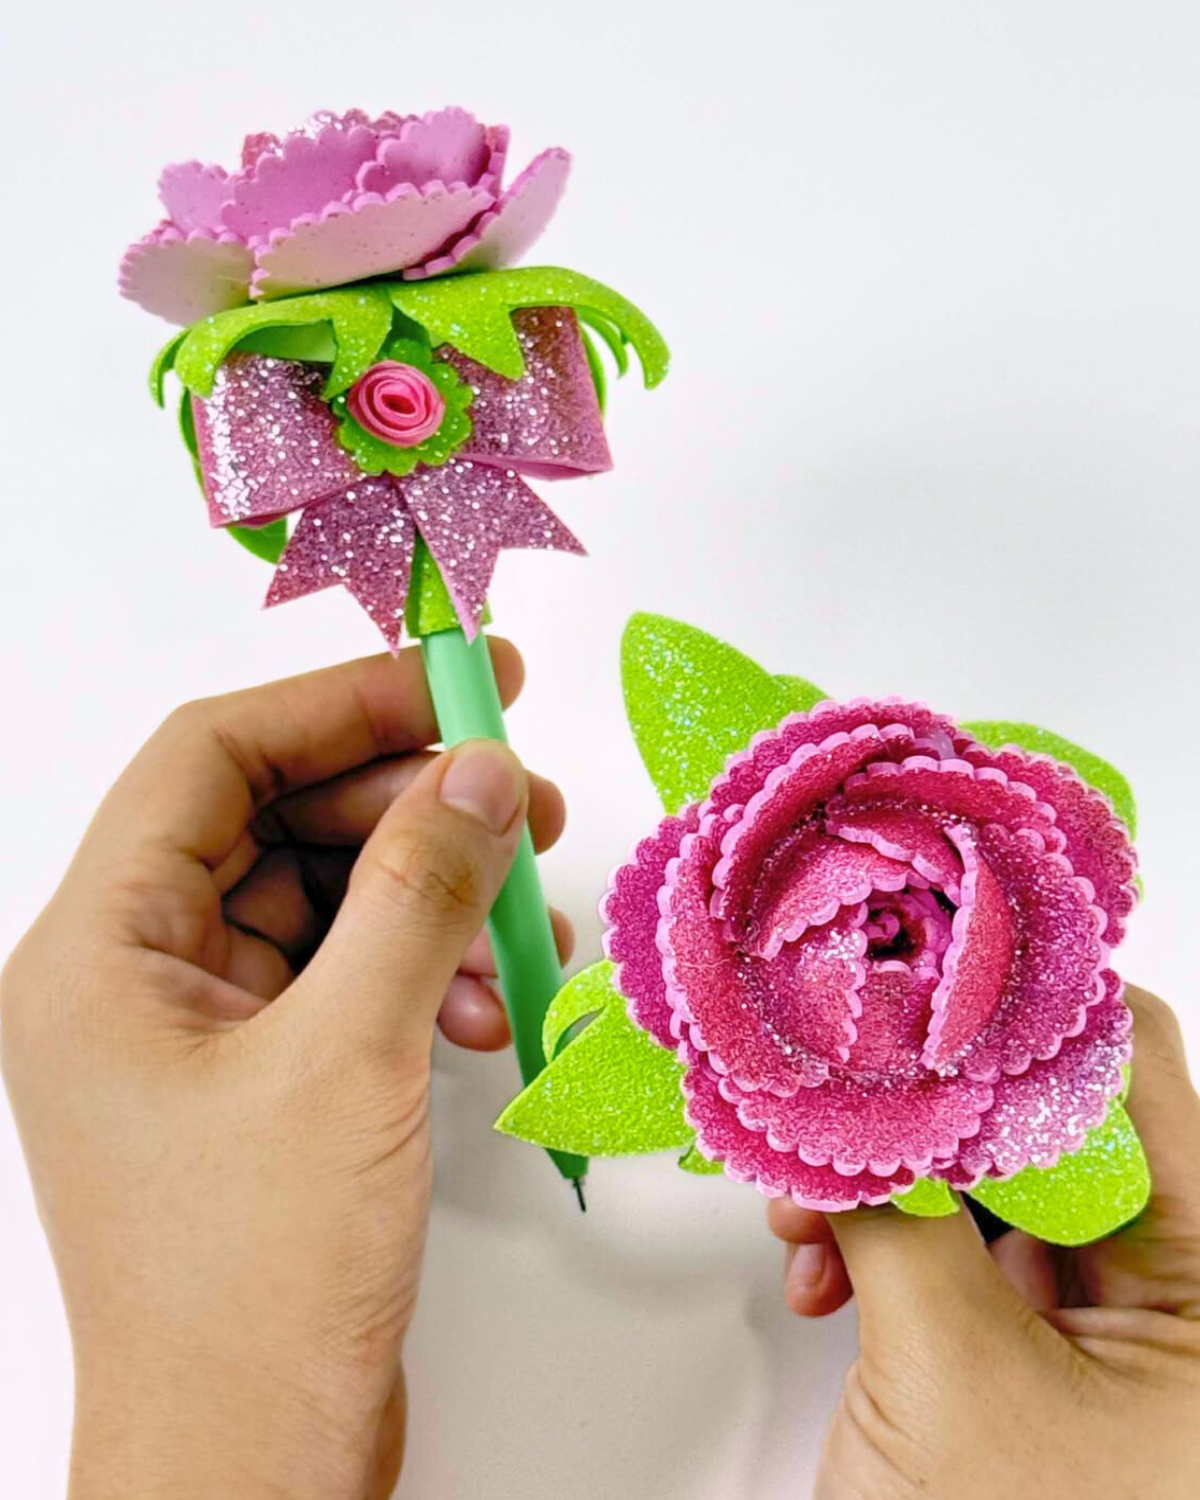
This handmade flower pen accessory isn’t just pretty—it’s practical, personalized, and makes a great conversation starter. Perfect for party favors, handmade gifts, or a cheerful desk accessory, this glitter foam flower pen is a budget‑friendly craft you can customize in endless colors and designs.
The sparkle catches the eye, the flower adds charm, and the fact that it’s handmade makes it extra special. Whether you make one for yourself or a whole set to give away, this is the kind of craft that always gets a smile. So grab your foam sheets, glitter, and glue—it’s time to turn an everyday pen into a little work of art that writes just as beautifully as it looks.
What You’ll Need for Glitter Foam Flower Pen
How to Make a Glitter Foam Flower Pen
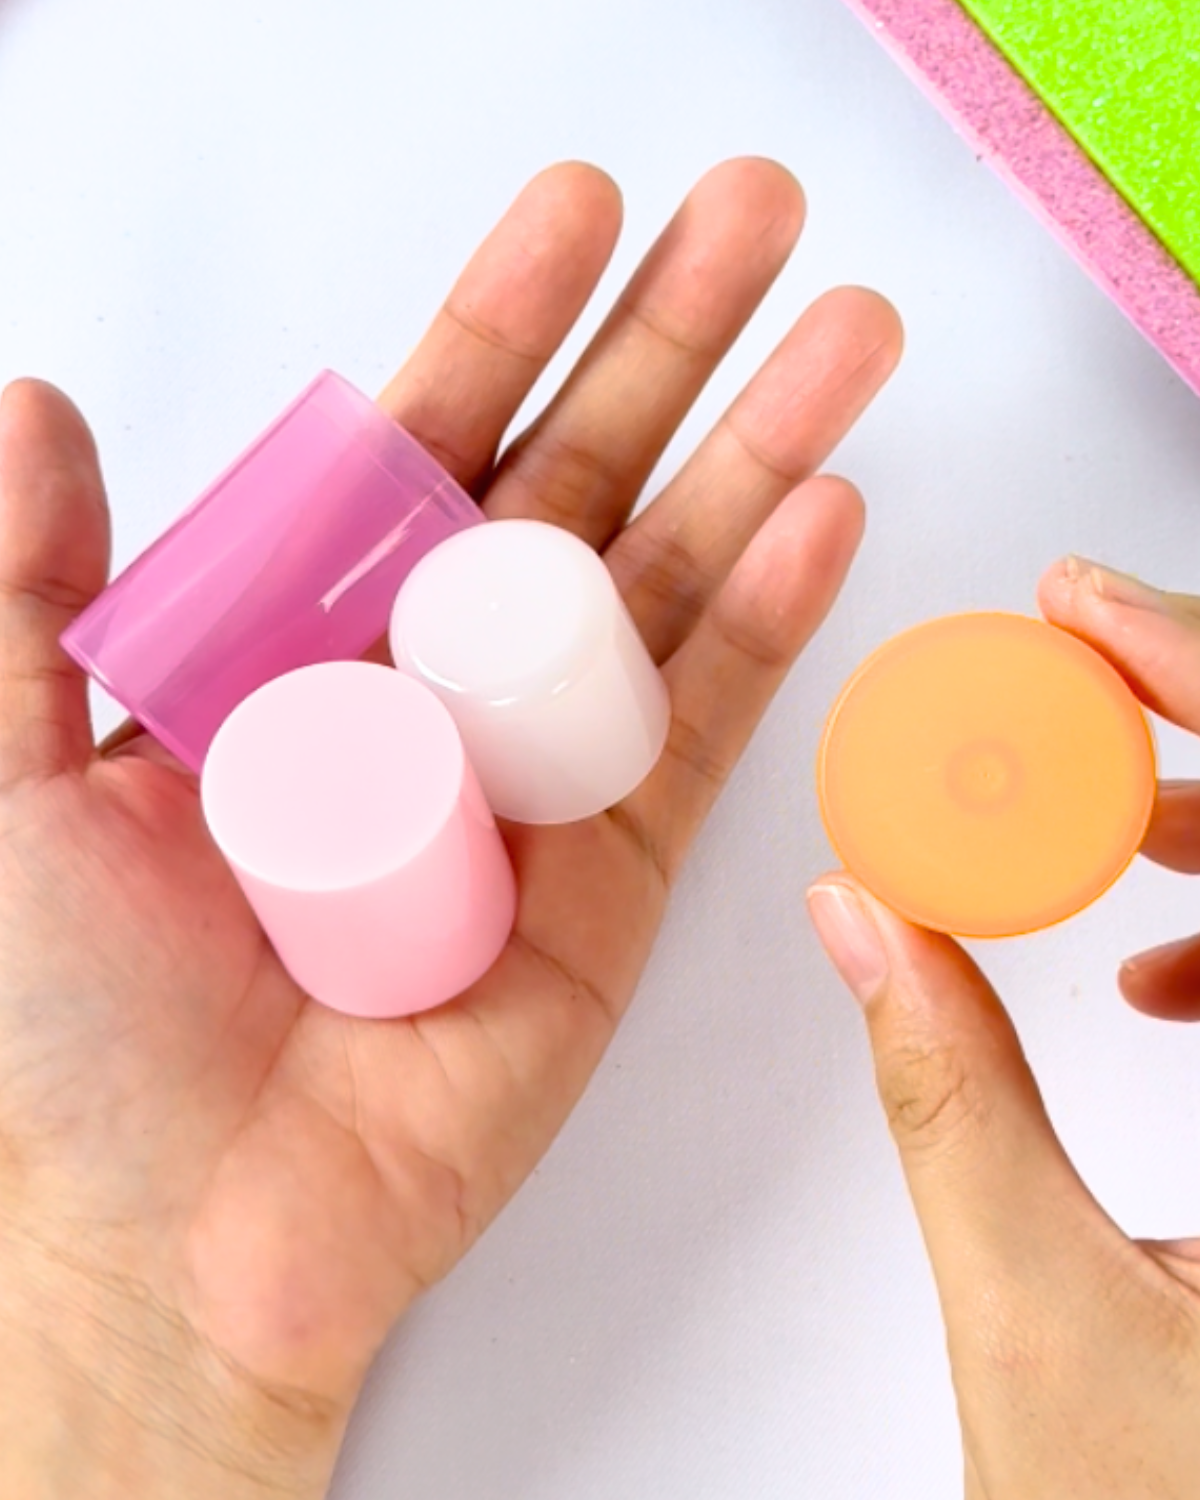
Step 1: Choosing your template or guide

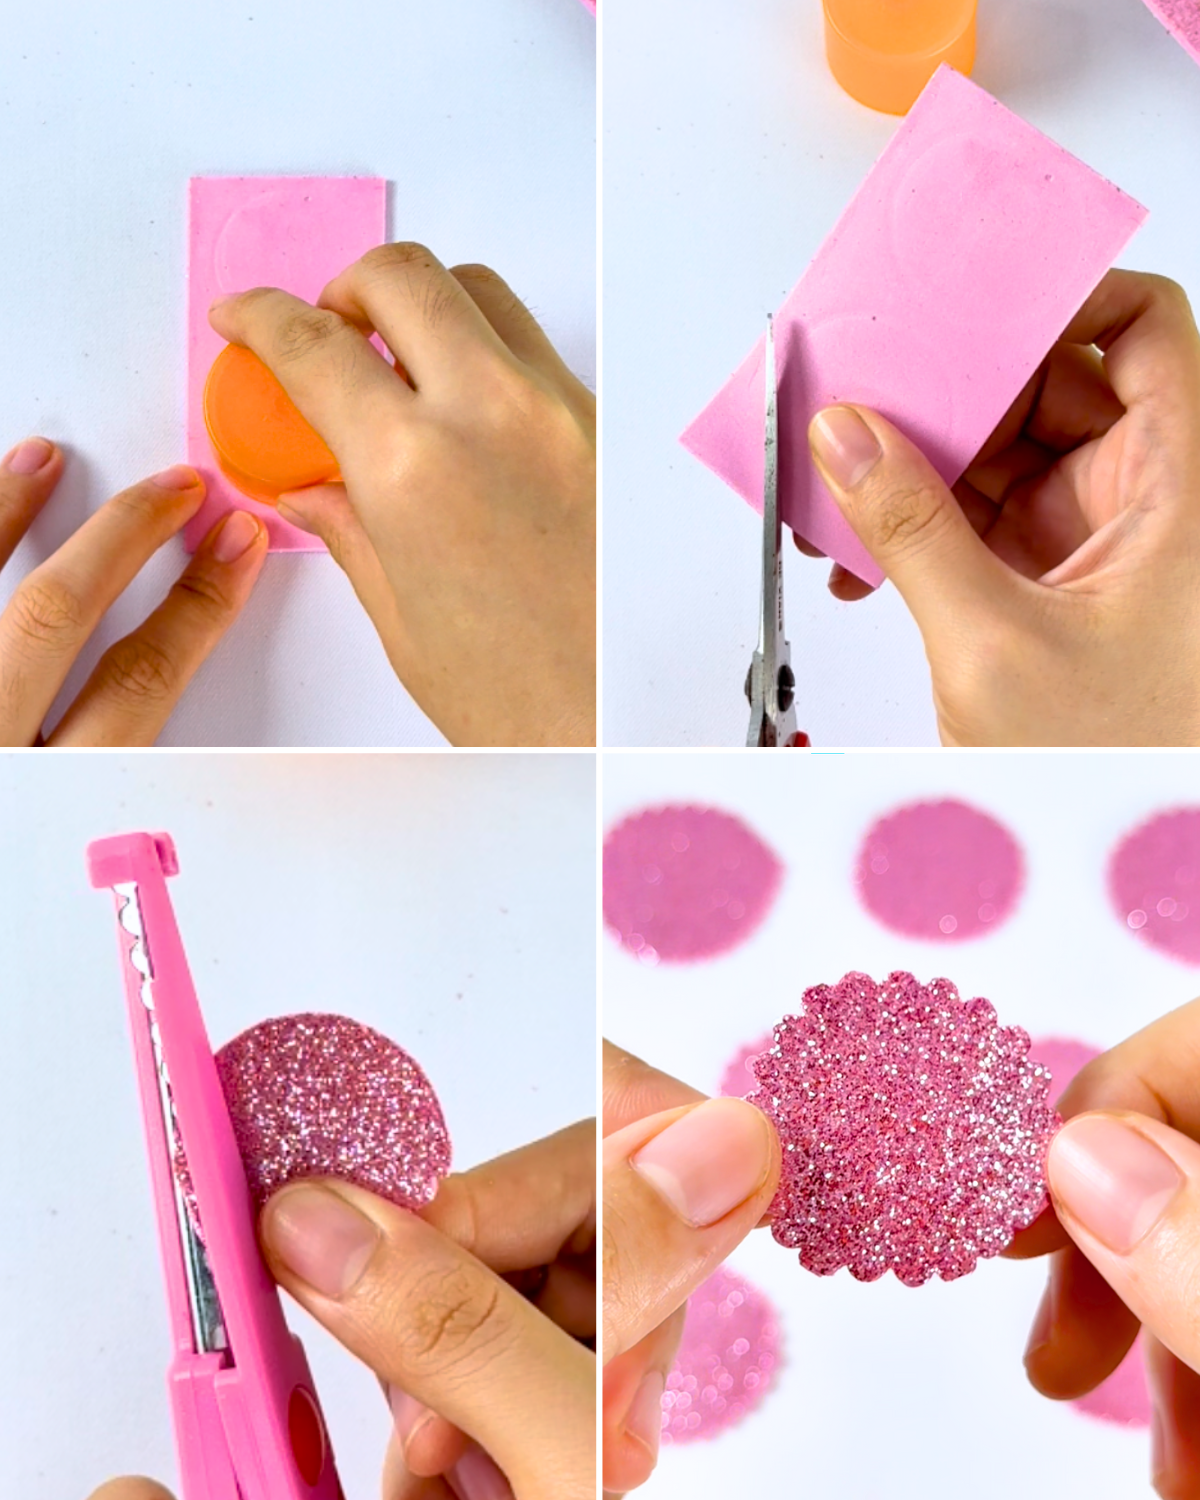
Find a round cap or object about 1.5 inches in diameter to use as a template. Remember—the larger your template, the bigger your petals and finished flower will be.Step 2: Tracing the template onto the foam sheet
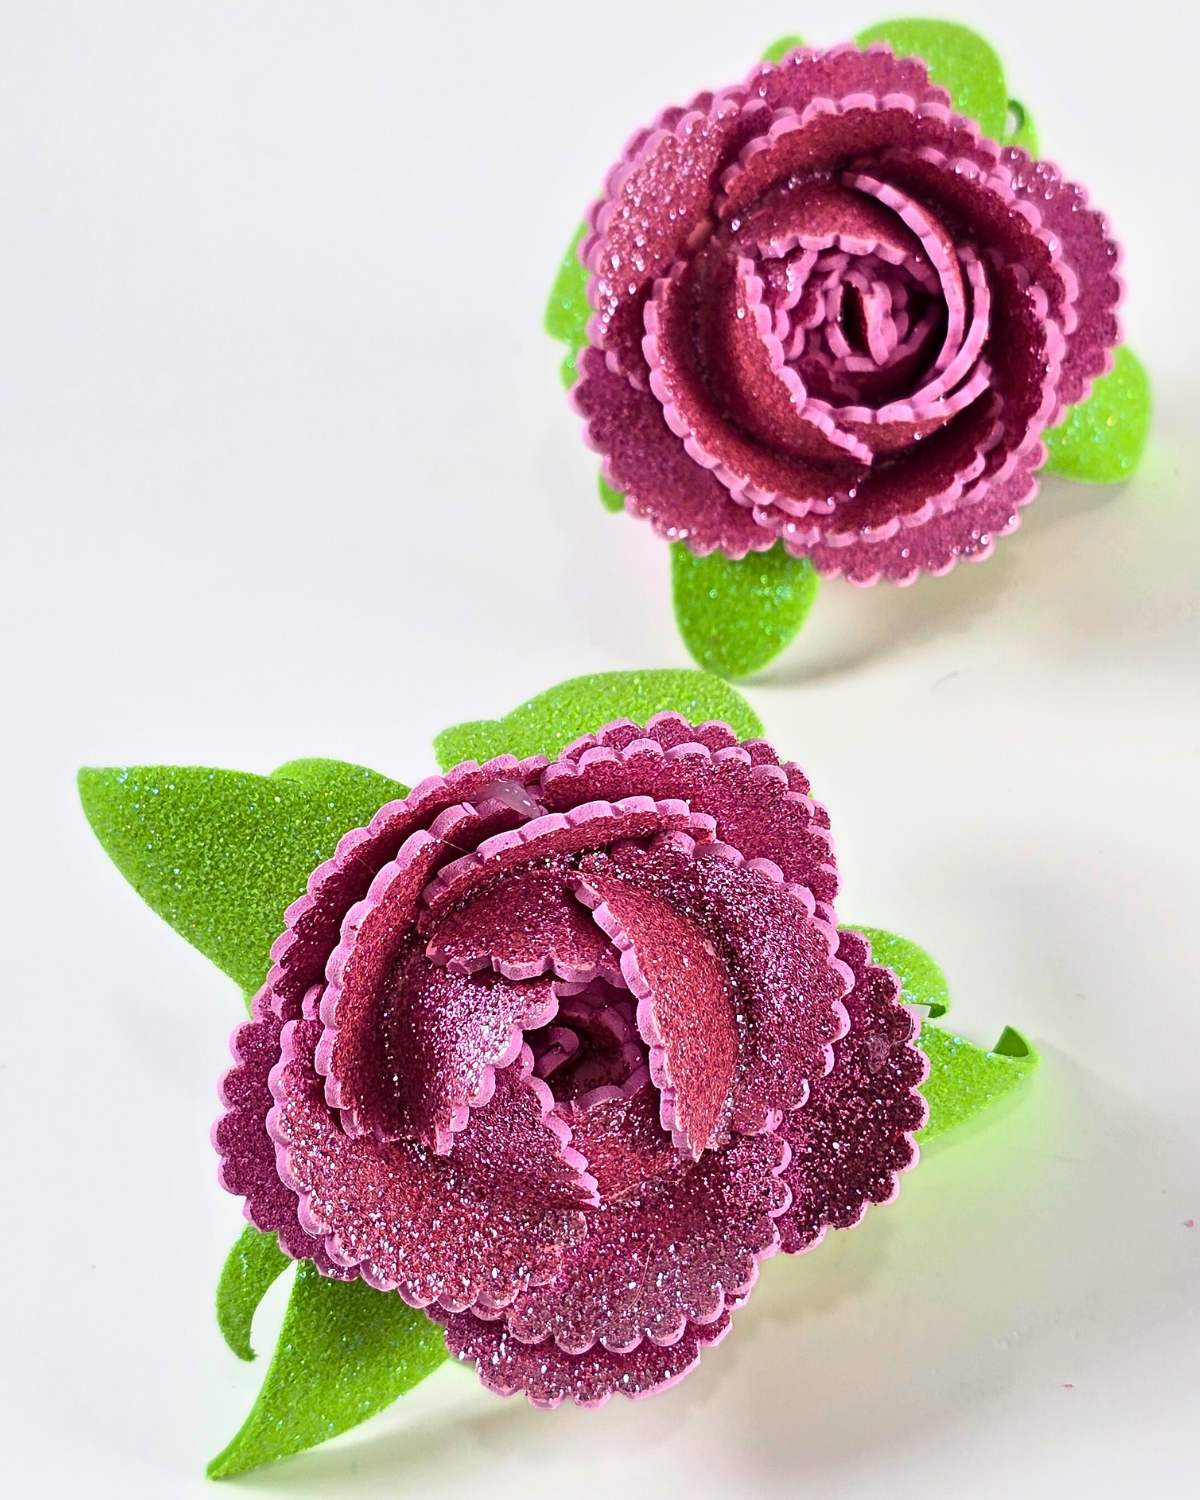
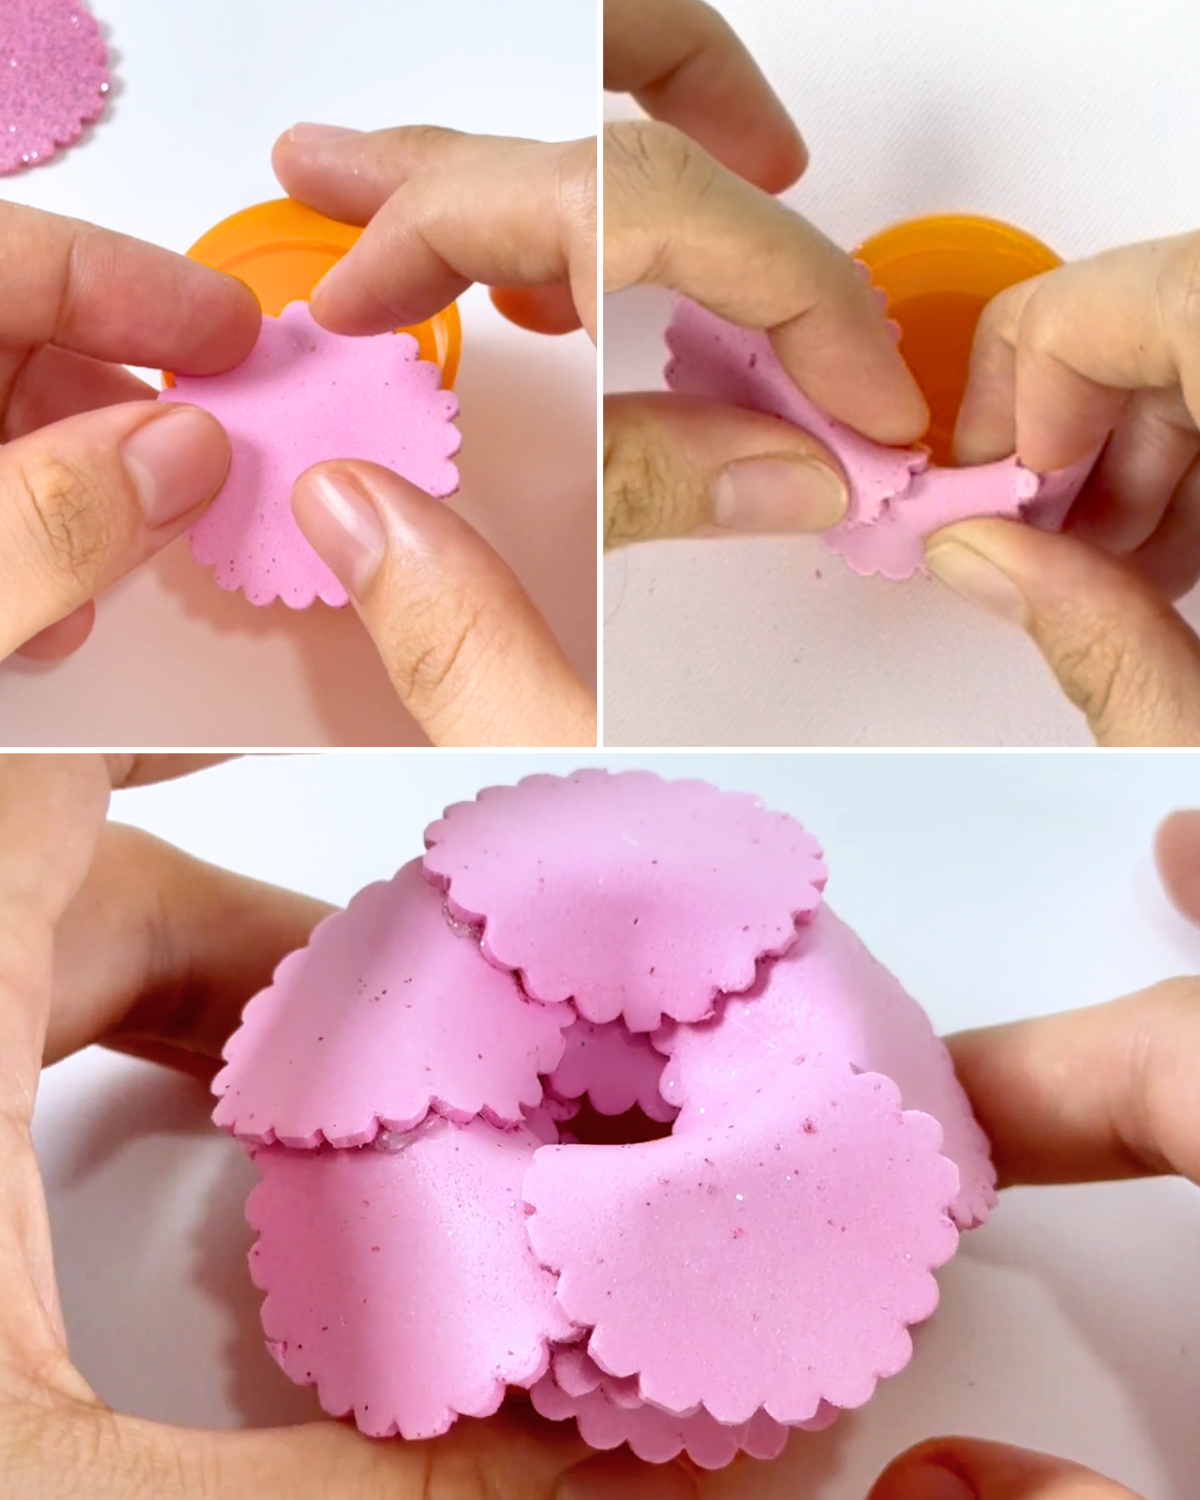
Trace the cap onto the foam sheet, cut out the circle, then use pinking shears to create decorative edges.Step 3: Assembling the petals
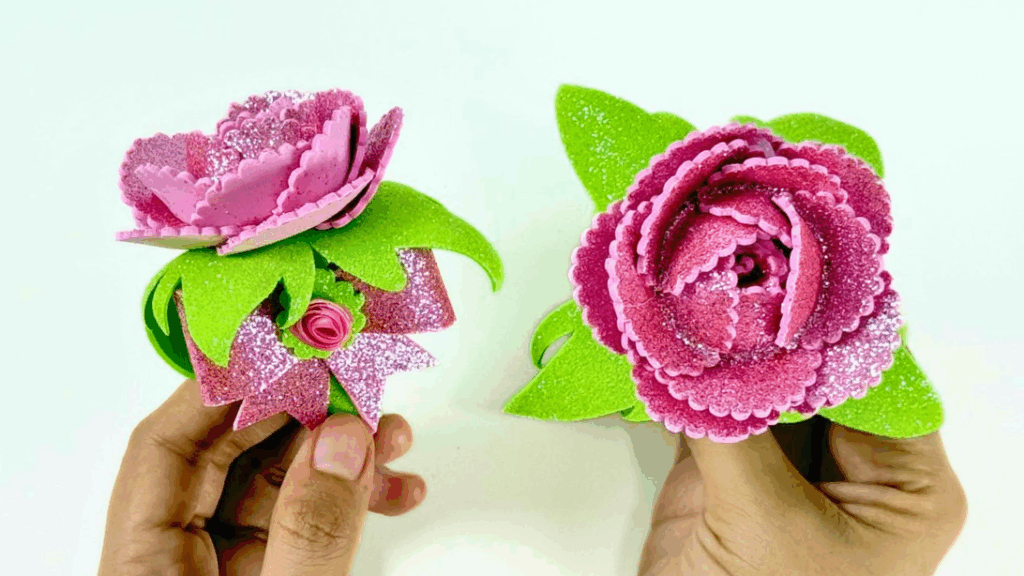
Once you have several petals, start gluing them around the edges of the cap you used as a template. Overlap each petal slightly as you continue adding them for a fuller look.Step 4: Making the holder of the pen
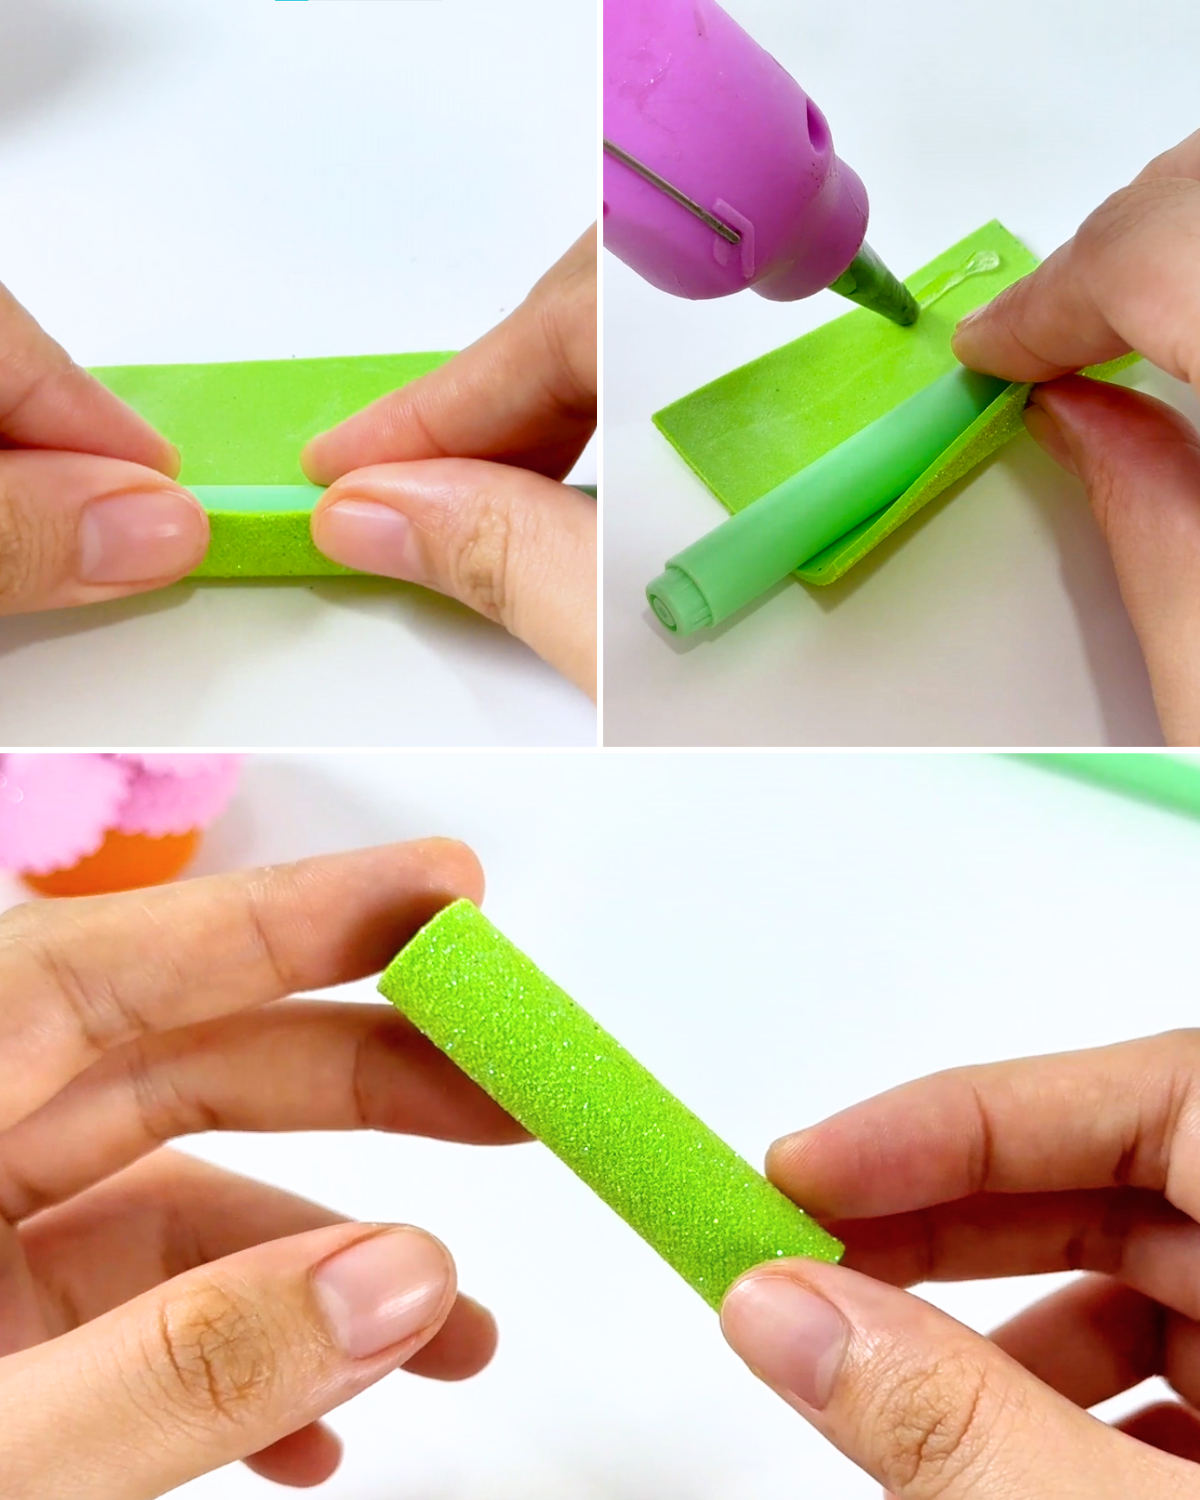
Cut a piece of foam sheet large enough to wrap around the upper half of the pen, then wrap it tightly and secure the edges with glue.Step 5: Assembling the flower
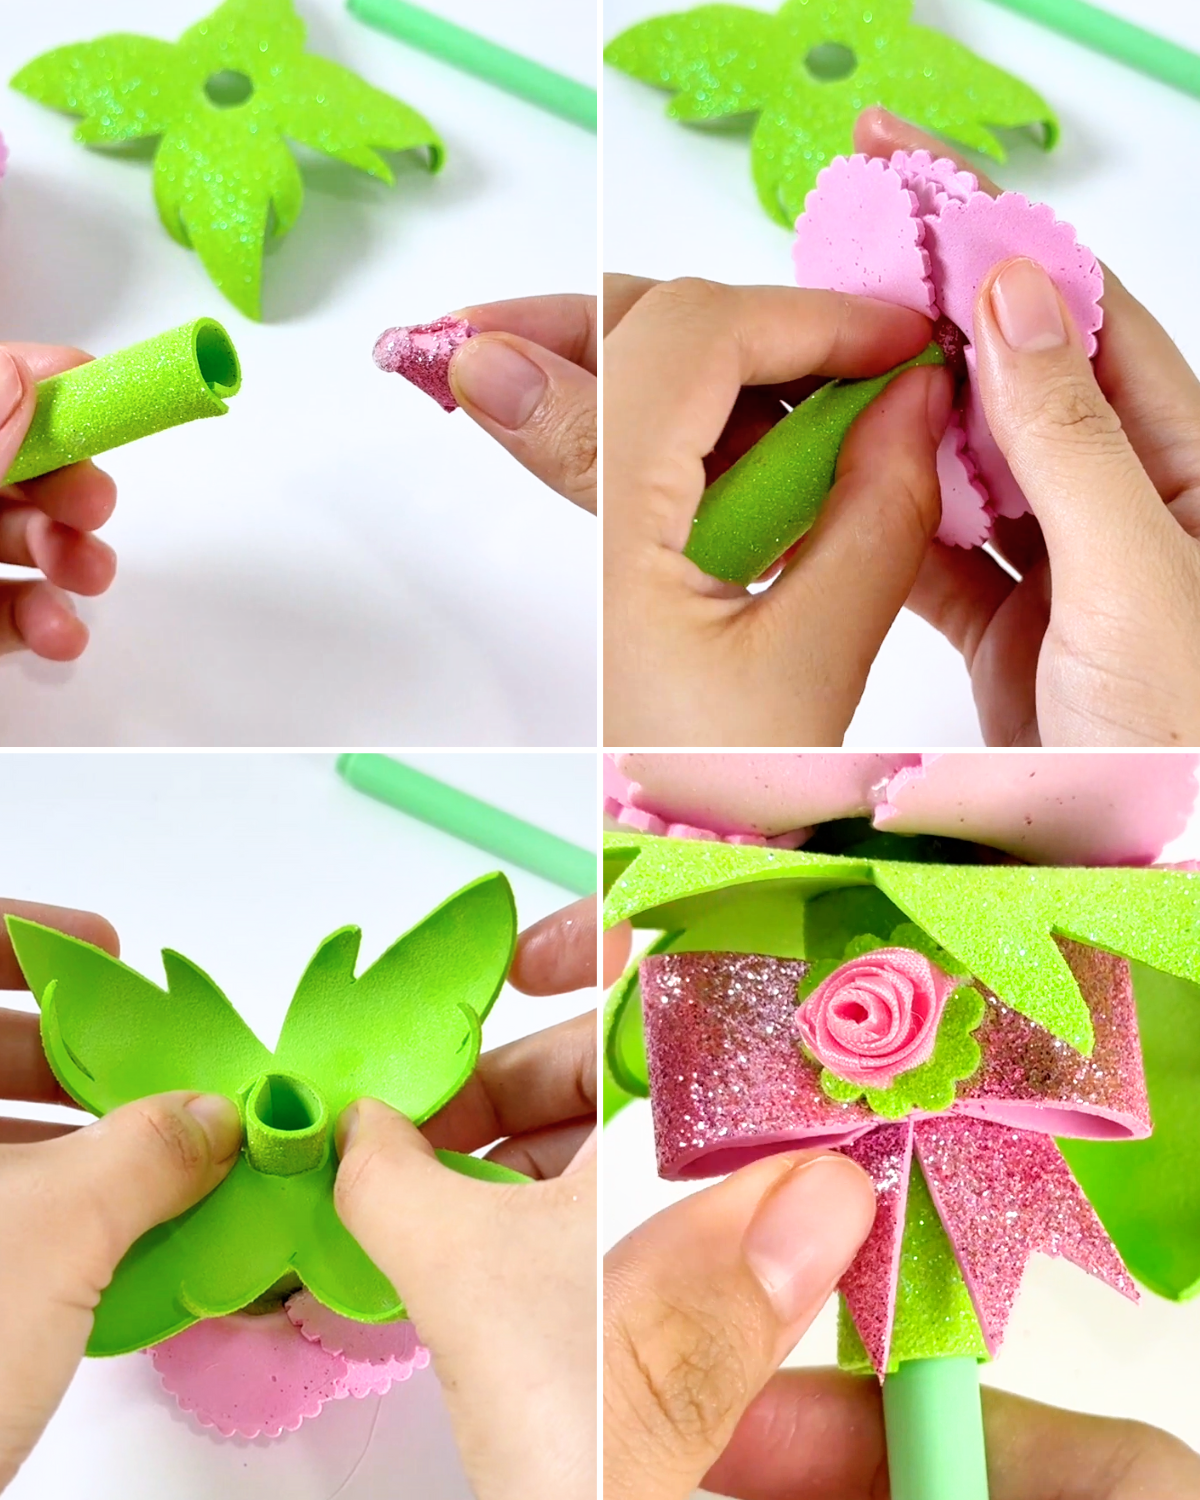
Create the flower center by folding a petal piece into quarters. Cut a leaf shape from a foam sheet, making sure it has a hole in the center, then gently shrink it using the bottom of an iron.
Make a ribbon and attach a rose or any embellishment to the center of the ribbon. Attach the flower bud to one end of the pen holder and insert it into the center of the flower.
Place the other end of the pen holder through the hole in the leaf, then glue the bow with its embellishment to the front top of the holder, just beneath the leaf.
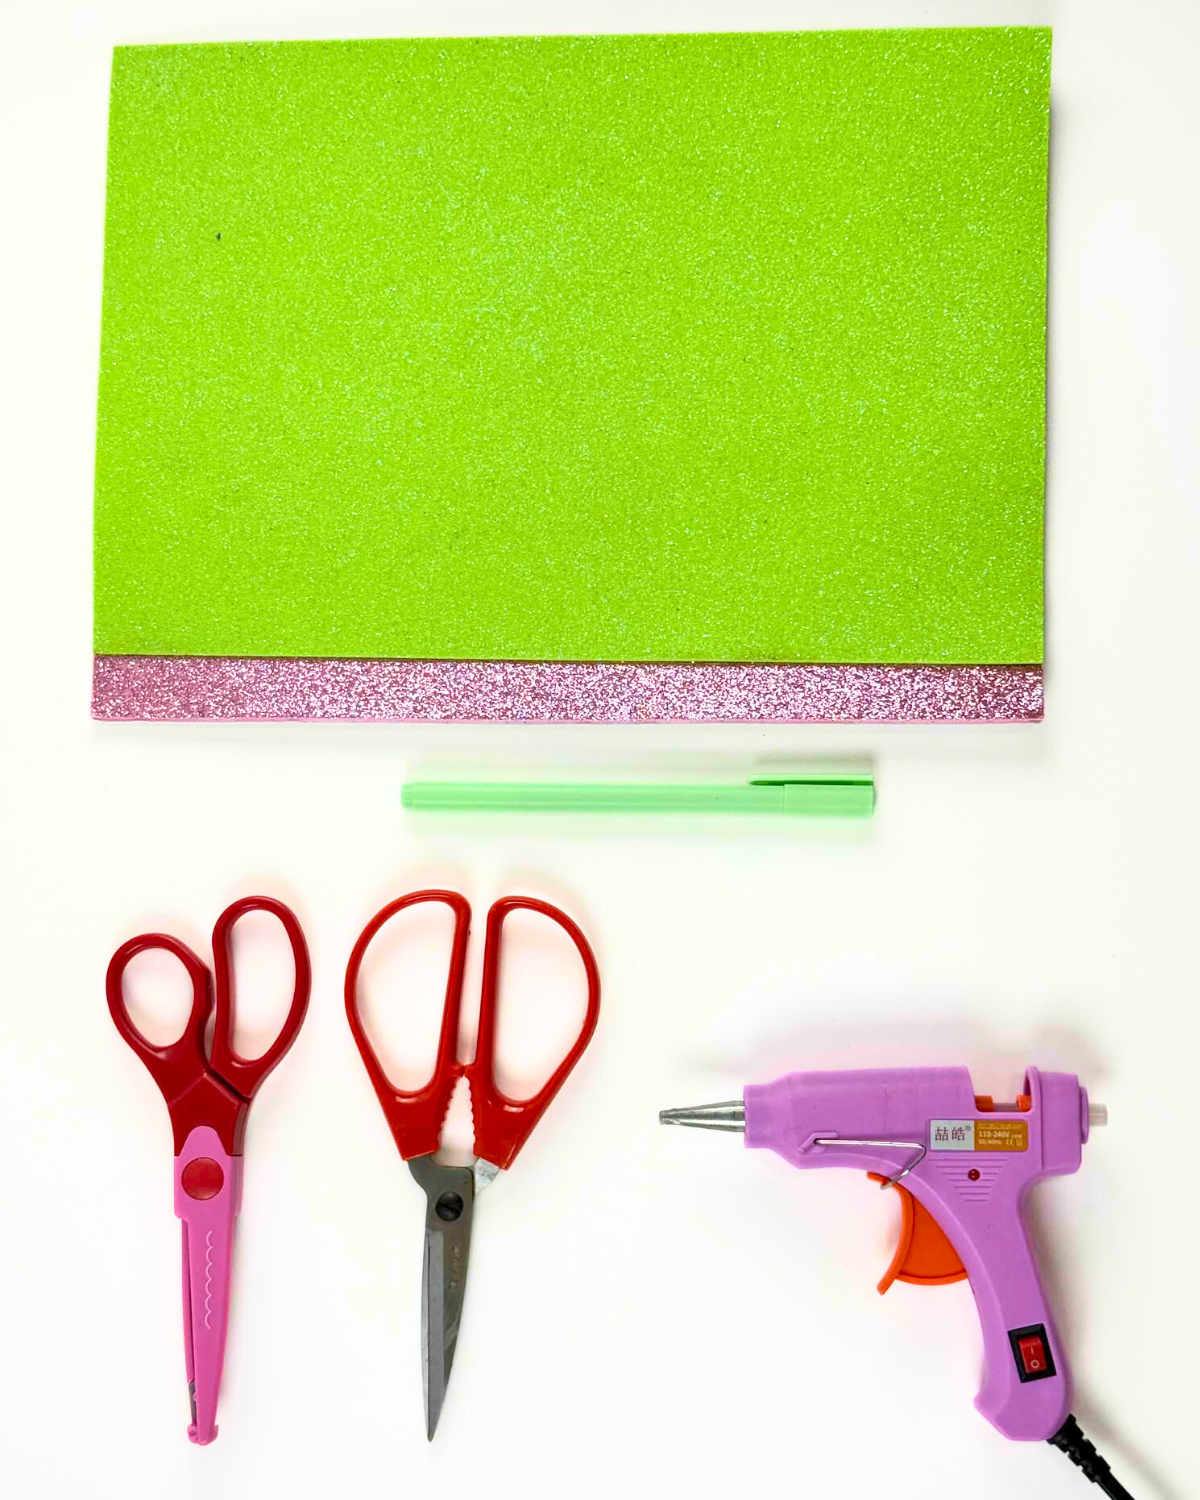
Materials
- Glitter Foam
- Pinking Shear
- Glue Gun
- Glue Stick
- Scissors
- Ballpen

![]()
💡 Did You Know?
If you’re using adhesive foam sheets, that sticky backing can be a bit tricky when cutting shapes. A quick fix? Lightly dust the sticky side with baby powder before you start. It stops the foam from sticking to your scissors or templates—making crafting way less messy and way more fun!
5-Minute Craft Ideas
Rugs & Pillows
Crafts
Home Decor
Upcycled & Repurposed
*If you love this craft, then visit our official website, follow our Facebook page, and subscribe to our YouTube channel for more!
DIY Glitter Foam Flower Pen