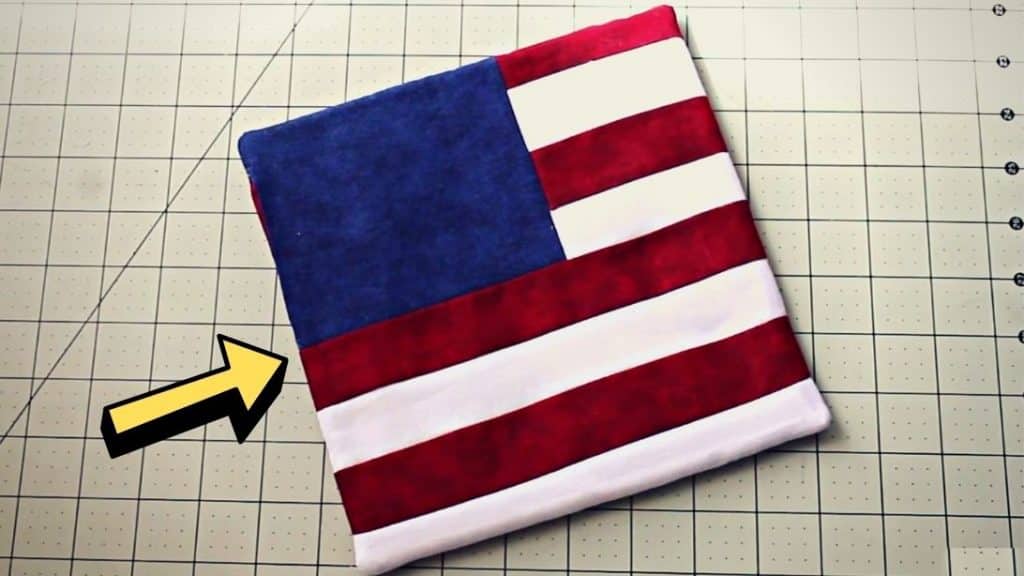
Here’s a fun patriotic project idea that you can try making this weekend! This sewing tutorial by Debs Days on YouTube is a quick and easy beginner-friendly project that you can make using basic sewing materials and scrap fabrics. Read down below for the full instructions, enjoy sewing!
Materials:
- 1 ½” x 3 ½” red fabric, cut 2
- 1 ½” x 8 ½” red fabric, cut 2
- 1 ½” x 3 ½” white fabric, cut 2
- 1 ½” x 8 ½” white fabric, cut 2
- 4 ½” x 5 ¼” blue fabric
- 8 ½” x 8 ½” backing fabric
- 8 ½” x 8 ½” cotton batting, cut 2 or Insul-Bright for high-heat uses
- Pins or clips
- Iron
- Sewing machine
- Matching thread
- Rotary cutter
- Cutting ruler
- Cutting mat
Directions:
Step 1
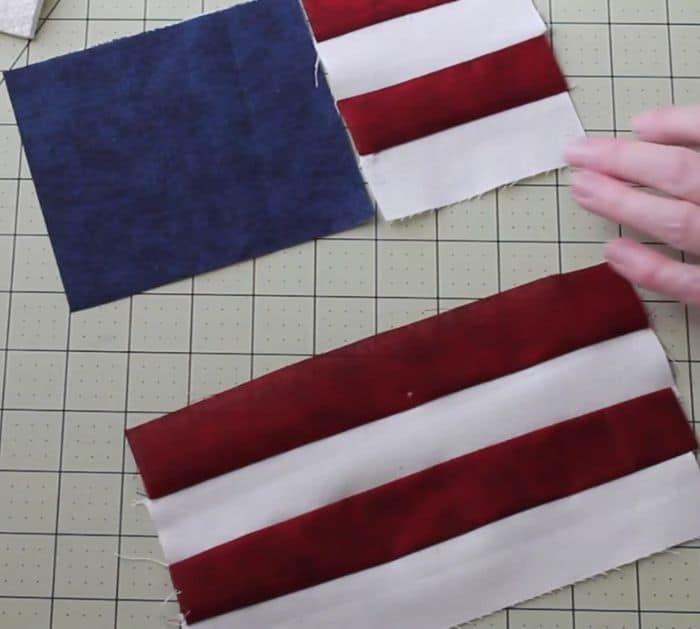
Cut the fabrics according to what was needed in the materials stated above. First, work on the shorter red and white stripes. Lay one each short white and red fabric piece together, then sew them on one long side, repeat this on the other two short red and white fabric, and sew the two pairs together. Give the piece a good press, then set it aside. Repeat this process with the longer red and white fabric pieces. Get the blue fabric and the shorter striped flag piece, then sew them together, and press.

[social_warfare]
Step 2
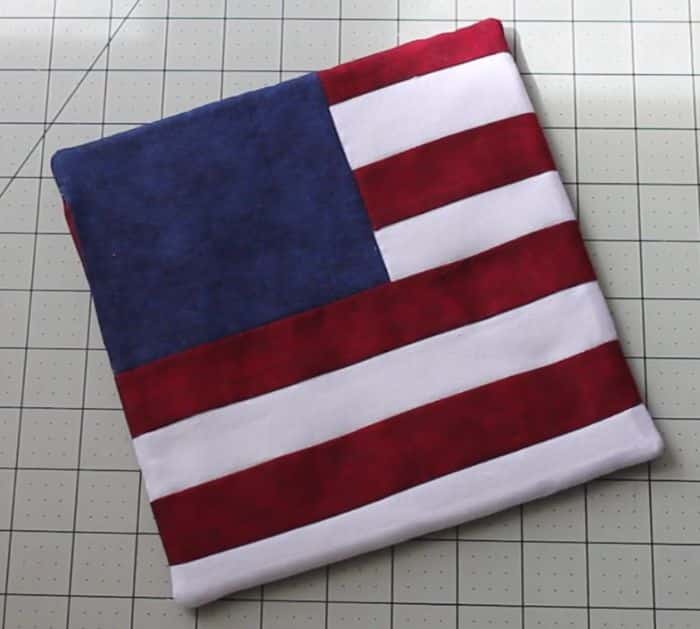
Now, sew the 2 pieces of flag fabric together, and give them a nice press. Place the backing fabric on top of the flag piece with their right sides facing, then place 2 pieces of batting cotton on top, and stitch them together around with a ½-inch seam allowance leaving a gap for turning later. Trim off the excess fabric around the whole piece making sure to cut the seams of the gap really close to the edge so you don’t have to stitch them close later, then notch the corners, and turn it right side out poking the corners nicely. Topstitch all around the whole piece, then press it nicely, and you’re done!

*All these images are credited to Debs Days via YouTube. Give her channel a visit and subscribe for more!


