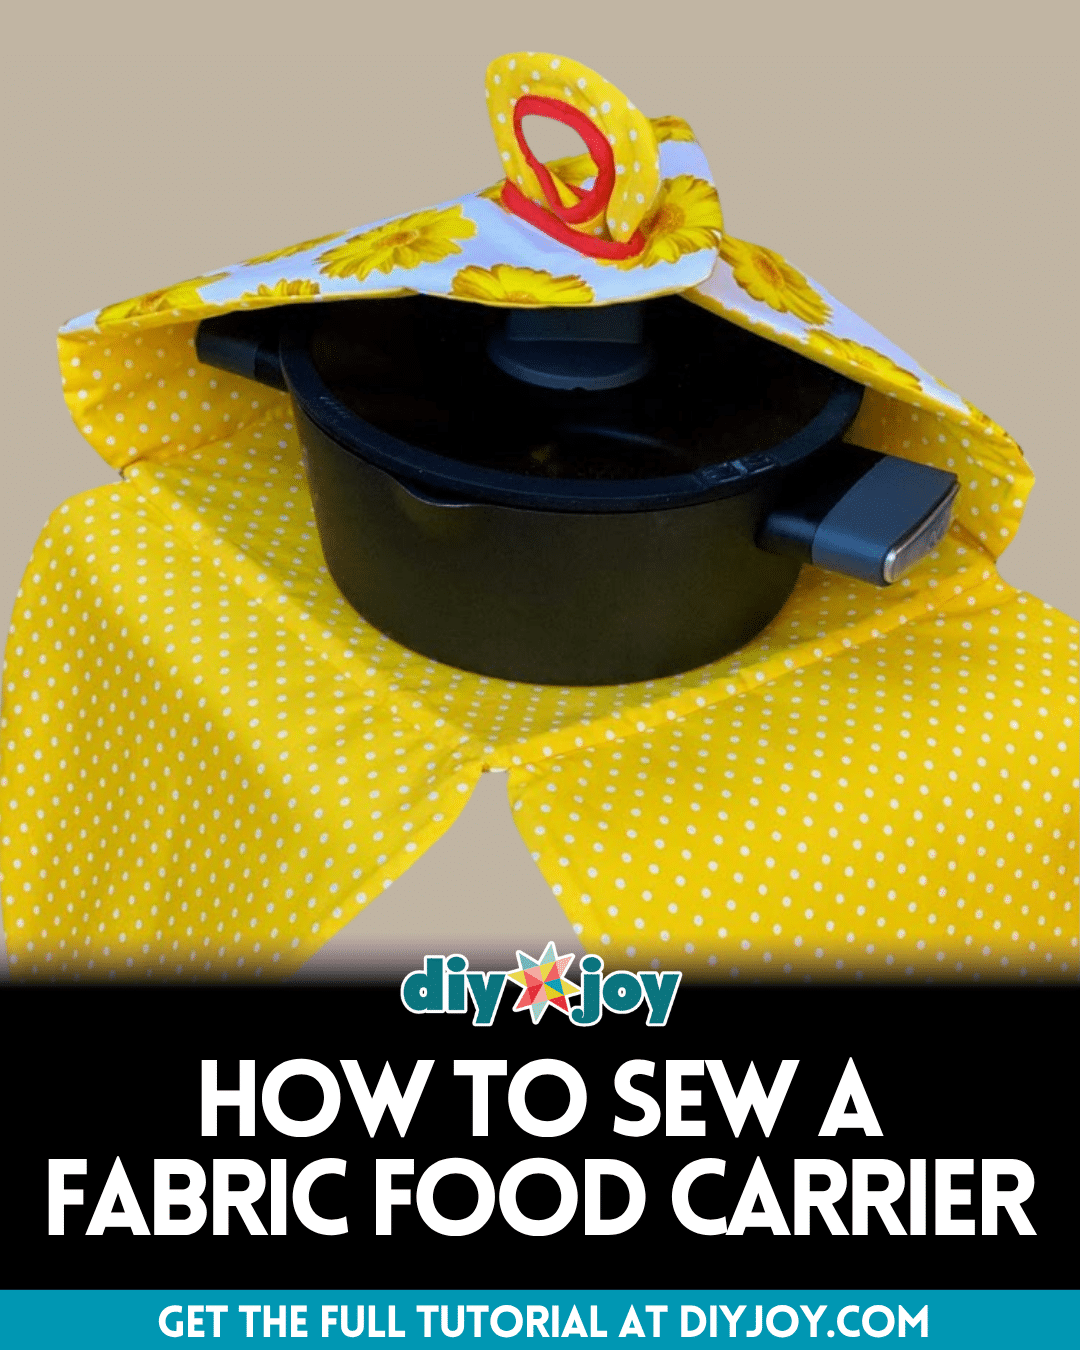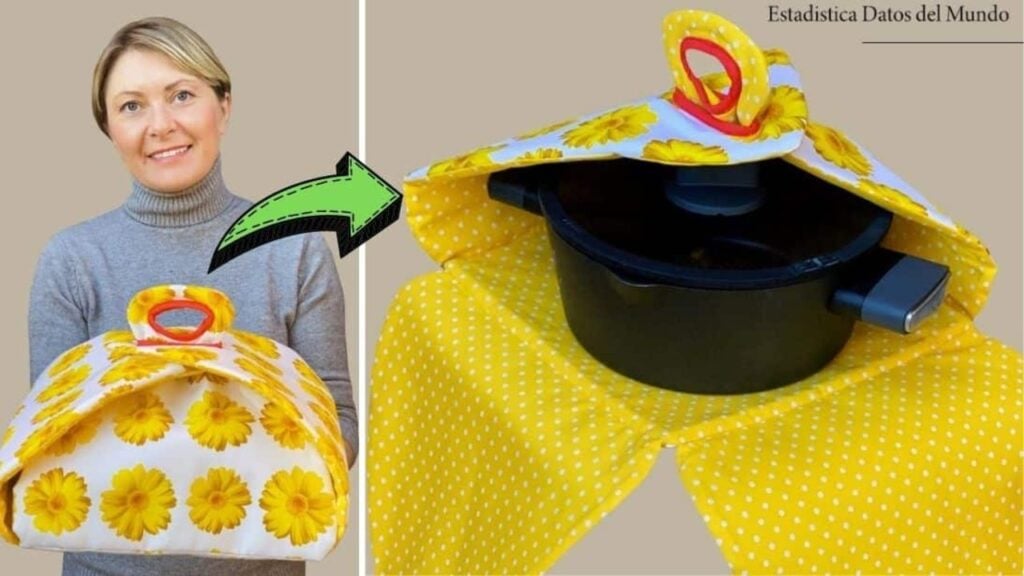
Instead of buying a food carrier from the store, try sewing one on your own, it’s both fun and easy! Simply watch this very simple and detailed video tutorial of
Material:
Cotton fabric
- 2 pieces of cotton fabric for the exterior, for the 1st pattern
- 2 pieces of cotton fabric for interior, for the 2nd pattern
- 1 piece of cotton fabric for the exterior, for the square pattern
- 1 piece of cotton fabric for interior, for the square pattern
Batting sheet
- 2 pieces of batting sheet, for the 1st pattern
- 2 pieces of batting sheet, for the 2nd pattern
- 1 piece of batting sheet, for the square pattern
Fusible interfacing fabric
- 2 pieces of interfacing, for the 1st pattern
- 2 pieces of interfacing, for the 2nd pattern
- 1 piece of interfacing, for the square pattern
Other things you’ll need
- Bias tape
- Pins
- Matching thread
- Needle
- Sewing machine
- Iron
- Scissors
- Pattern, click on the link to download the pattern
Directions:
Step 1
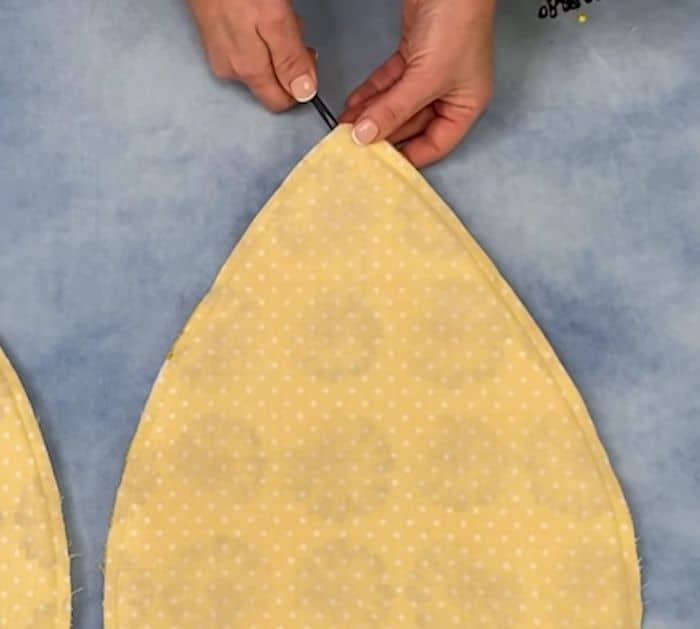
First, download and print out the pattern, then cut around each one as well as every hole on each pattern, then cut the cotton fabrics, interfacing, and batting accordingly, make sure the batting and interfacing are 1cm (0.4 inches) smaller than the cotton fabrics. Attach the interfacing on the exterior fabrics and press them with an iron, trace and outline the gaps/ holes onto the fabrics, then place these fabric pieces fused with the interfacing on top of the batting sheet. Then on top of the exterior, place the interior fabric with their right sides facing each other, pin them all around in place, then sew around with a 0.7cm (0.3 inches) seam allowance, leaving the bottom unsewn. Make notches on the curved parts, then flip it over to their right side, sew the traced gap outline, then repeat the process with the other pattern except the square.
[social_warfare]
Step 2
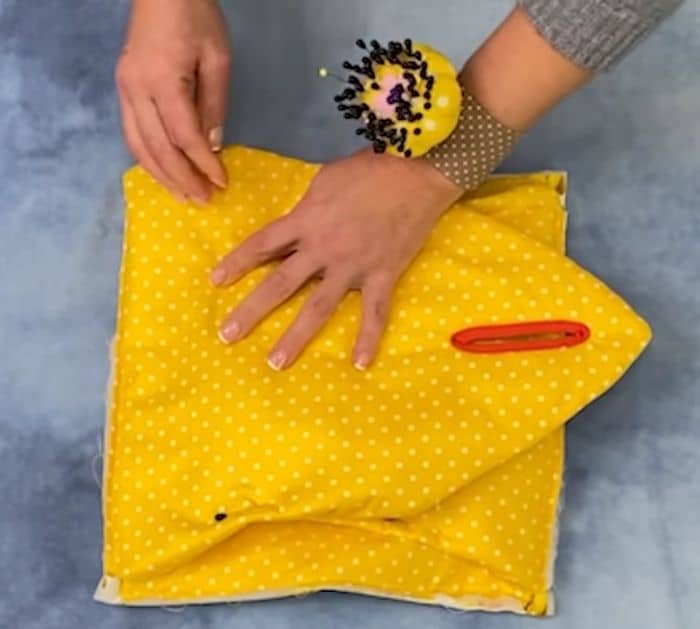
Make a cut in the middle leaving the fabric with 0.3 – 0.5cm (0.1 – 0.2 inches) on the seam, sew a bias tape around the inside of each hole. Place the square exterior fabric fused with interfacing on top of the batting, then place the 4 pieces of sewn fabrics around the square, make sure the same patterns and shape are facing opposite each other, then sew them one by one with a 1cm (0.4 inches) space on each side then sew with a 0.5 – 0.7cm (0.2 – 0.3 inches) seam allowance. Fold the 4 pieces of fabric inward properly, then pin them in place, place a square interior fabric with its right side down so that the exterior’s right sides are facing each other. Pin them all around in place, leave a gap of about 17cm (6.7 inches) and sew with 1cm (0.4 inches), cut the corners, remove the pins and flip them right side out, sew the gap close, then press before using.
*All image credit belongs to Estadistica Datos del Mundo via YouTube. Follow and subscribe to her channel for more!
Easy Fabric Food Carrier Sewing Tutorial