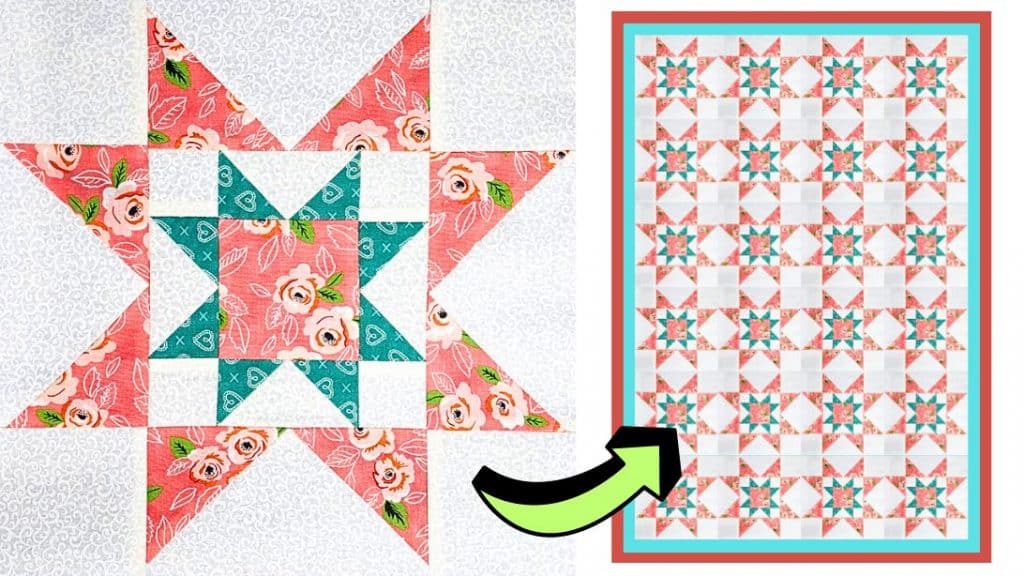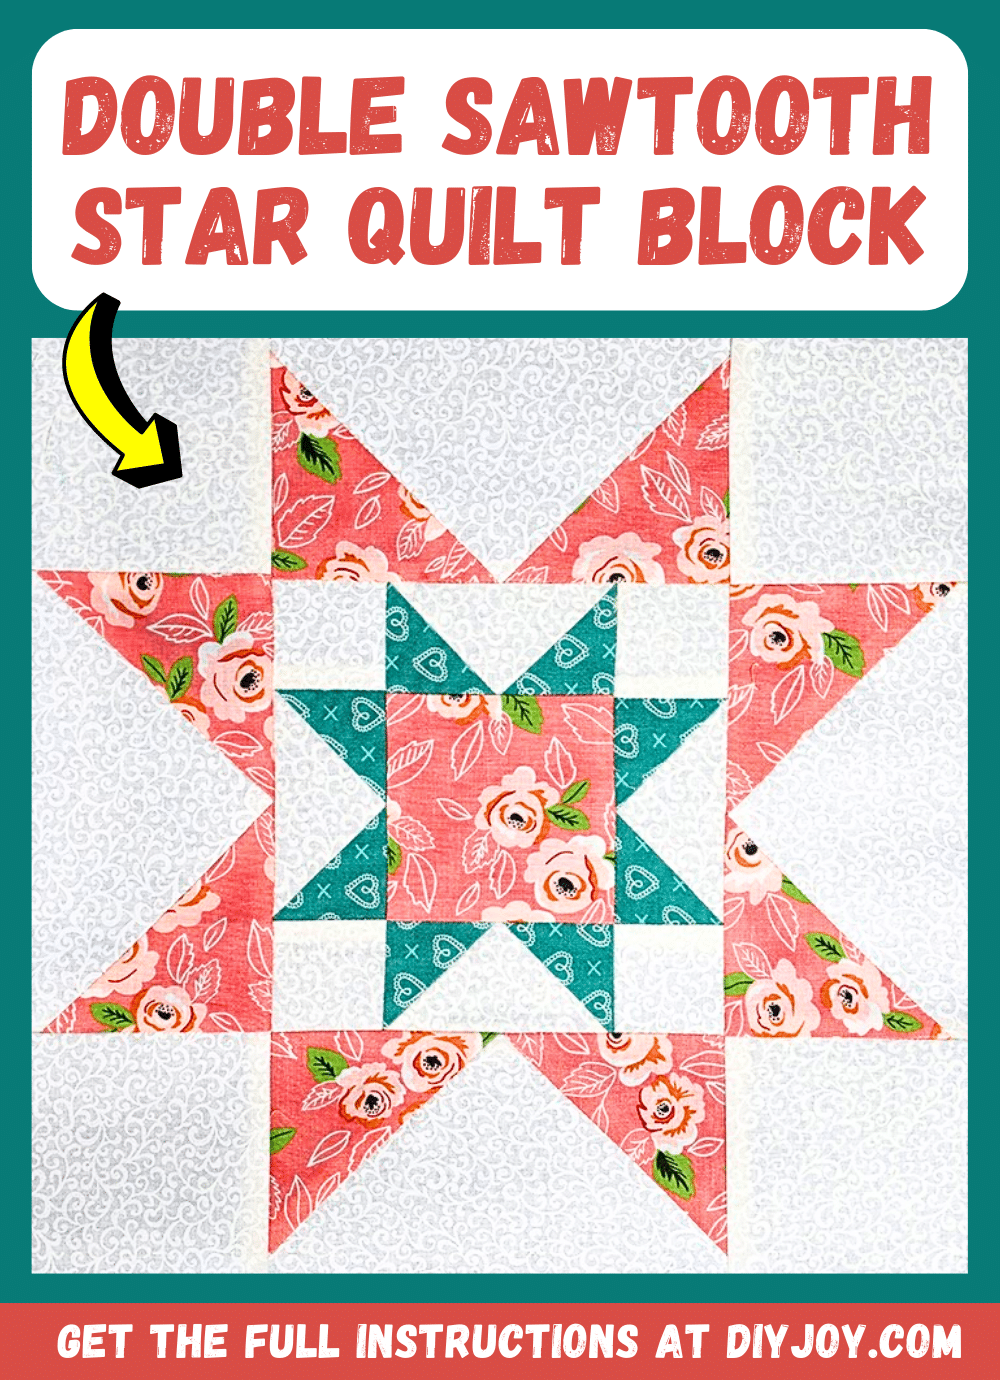
This incredible quilt block idea is super simple and easy to make, surely every quilter will enjoy this fun project by Dclutter Quilting on YouTube. Learn how to make this now and use this pattern for your future sewing projects such as blankets, table runners, pot holders, and more. I hope you find this video tutorial helpful and that you enjoy this project as much as I did!
Materials:
- Orange fabric, or any color you want
- Green fabric, or any color you want
- Background fabric
- Marking pen, pencil, or chalk
- Ruler
- Scissors or rotary cutter and a cutting mat
- Needle and thread
- Sewing machine
- Pattern (Click here to download the pattern)
Directions:
Step 1
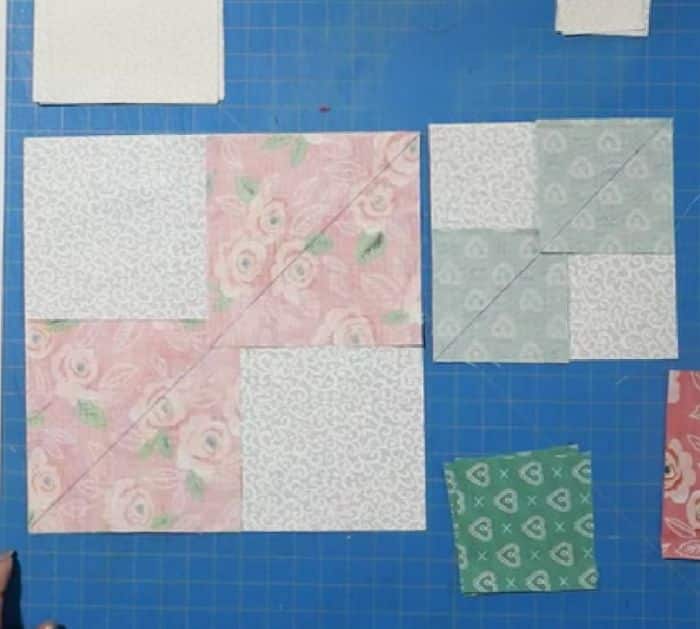
Pick the fabrics that you want to use, then cut them to size, and group them into units as instructed in the video. Line the wrong side of the orange and green squares for the flying geese, then draw it diagonally from corner to corner. Place the lined orange squares on opposite corners of the large background fabric, then do the same for the lined green square and smaller background square, and then sew them together on each side of the line with ¼ inch seam allowance.

[social_warfare]
Step 2
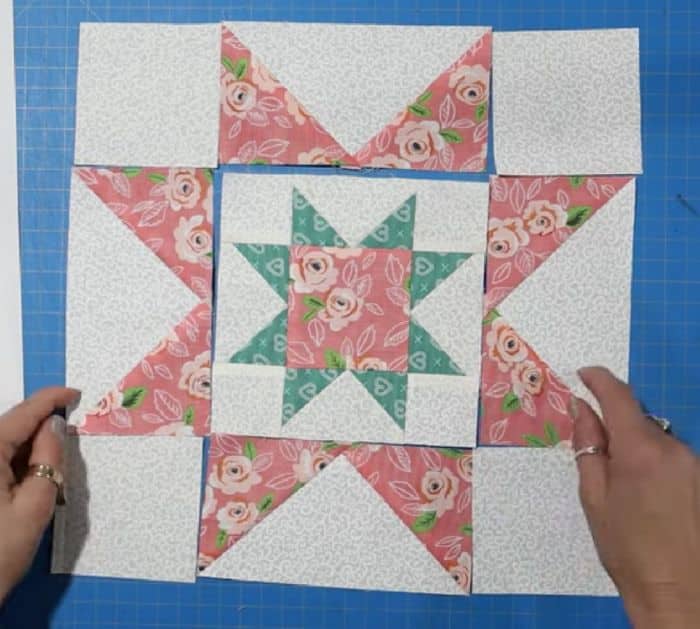
Cut them apart along the drawn line, then press them open, and trim off the excess. Place the other lined squares on the bottom point of the flying geese units, then sew on each side with ¼ inch seam allowance, cut them apart along the line, and press them open. Lay out the pieces to form the block making sure to refer to the diagram, then start stitching the inner block first, and make sure to press them as you go. Once done, stitch them together per row, press nicely, then stitch the rows to each other, and give them a good press.

*Thanks to Dclutter Quilting via YouTube for all images used here. If you loved this quilt block, then you’ll surely love her other videos too, so give her channel a visit and subscribe!


