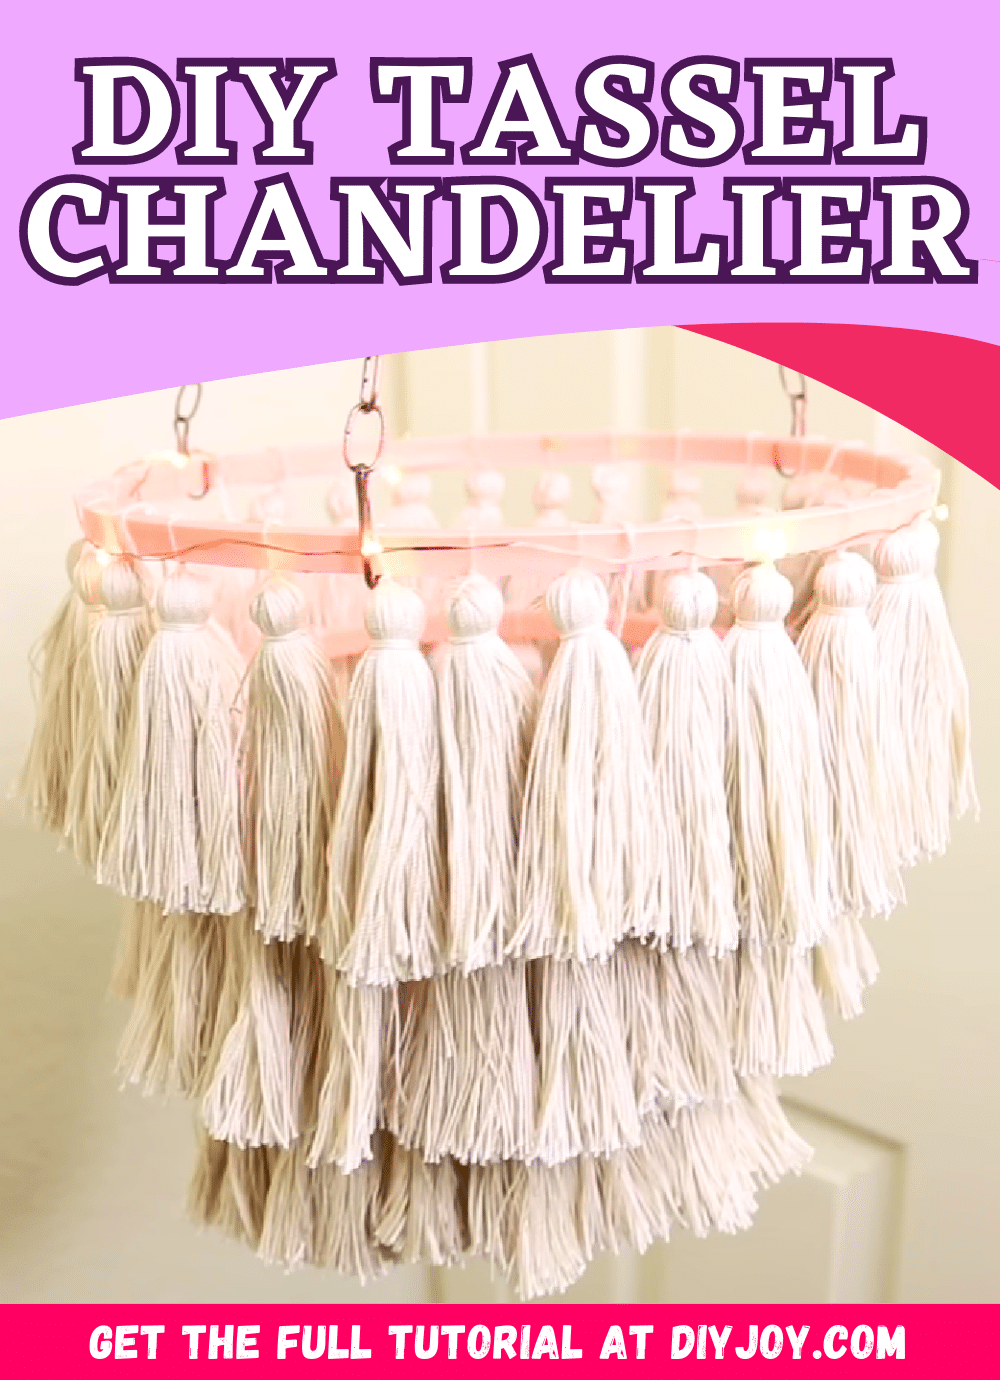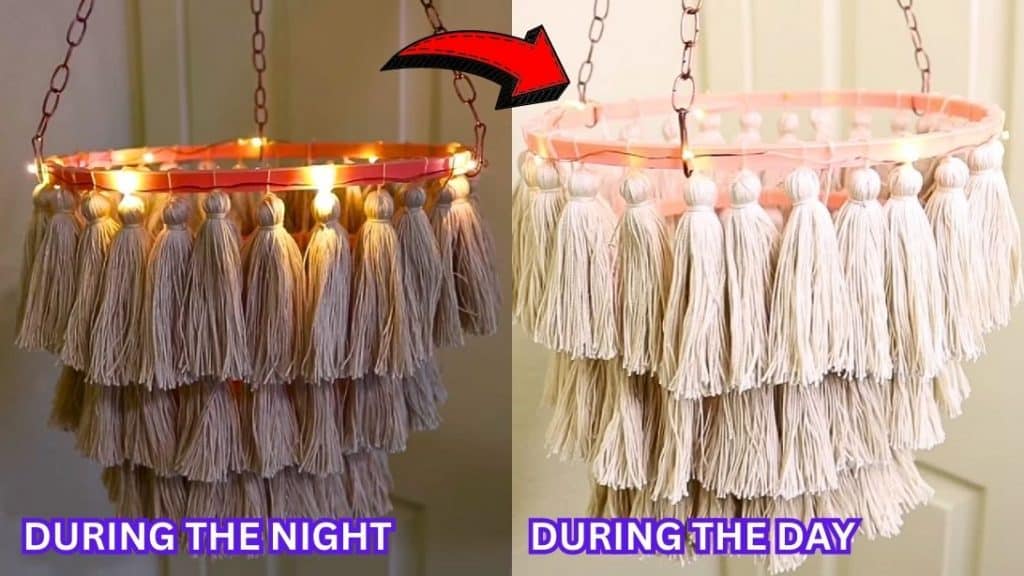
If you want a chandelier but find store-bought ones too expensive, then why don’t you try this alternative instead? It’s more inexpensive, very easy to make, and uses only materials that you can easily find from the nearest Dollar store! Learn how now with this video tutorial by Jay Munee DIY on YouTube and give it a try, too.
Materials:
- Yarn
- Cotton twine
- Plastic embroidery hoops, in 3 different sizes
- Chain and hook
- Scissors
- Mason jar lid
- Fairy lights
Directions:
Step 1
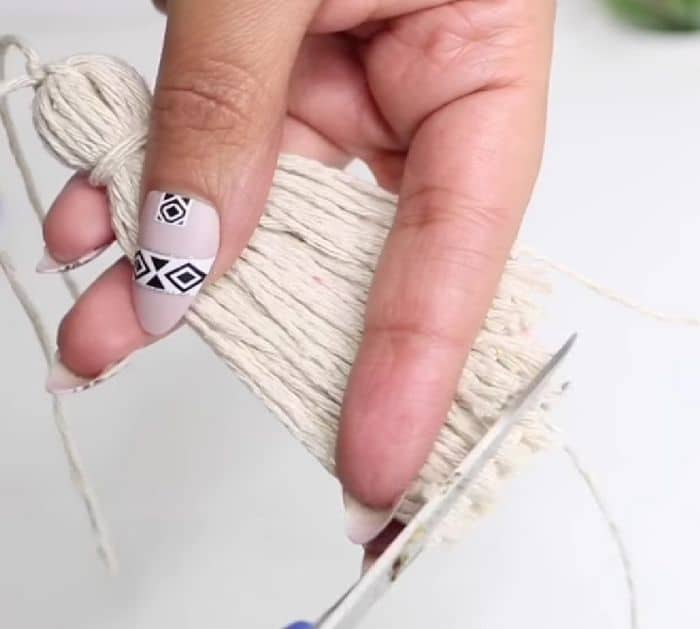
Place a piece of twine horizontally on the edge of the lid and hold it with your finger in place, then start wrapping the yarn around the lid as shown in the video looping it several times into the thickness that you want, and cut off the excess. Using the small piece of twine that you’re holding at the edge of the lid, tie the loop together and knot several times to secure, then remove the loop from the lid, and cut the loops at the bottom through as shown in the video. Comb the tassel nicely with your hand, then cut another piece of twine, and wrap it around the top of the tassel about 1 inch from the very top knotting it well for a few times until secured.
[social_warfare]
Step 2
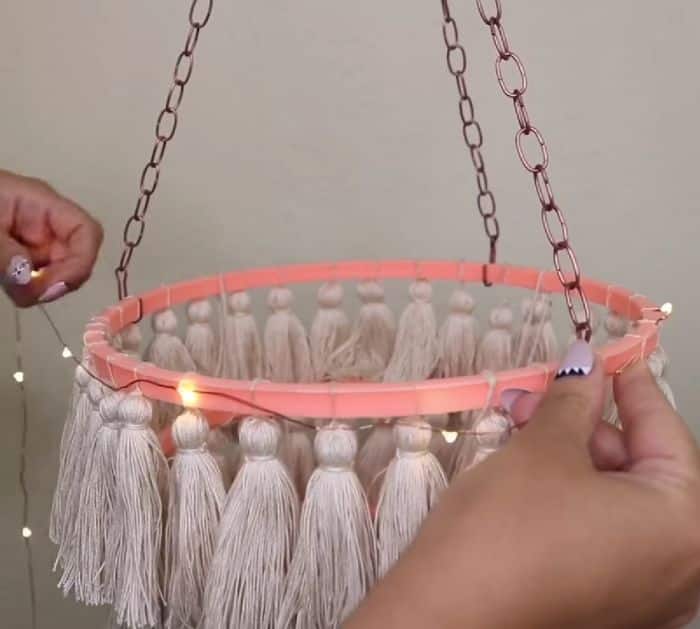
Trim the ends straight, then proceed to create more tassels, and prepare the hoops. Once done, start tying the tassels around the hoops using the twine until the hoop is covered all the way around, then add hot glue on top for a stronger hold, and repeat with the rest of the hoops. Cut a couple of 6-inch twines, then tie the hoops together with the cut twine as shown in the video, and attach the chain and hook to the sides of the hoop. Wrap the fairy lights around the chandelier however you want, then light it up, and hang it.
*All these images are credited to Jay Munee DIY via YouTube. Give her channel a visit and subscribe for more!
