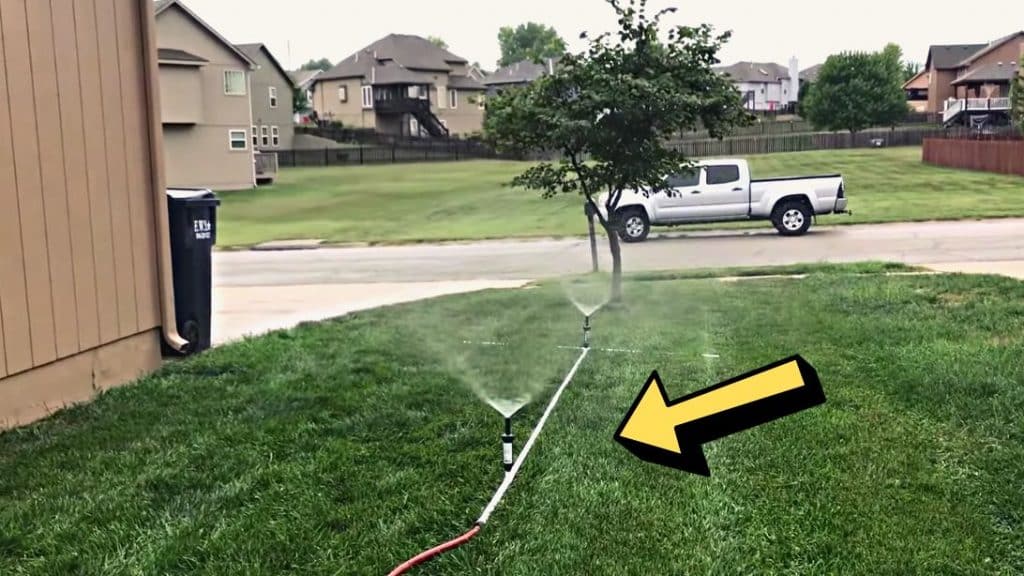
You can now install a DIY sprinkler sled on your yard easily with the help of this video tutorial by DIY Reid on YouTube. This DIY project is so easy to follow even for beginners and the tips included in the video were so helpful and easy to understand as well. Try this project now and see for yourself!
Materials:
- Rain bird 360 sprinkler heads
- PVC glue and primer kit
- ¾ PVC female adaptor for hose
- ½” male to male PVC riser
- ¾ tee pipe fitting with ½ NPT threads
- ¾ tee pipe fitting
- ¾ caps
- 10 feet ¾ PVC pipe
Directions:
Step 1
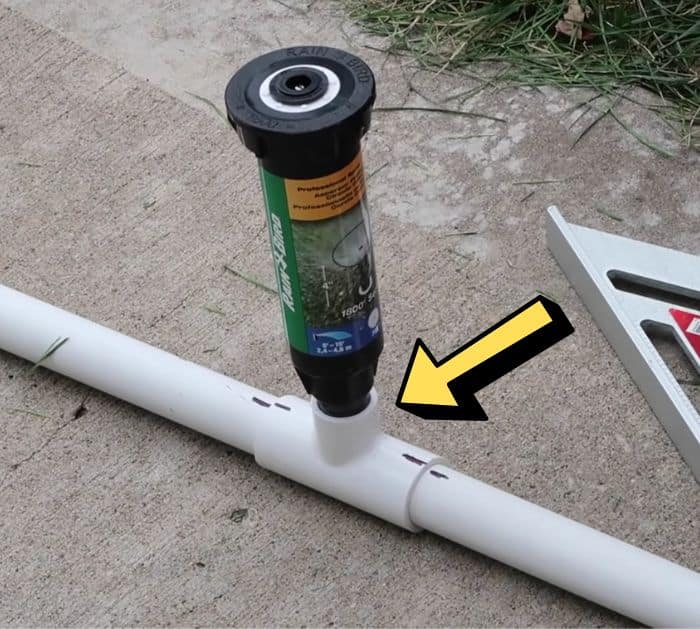
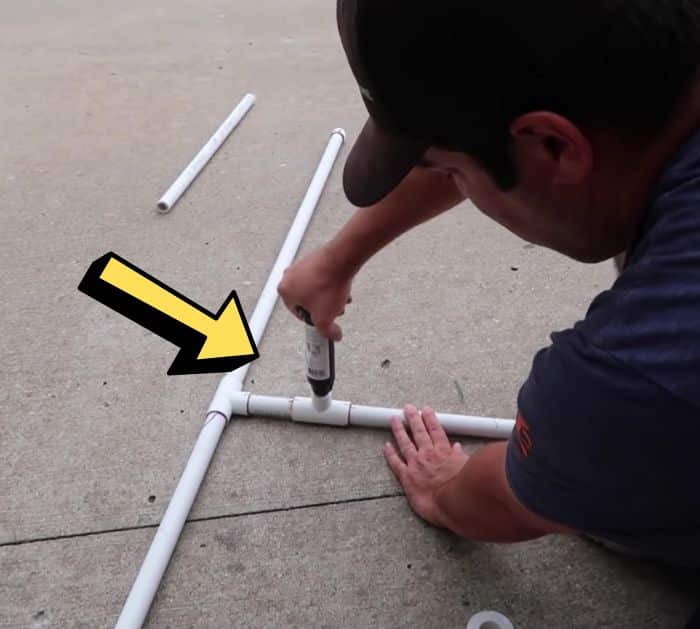
Prepare 2 pieces of PVC pipes at 10 feet each, then measure about 2 feet long from each pipe for the legs, and cut it out. Grab a sandpaper, then smoothen the inner and outer edges of the pipes that were cut, and start lining them up. Dry fit the pipes creating a “T” shape adding the 2 legs on each side of one end to create a stability, then add a cap on each end, and attach the inlet for the sprinkler head making sure it s standing straight. Mark each sides so that you cna put the pieces back together easier later.
[social_warfare]
Step 2
Take all of them apart as you need to glue them back in one piece at a time. Primer the outer side of the pipe that you will insert to the Tee pipe fitting before applying the glue, then put them back together, and let them dry completely. Wrap a thread sealer tape around the connector of the sprinkler before attaching it to the pipe connector. Make sure that they are completely dry before turning the water on, this could take about 30 minutes. Place them on the area where you want them to be, then connect the pipe to a hose, and turn on the water.
*Thanks to DIY Reid via YouTube for all images used here. If you loved this project, then you’ll surely love his other videos too, so give his channel a visit and subscribe!

