I still remember the first time I tried making a rose using satin ribbon. The technique involved using a ruler, which made the process surprisingly easy and manageable. To my surprise, it turned out beautifully—so realistic that it looked almost identical to a real rose, completely different from what I had expected as a beginner.
Over time, after experimenting with different types of flowers and a variety of materials, I discovered a rose-making method that quickly became my favorite. In fact, it’s now the only way I make handmade ribbon roses. While this technique requires a bit more patience and attention to detail than my earlier attempts, the results are absolutely worth it. The petals come out more defined, layered, and realistic, making each rose look truly special.
RELATED: Easy 2-Minute DIY Ribbon Rose
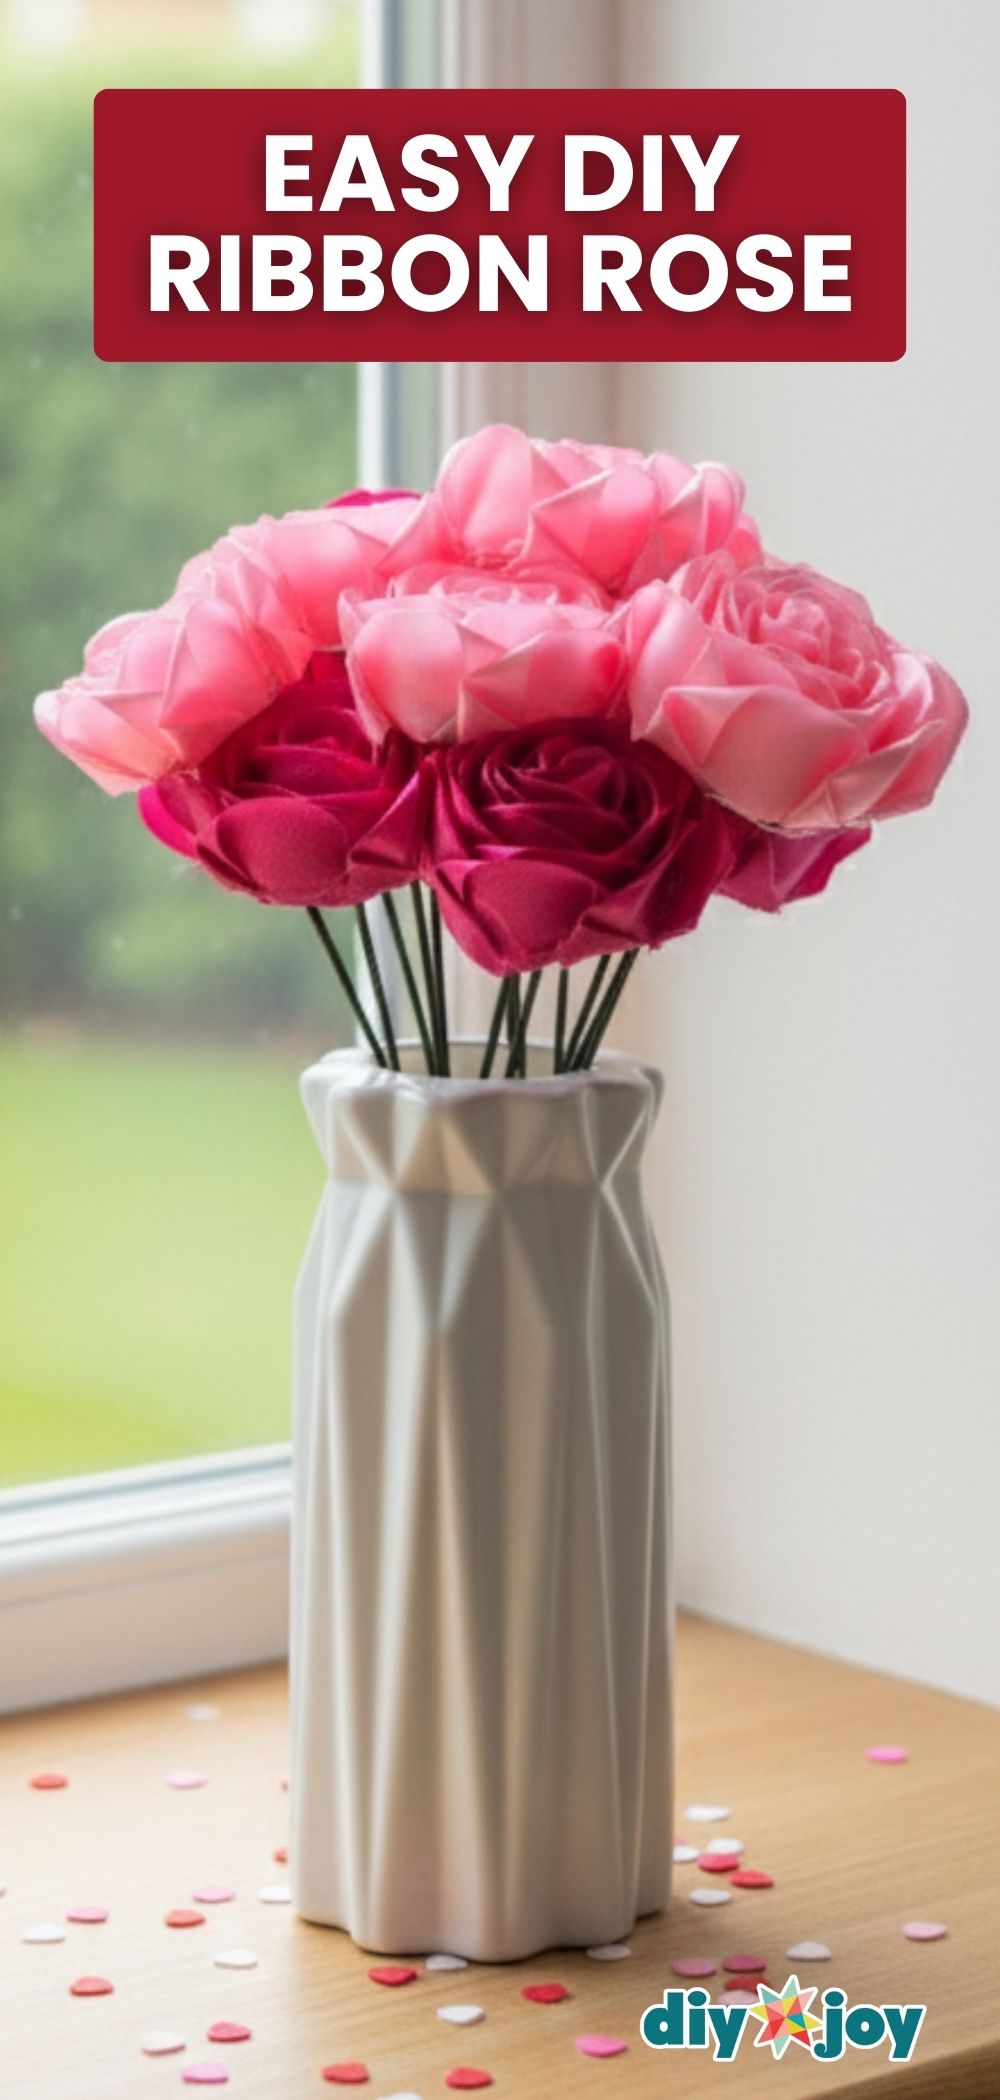
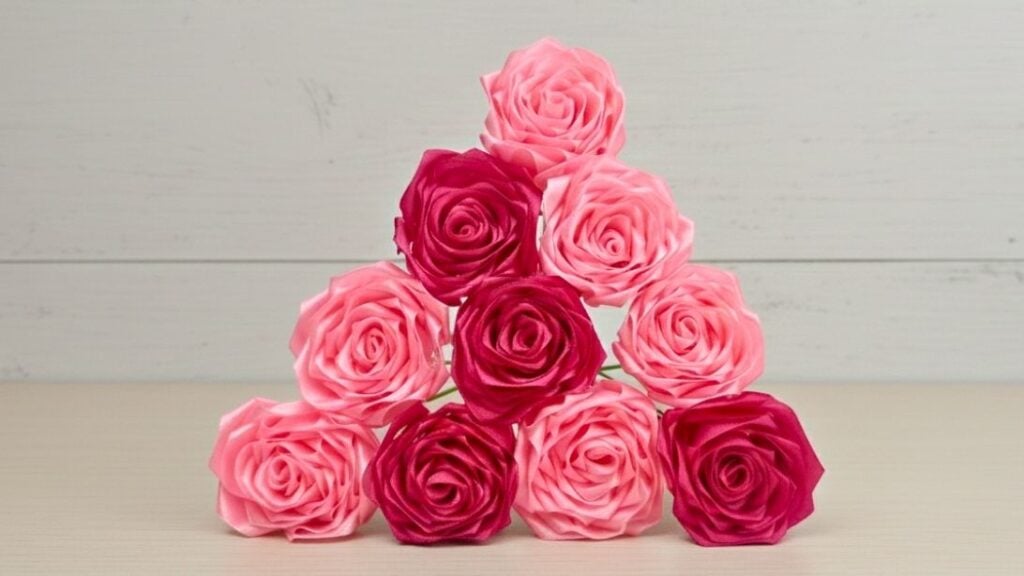
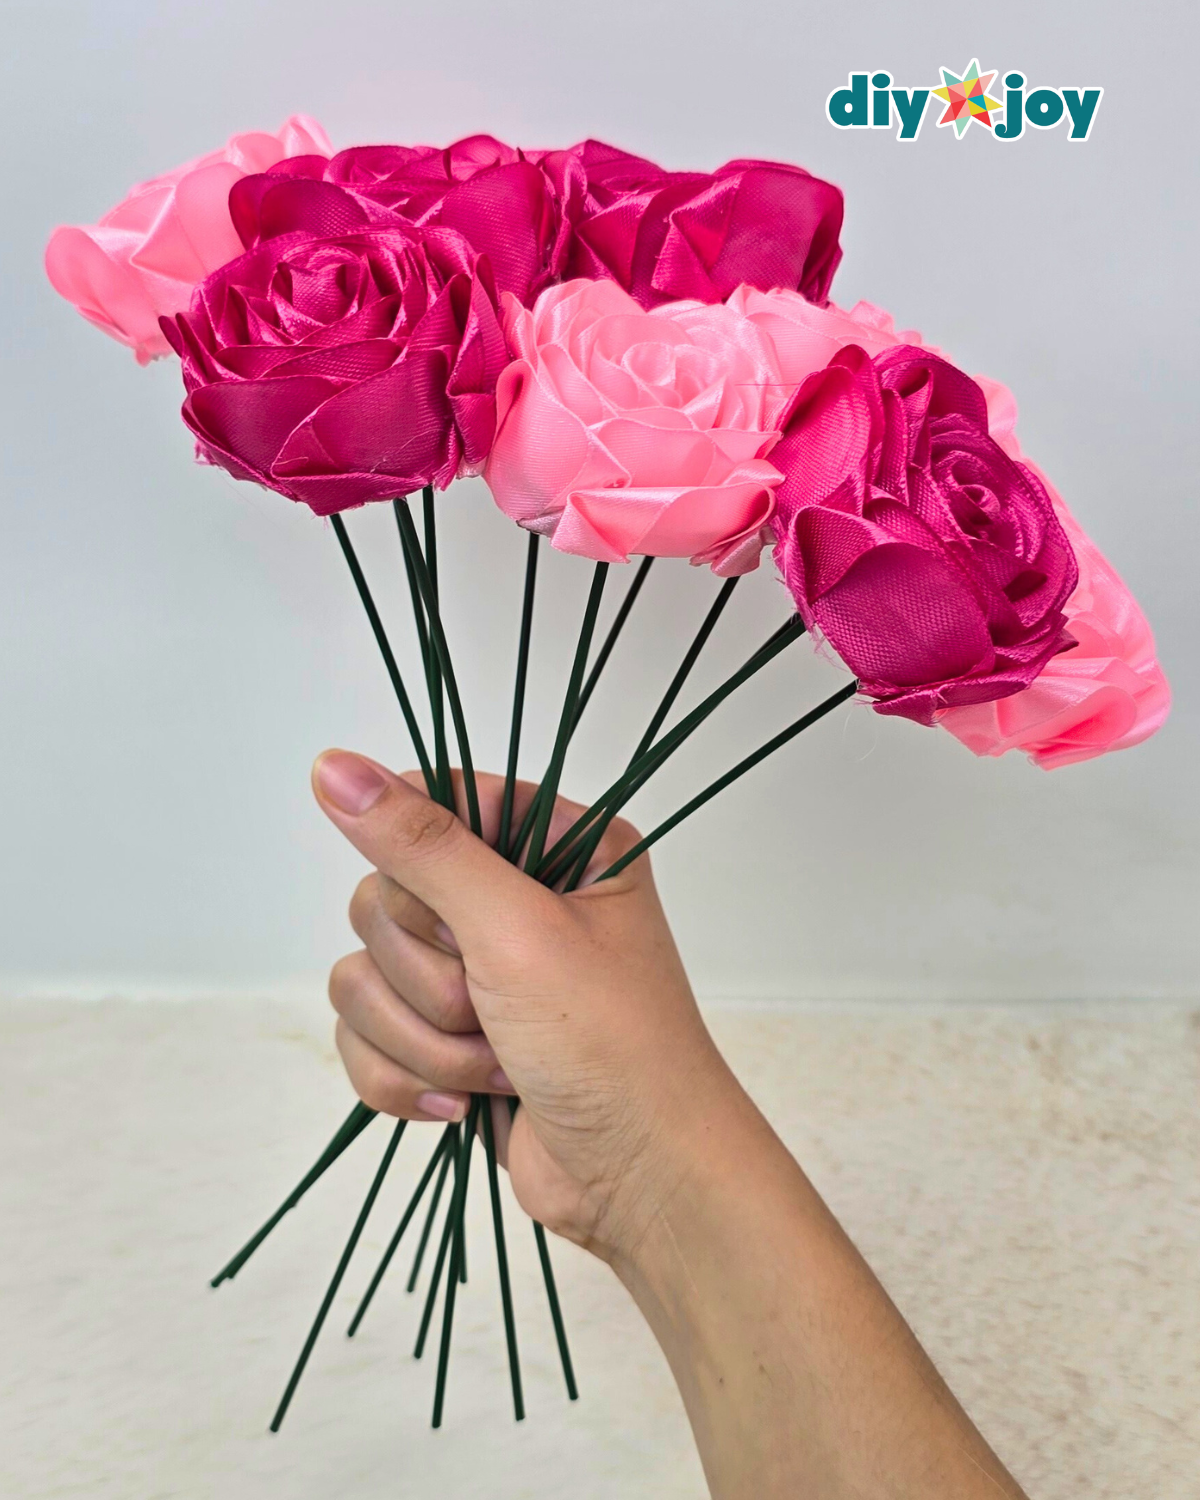
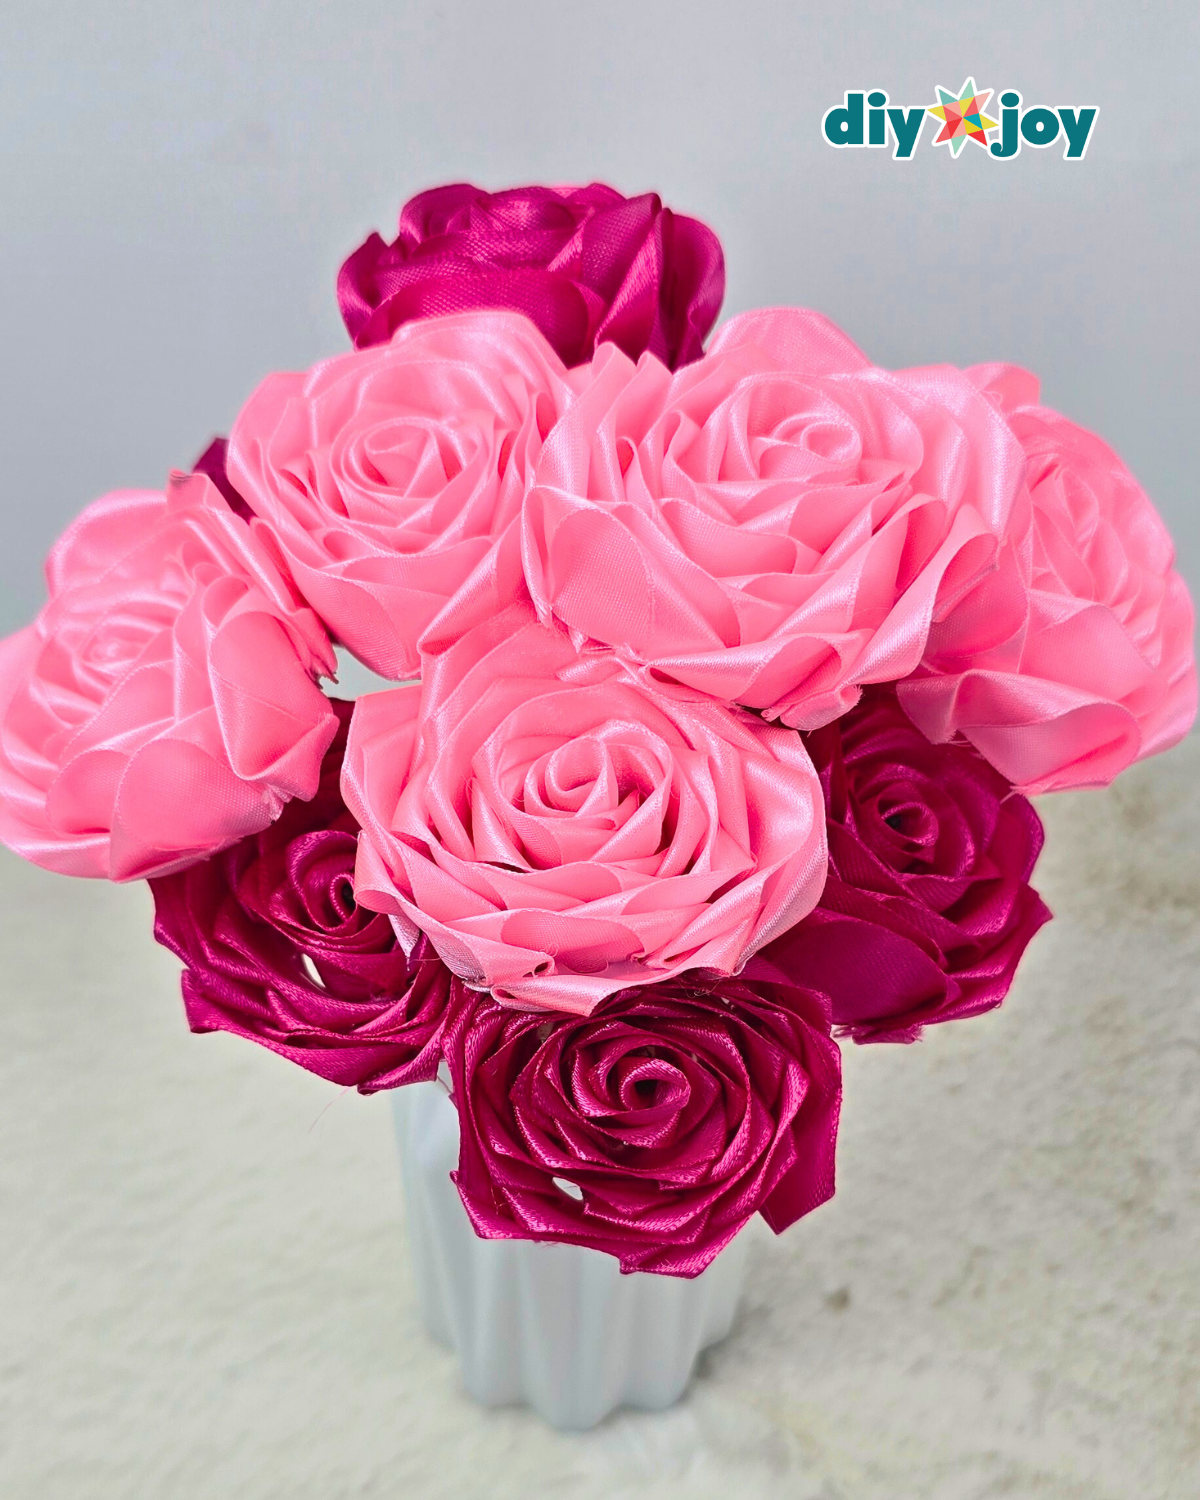
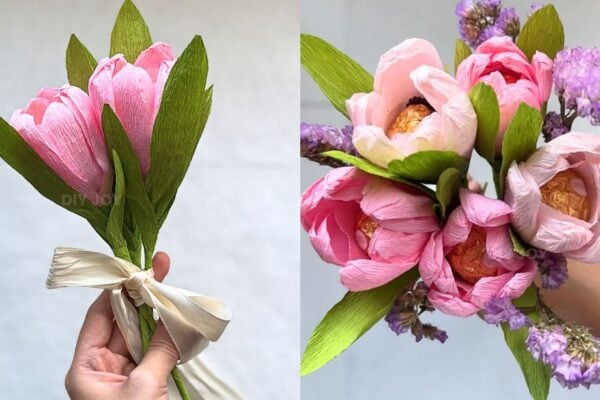
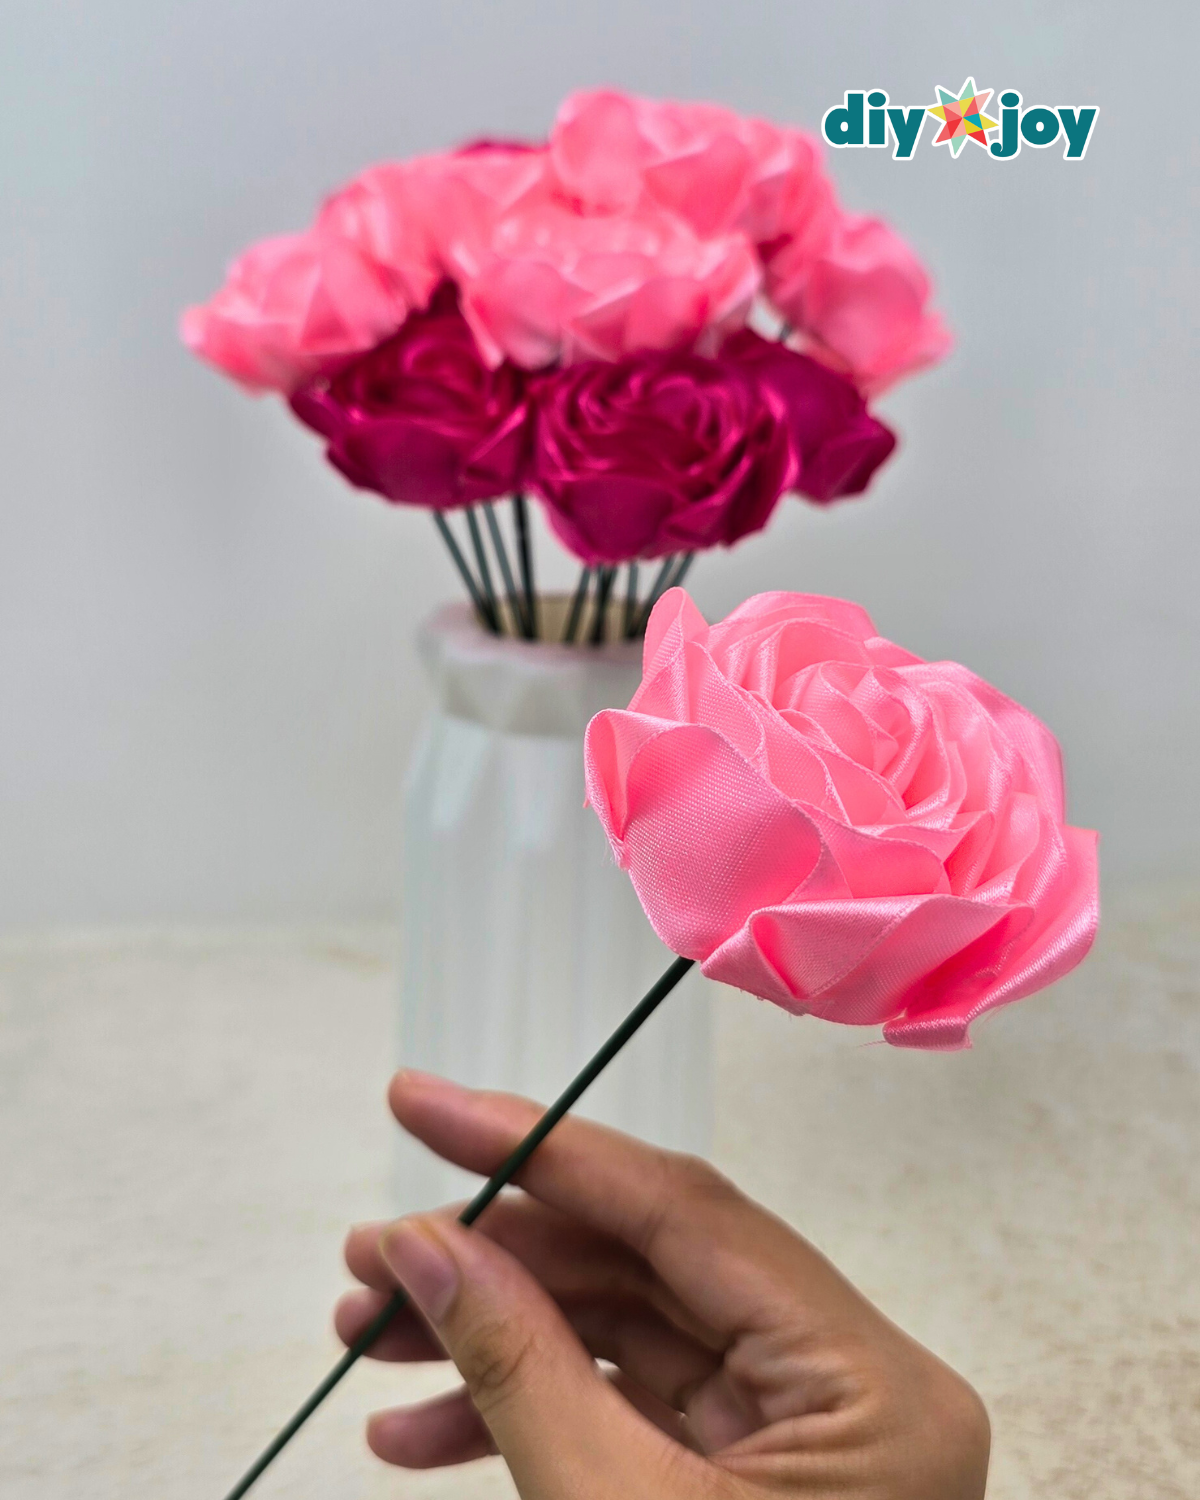
One of the things I love most about this method is how customizable it is. You can create roses in any size simply by adjusting the width of the ribbon. You can also experiment with colors—use a single shade for a classic look or combine two to three colors to add depth and dimension to the petals. These ribbon roses are perfect if you’re planning to build a bouquet, and they’re also a relaxing craft to do on your own or with friends and family as a fun bonding activity.
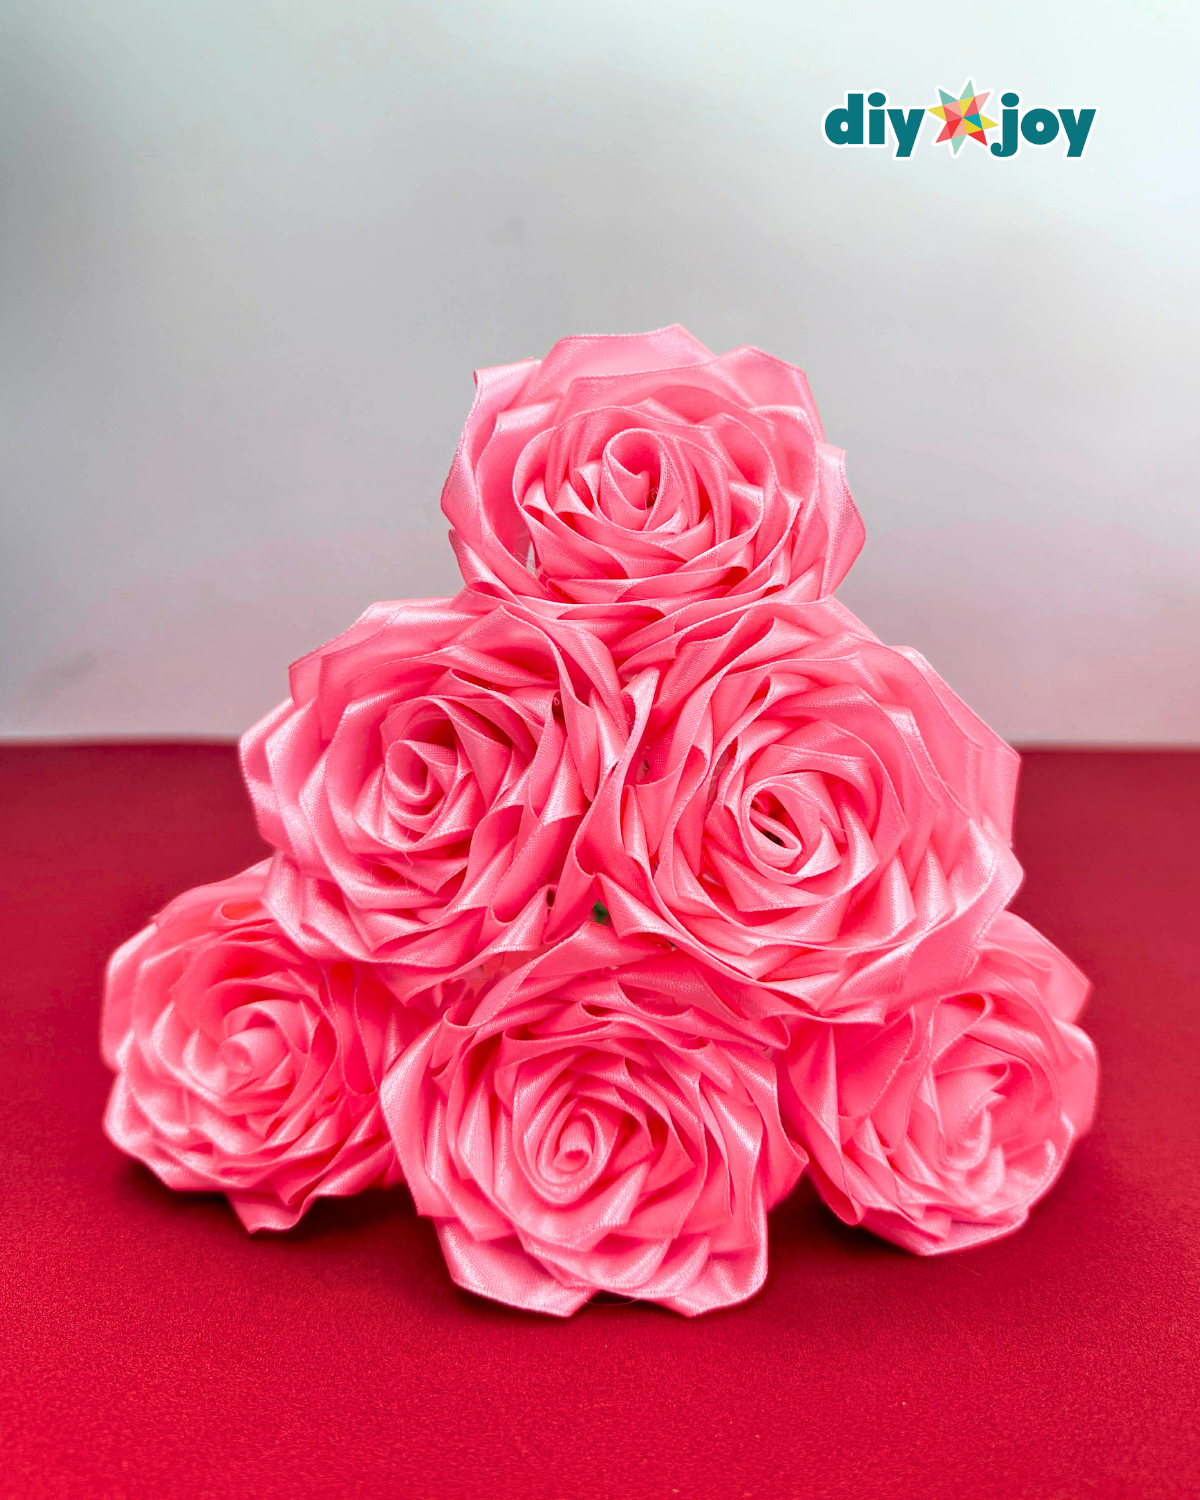
These DIY ribbon roses make wonderful handmade gifts, items to sell, or decorative accents for your home. They’re perfect for Valentine’s Day, Mother’s Day, birthdays, or even as a thoughtful “just because” gift.
Learn how to make these beautiful ribbon roses step by step by following the written instructions below, and be sure to watch the video tutorial for more detailed steps. Happy crafting! 🌹
How to Make a Ribbon Rose
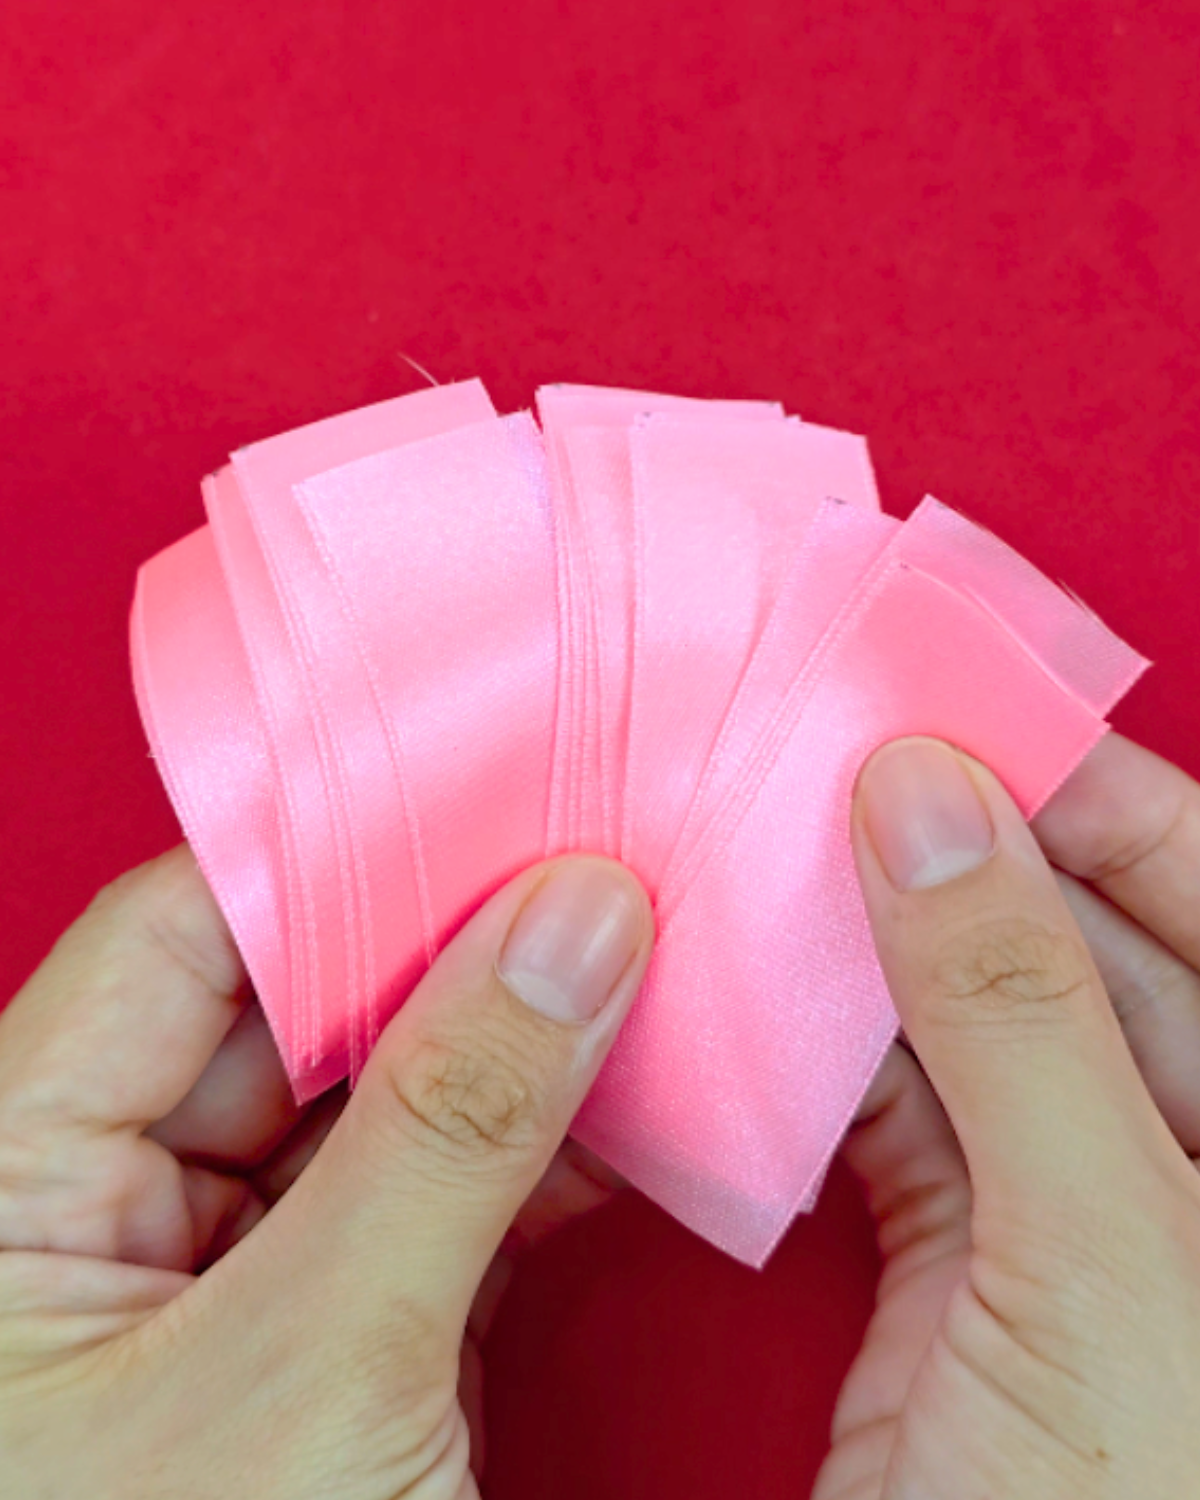
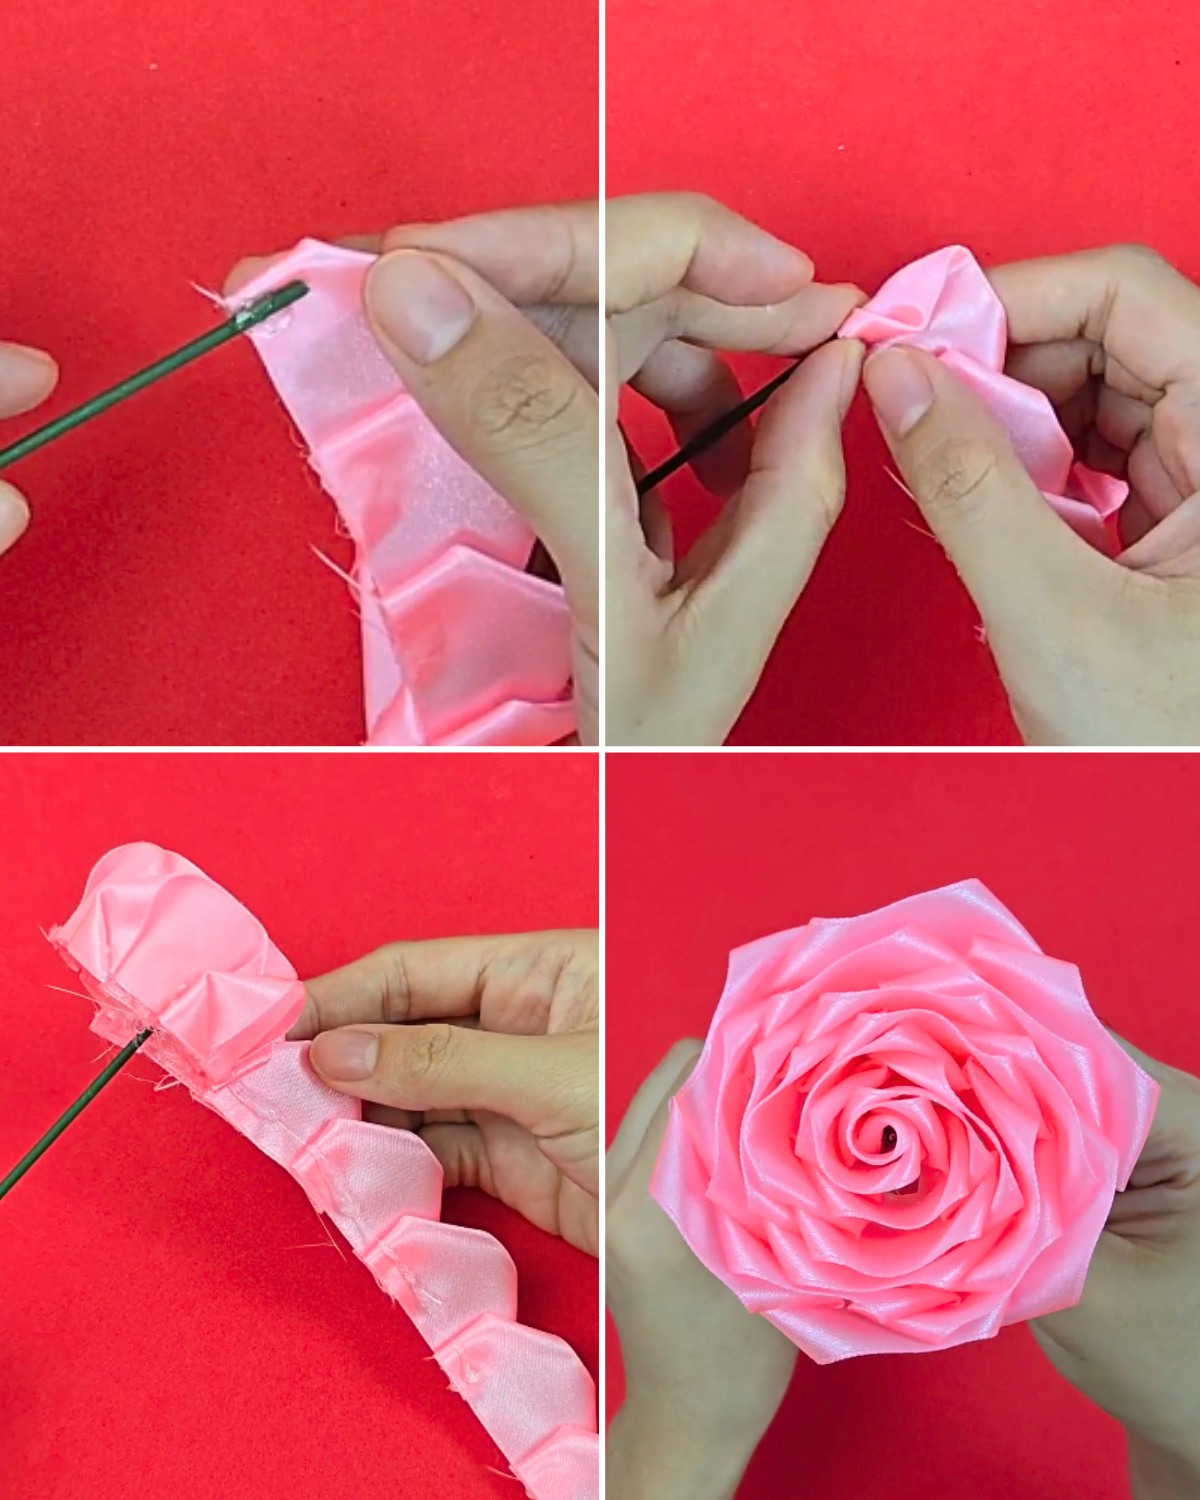
Step 1: Prepare the Ribbon Pieces

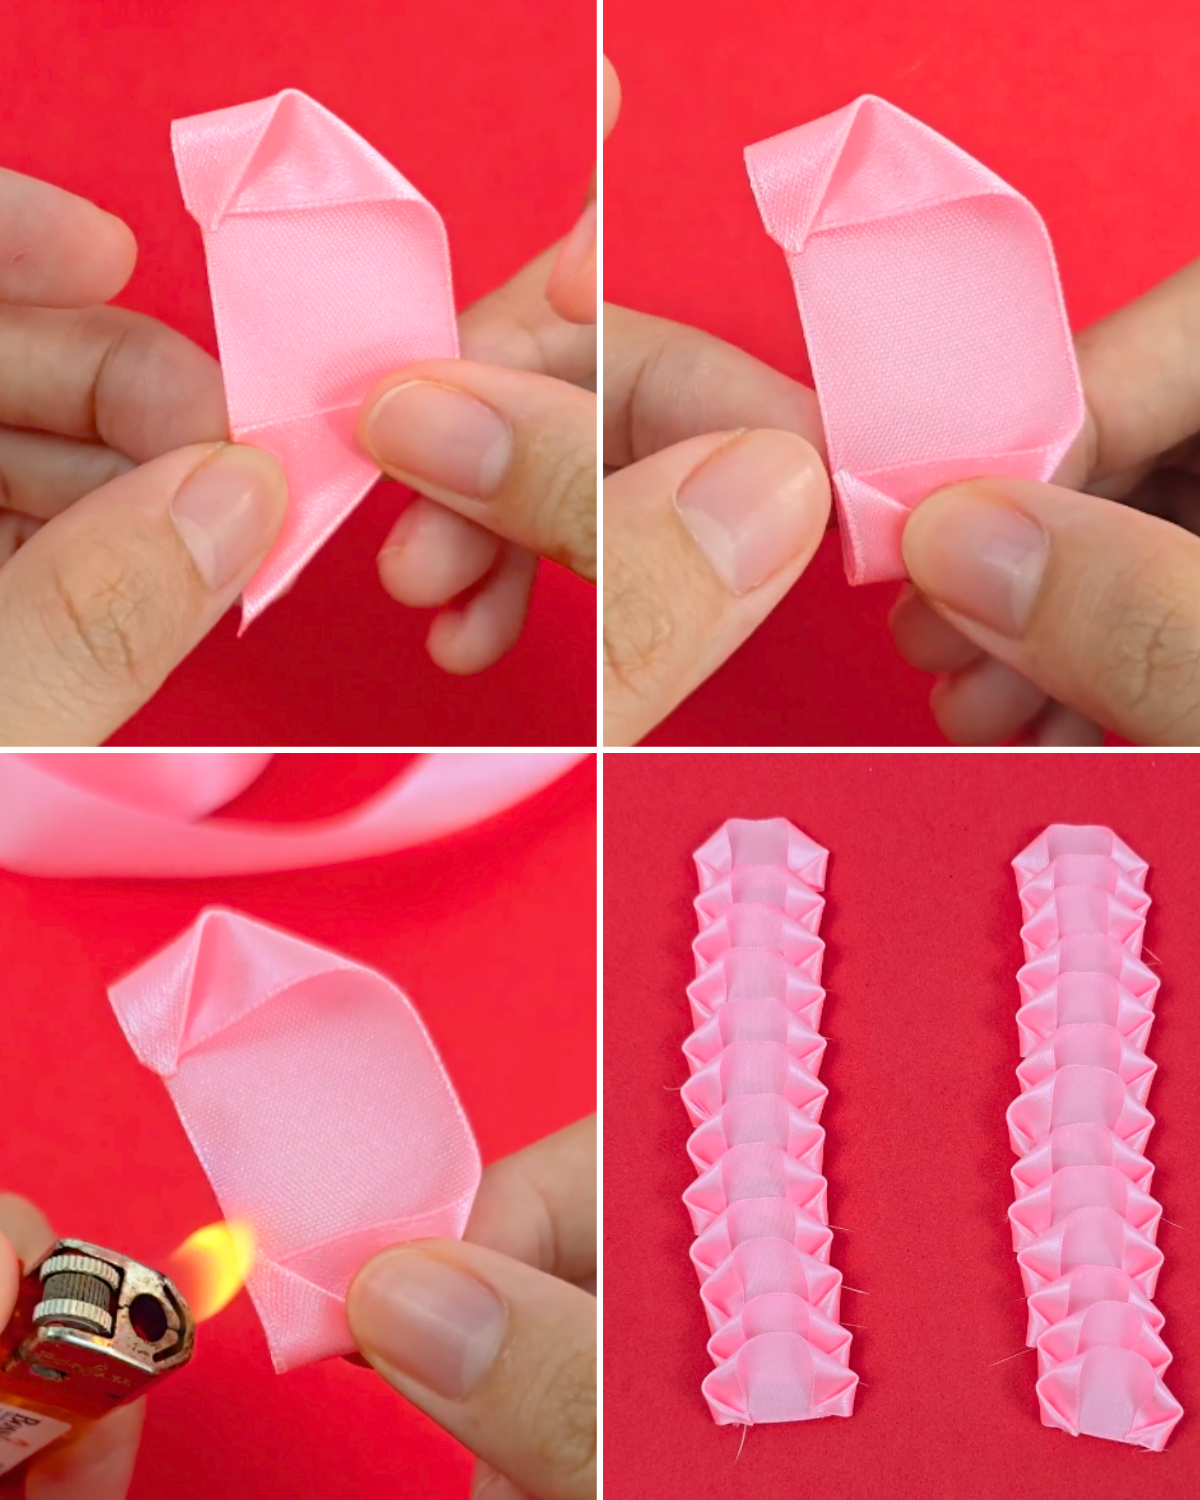
Cut 25 pieces of satin ribbon, each approximately 7 cm in length.Step 2: Shape the Ribbon Petals
Fold one end of a ribbon piece diagonally to form a small triangle, then fold the tip down to meet the bottom edge. Carefully seal the folded edge by slightly burning it to prevent fraying. Repeat this process for all 25 ribbon pieces to form the petals.Step 3: Assemble the Petals
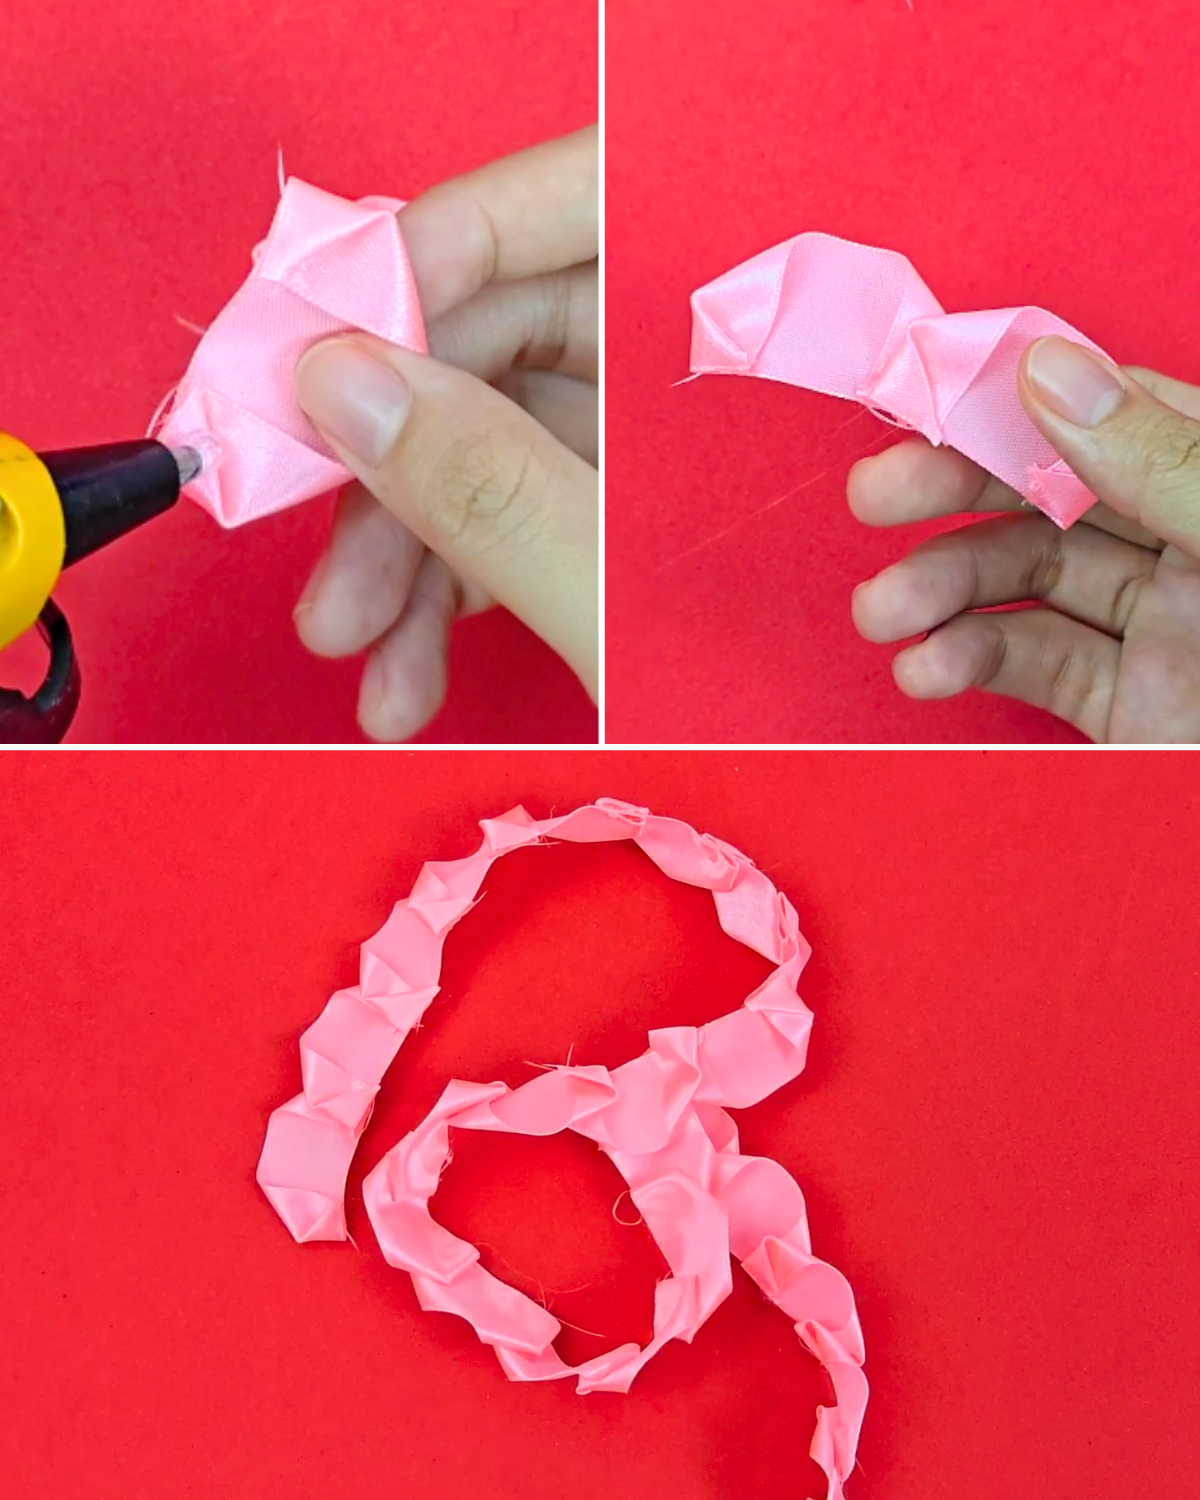
Apply a small amount of hot glue to the left side of one petal, then attach another petal to it. Continue adding petals by applying hot glue to the left side of each new petal, attaching them one by one until all 25 petals are joined together.Step 4: Form the Rose
Apply hot glue to the back of the assembled petals and attach the floral stem at the starting point. Begin rolling the first petals around the stem. As you roll, add small amounts of hot glue to secure the petals in place. Continue carefully rolling and gluing until the rose is fully formed.
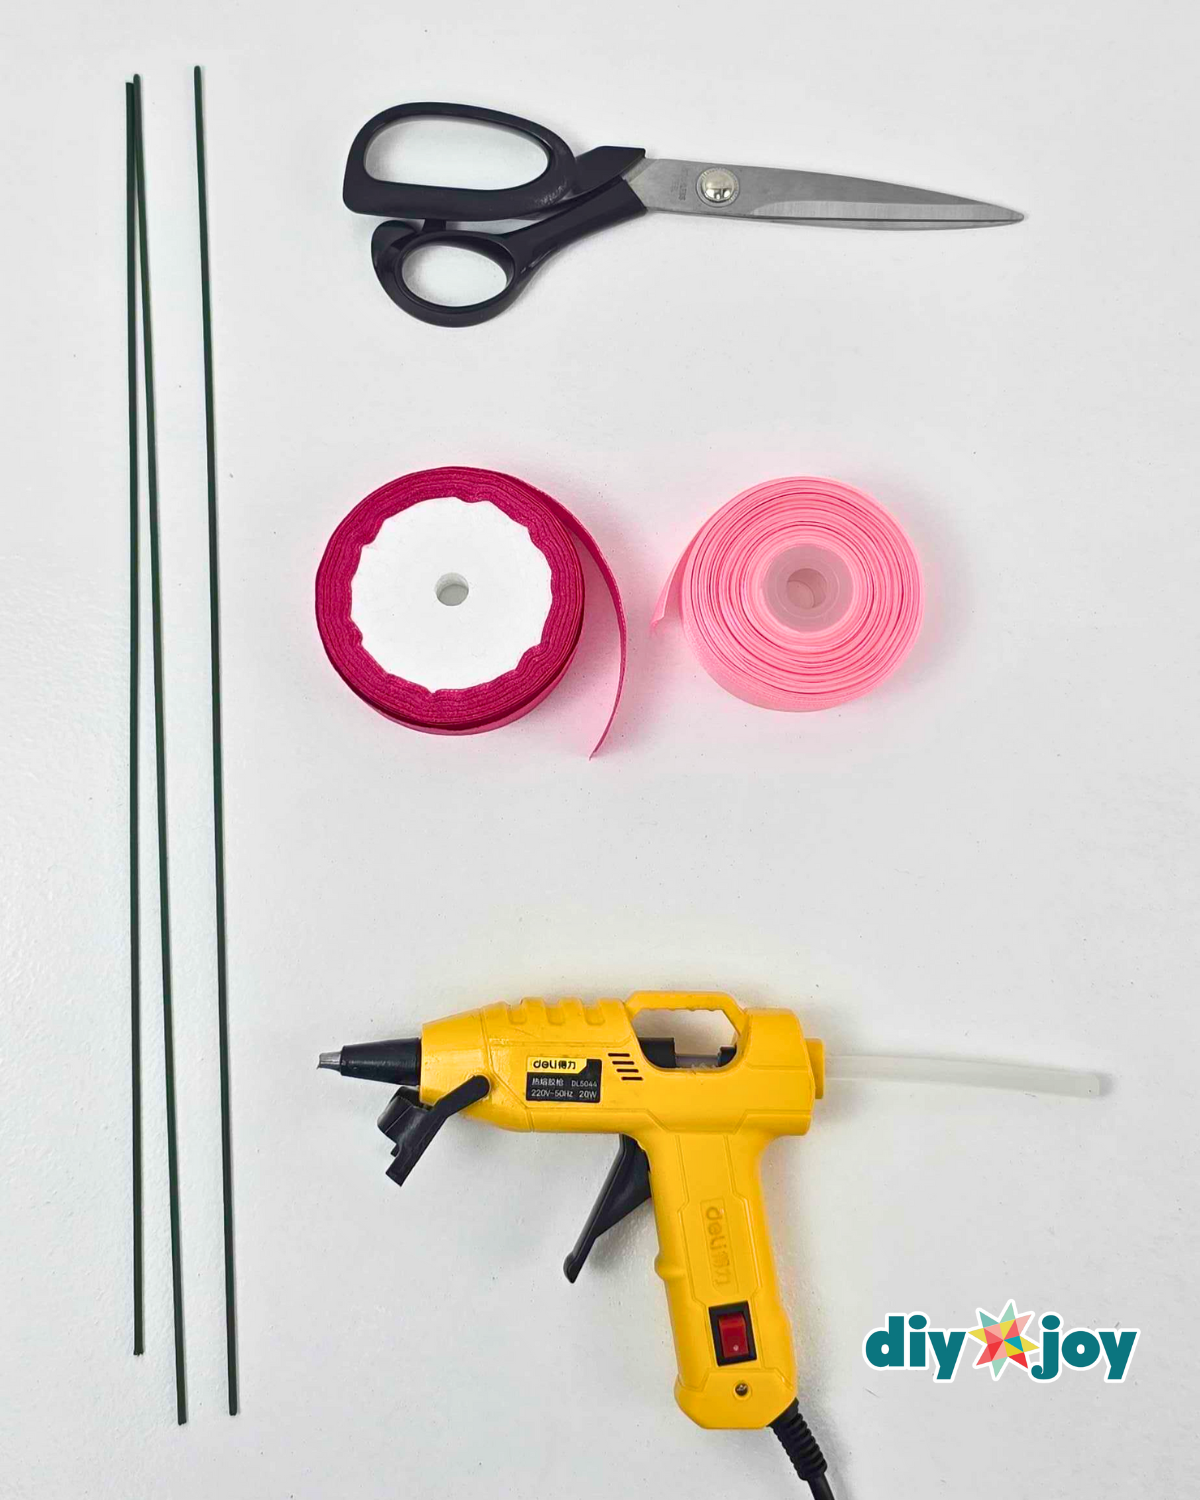
Materials
- Satin Ribbon, salmon pink
- Scissors
- Floral Stem
- Ruler
- Pencil
- Hot Glue Gun and Glue Stick
![]()
Pro Tips
- Use a wider ribbon for larger, statement roses or a narrower ribbon for delicate, mini roses
- Combine two or more colors for a more realistic, layered effect
What’s Viral on DIYJoy

Paper Flowers

Crafts
Crafts
Paper Flowers
*If you love this craft, then visit our official website, follow our Facebook page, and subscribe to our YouTube channel for more!
How to Make an Easy Ribbon Rose