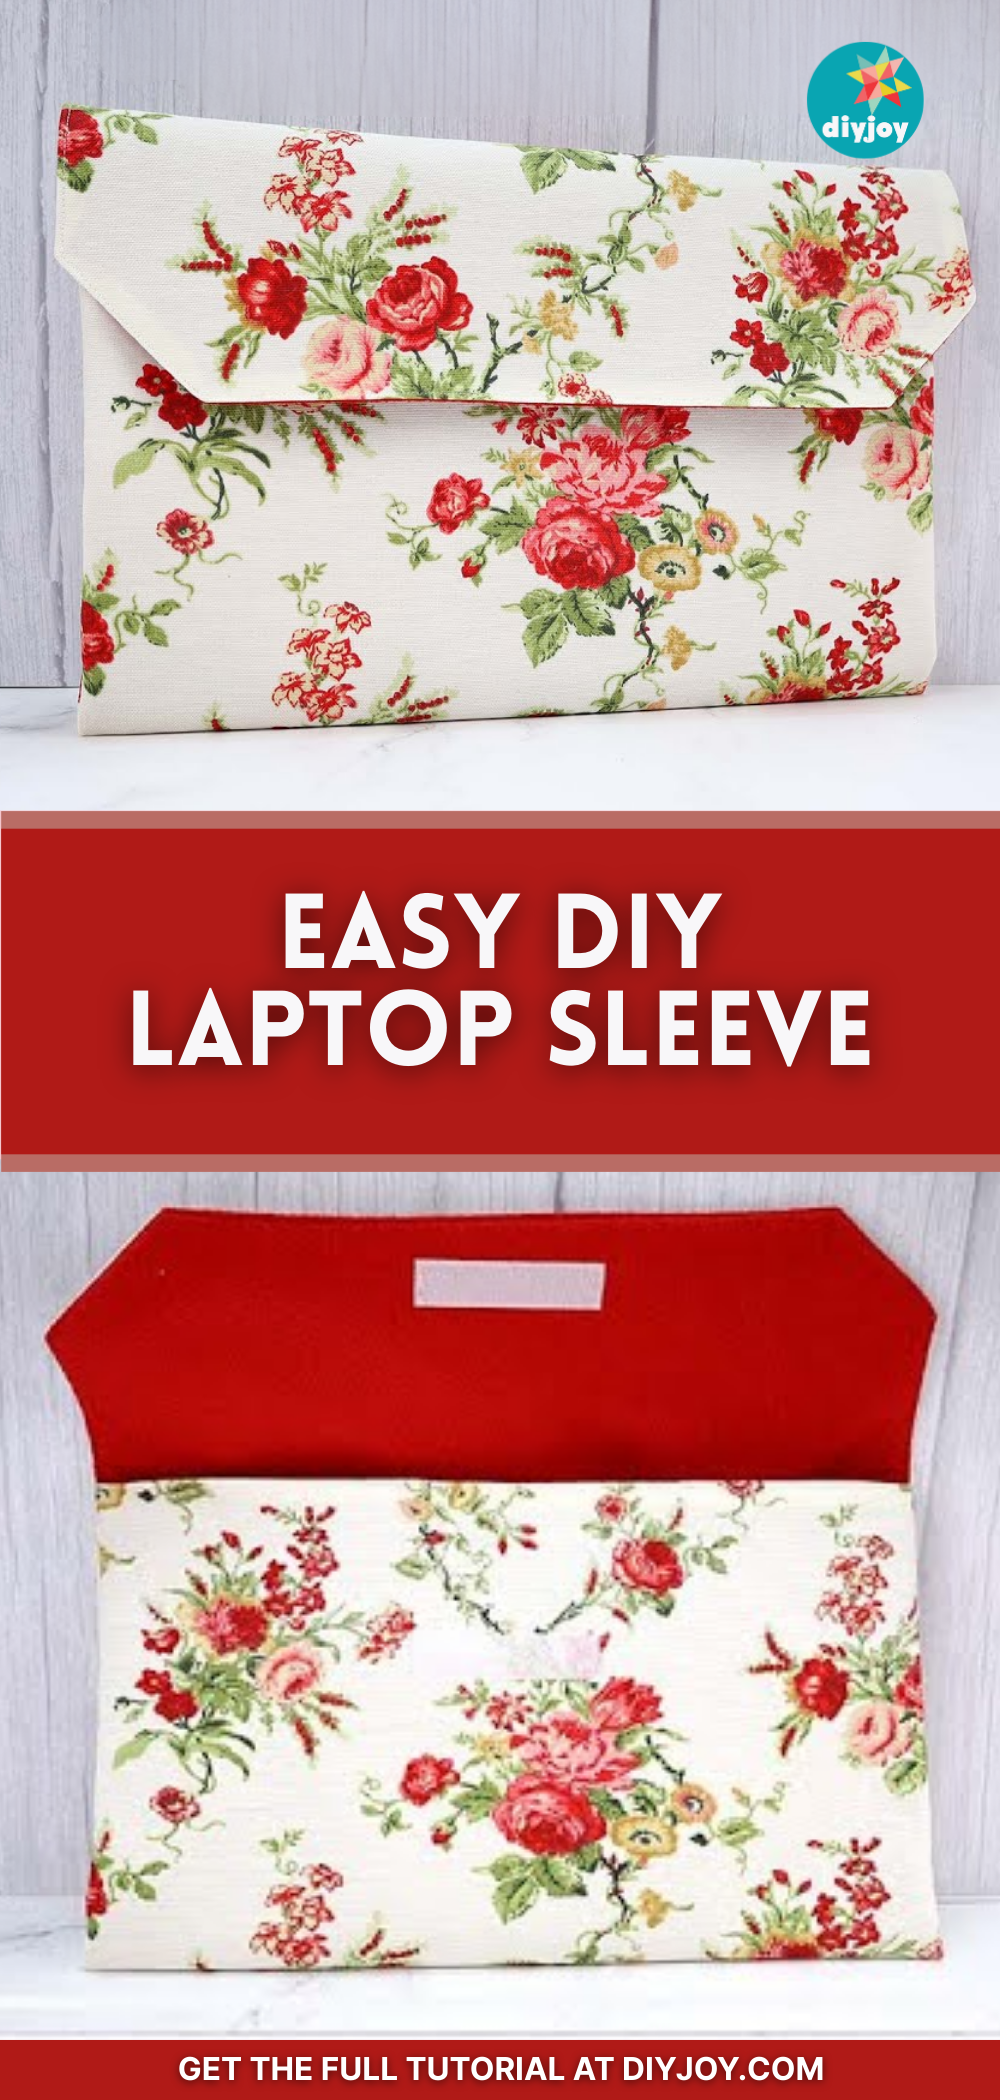
Instead of buying a laptop sleeve online and being disappointed of the poor quality, just sew your one on your own! It’s easy, sturdy, and perfect for beginners in sewing. This fantastic video tutorial is all thanks to Hello Sewing on YouTube.
Materials:
- Outer fabric, cotton
- Lining fabric, felt
- 5″ velcro
- Matching thread
- Scissors or rotary cutter and a cutting mat
- Ruler or measuring tape
- Iron and ironing board
- Sewing clips or pins
- Sewing machine
Directions:
Step 1
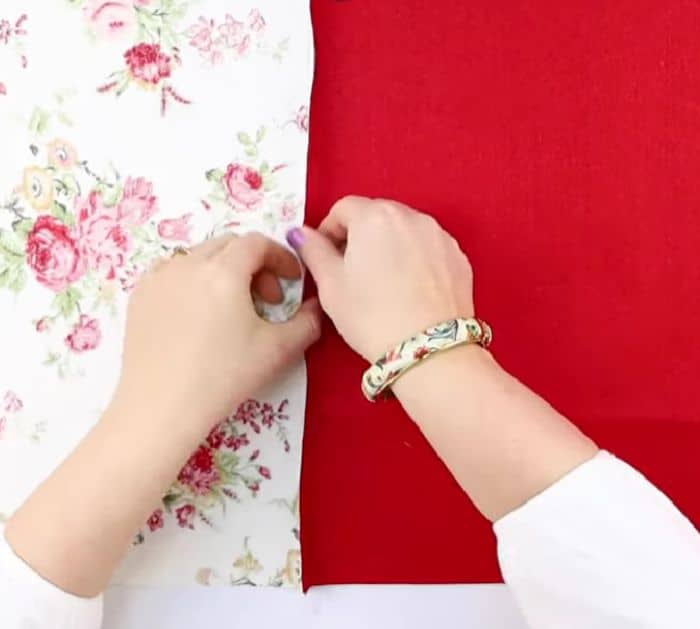
Measure your laptop’s width (A), depth (B), and height (C), then get the total measurement of your fabric by using this formula: width of the fabric = A + C + 2″ and length of the fabric = 2.5 x (B + C) + 2″. Now, cut your fabric according to the measurements that you got, you will need one piece for the outer sleeve and one piece of felt for the lining. Take the lining fabric and fold it in half lengthwise folding over the corner to meet the other corner of the flap, then measure 2″ on either side of the corner, connect those marks with a diagonal line, and cut those lines out. Take the shape you have cut for the outer sleeve, then lay it over the folded piece of the outer fabric, and cut at the same angles. This will form the closing flap of the laptop case. Lay the lining and outer piece together with their right sides facing, then pin in place, and stitch across the base leaving a 3″ opening in the middle. Unfold and press the seam with your fingers or an iron.
[social_warfare]
Step 2
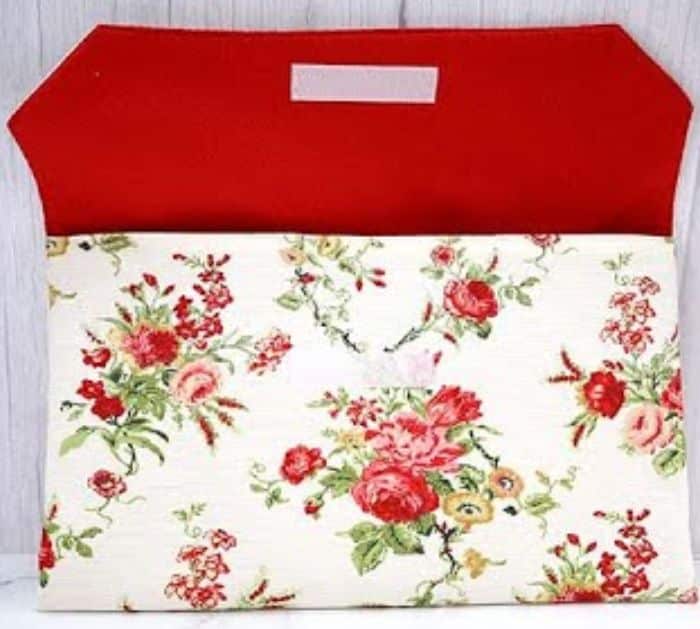
Fold the fabric with its right sides facing out, then pin the base tucking in the raw edges on the gap, and press the base with an iron. Check for fit and decide where you’d want the flap to be, then mark the center 1 inch from the lower edge of the flap, and sew the velcro accordingly. Fold the fabric along the base seam with its right side facing out, then fold the base again until the marks you’ve made on the lining meets. Fold down the outer fabric and up on the other side to line it up with the lining piece, then sew around the sides and the flap but not across the base, and trim the corners at a 45-degree angle. Turn the fabric right side out through the gap you’ve left earlier, then make sure that the laptop bag is lying flat, and give it a nice press. To close the gap, sew it with an invisible ladder stitch, and you’re done!
*All image credit belongs to Hello Sewing via YouTube. Follow and subscribe to her channel for more!
Easy DIY Laptop Sleeve Sewing Tutorial