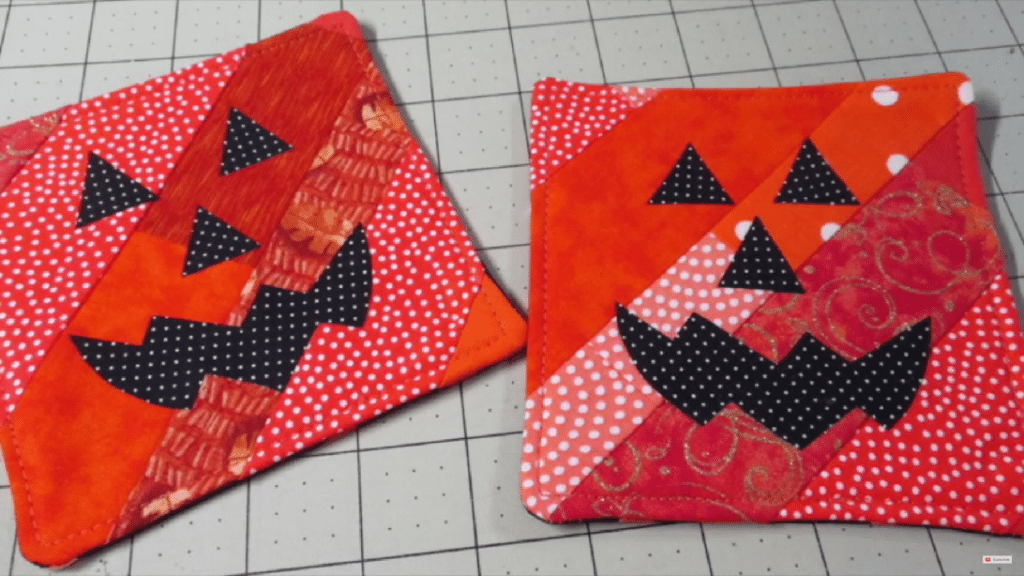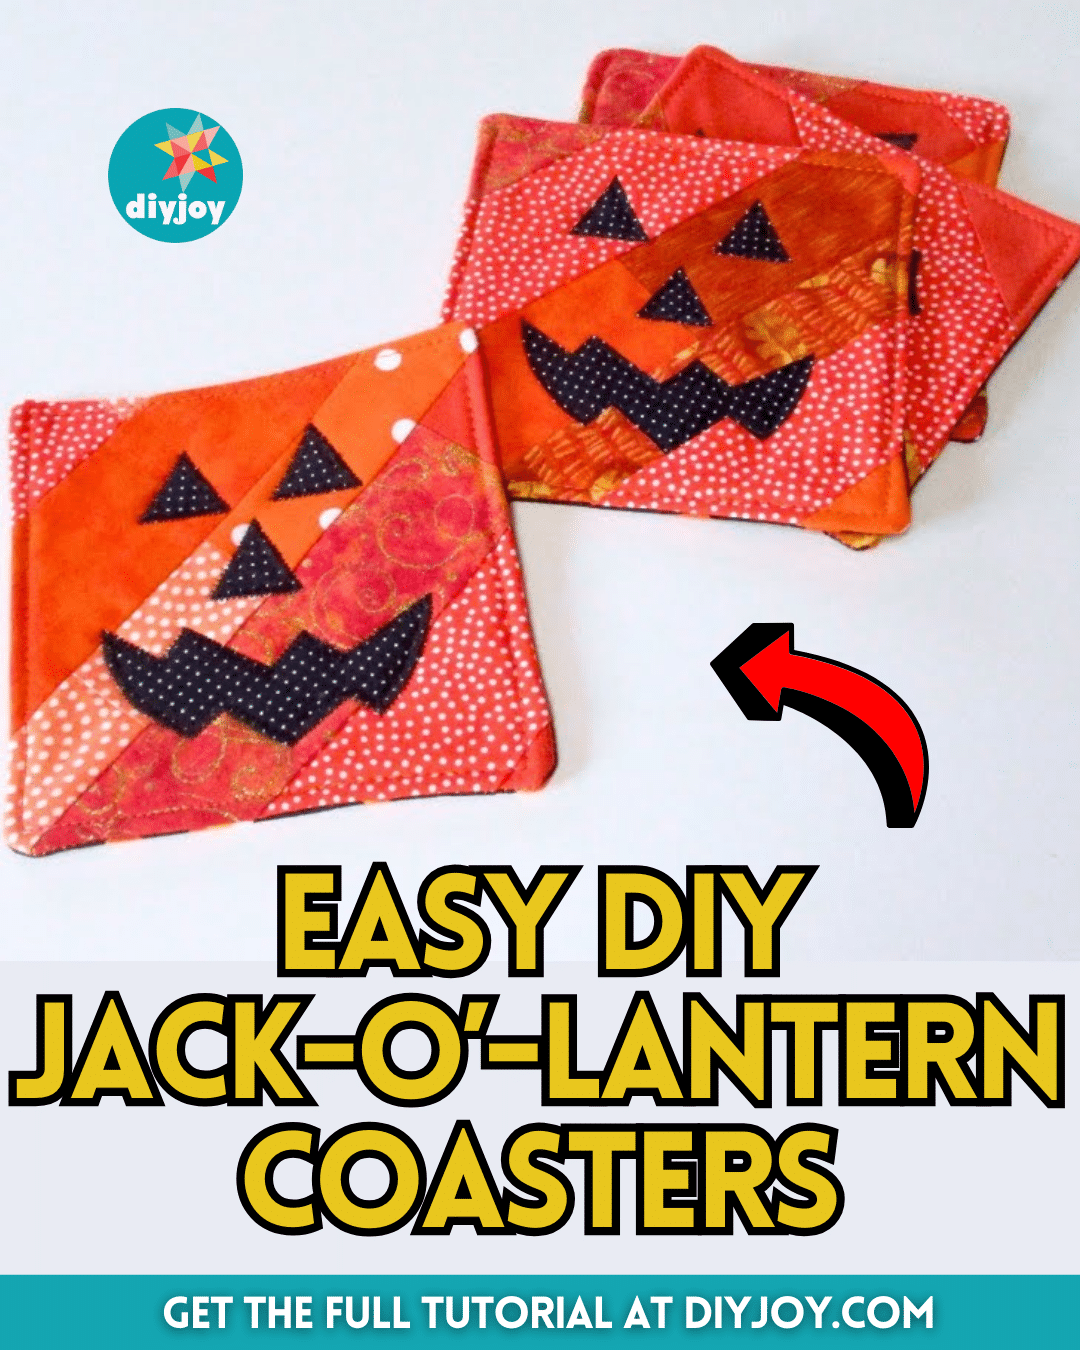
Still can’t decide about which project to make for Halloween? Try this DIY jack-o’-lantern coaster by Debs Days on YouTube! This is an easy craft that you can make using fabric scraps and you don’t even have to be a quilting expert, just follow the instructions below, and quilt as you go.
RELATED: How To Sew Mini Halloween Treat Bags
You can play with the colors depending on your preference and if you want a larger size you can do that, too, or maybe make them smaller so you can use them as ornaments, just keep in mind that you have to print the template to the right size as well so that it would fit the coaster.
Materials for Quilted Jack O’ Lantern Coasters:
- Fabric scraps, for the coaster
- Print fabric, for the eyes, nose, and mouth
- Backing fabric
- Cotton batting
- Marking pen, pencil, or chalk
- Ruler
- Scissors or rotary cutter and a cutting mat
- Fabric pins
- Fabric glue
- Needle and thread
- Iron, for pressing
- Sewing machine
- Template (Click here to download the template)
How to Make Quilted Jack O’ Lantern Coasters:

Step 1
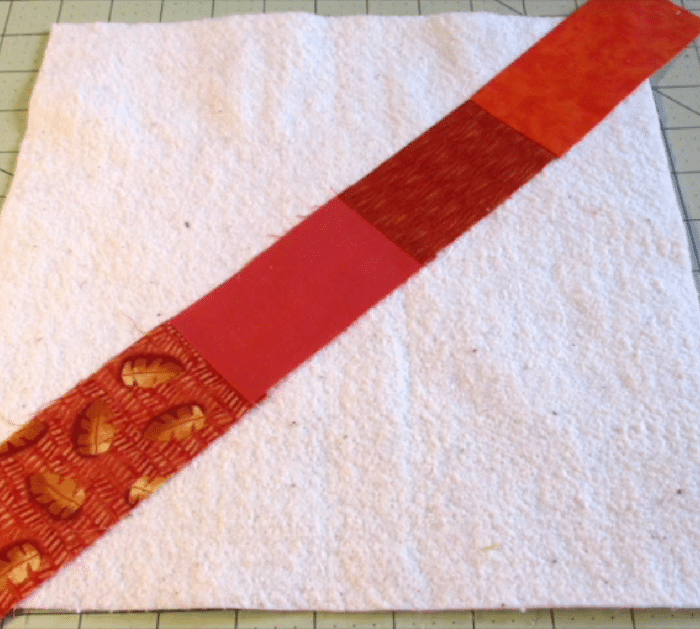
Piece the scrap fabrics together to make a strip and trim the edges straight, then place the batting on your work surface, and lay a strip on the center diagonally. Place another strip on top with their right sides facing, then make sure their edges are aligned, and stitch down one side. Press the fabric open, then keep adding strips until you reach the corner, and do the same to the other side until the entire piece is covered.
Step 2
Trim the excess, then cut the piece into 4 squares at 5½ inches, and cut the backing fabric the same size. Stack the backing and pieced coaster together with their right sides facing, then clip the edges, and stitch around with ¼ inch seam allowance making sure to leave about 2 inches of gap on one side backtracking at the start and finish.
Step 3
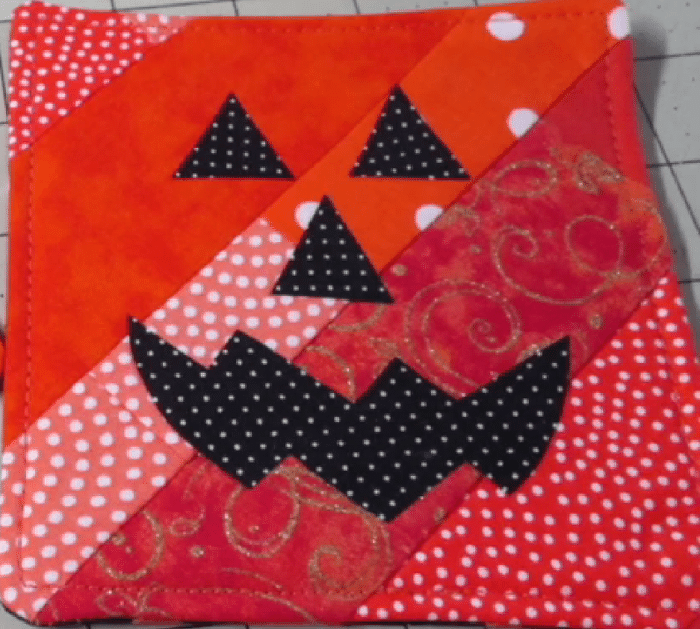
Cut the corners at an angle, then turn the piece right side out, tuck the edges of the opening, and press it down. Topstitch all the way around with about 1/8 inch seam allowance, then cut the template pieces, and trace them onto fabric scraps. Cut them out, then glue them onto the coaster, and stitch around the edges for design.

*All image credit belongs to Debs Days via YouTube. Follow and subscribe to her channel for more!


