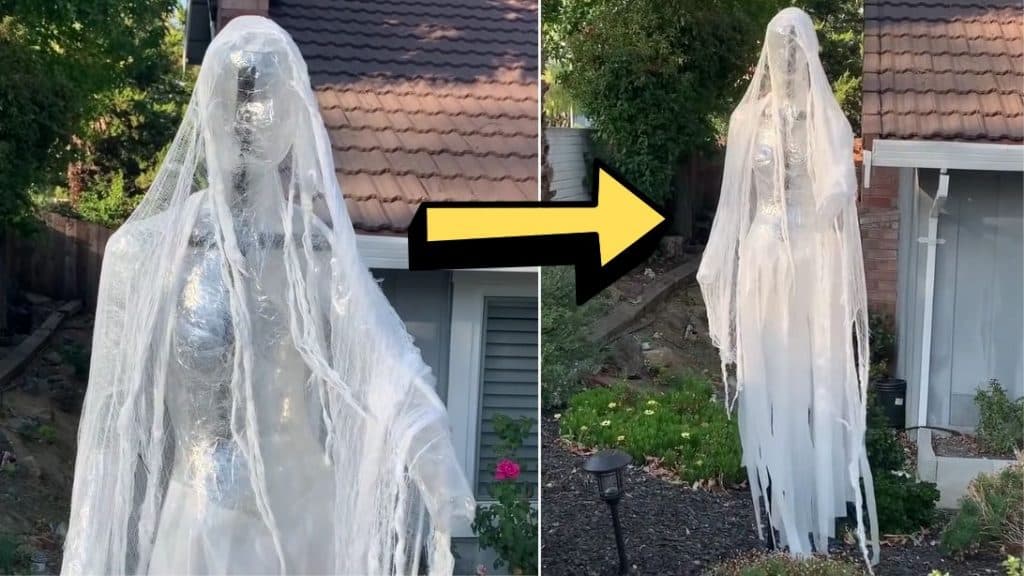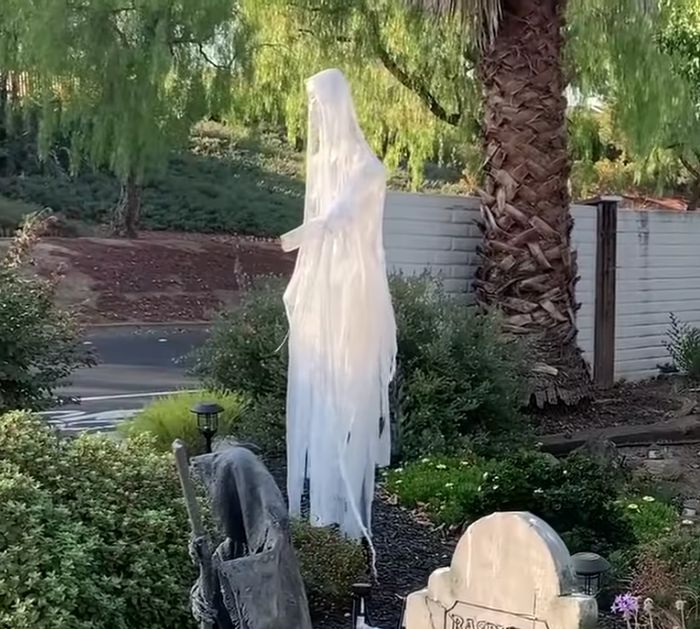
This tape ghost project by I’m Not Bored I’m Creative on YouTube is one of my favorite Halloween decorations to make! This decor looks so realistic when displayed in the yard and is spooky but beautiful at the same time. This is also very easy and inexpensive to make, it doesn’t have a lot of designs or requires a lot of materials, but it fits the theme just right. If you also want to learn how then simply read the instructions down below and watch the video tutorial for more details.
Materials:
- Mannequin
- Clear plastic wrap
- Clear tape
- Scissors
- Cutter
- EVA foam
- Soft net or mesh-like fabric
- Heat gun
- Adhesive or E6000
- PVC pipes
- Steel bar
Directions:
Step 1
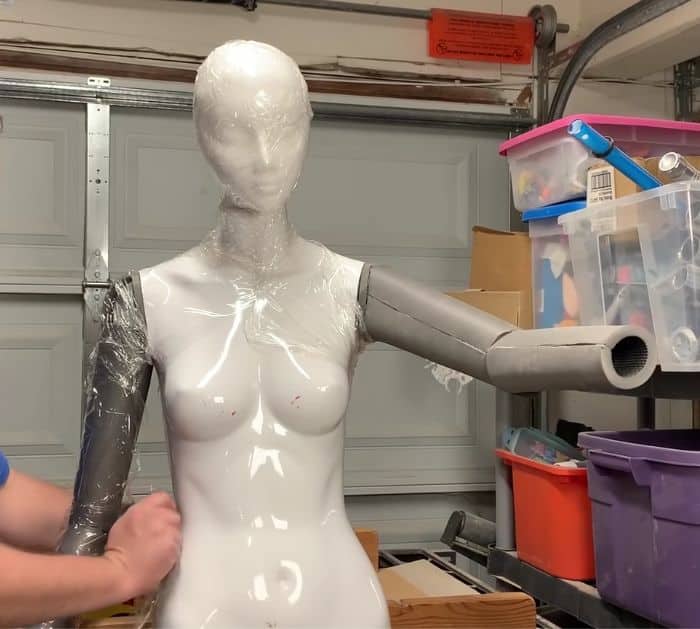
Cut the EVA foam, then bend it by exposing it to a heat gun, and then glue the ends together by applying some adhesive. Use this technique to make the arms of the ghost and then attach them to the shoulders of the mannequin, but if your mannequin already has arms then you can skip this part, simply position them however you want. Once ready, grab the plastic wrap, then start covering the head, arms, and half of the body of the mannequin.

[social_warfare]
Step 2
Next, wrap the body with clear tape to hold the plastic wrap in place, then cut the plastic and attach it around the waist of the ghost to form the skirt. Carefully cut through the plastic, then reassemble them using tape, and build a PVC pipe that’s about 6 feet tall to make the ghost stand. Attach the net fabric to the head to create a veil or hair, then insert the bottom of the pipe into a steel bar buried in the ground to support the ghost and make it stand.

*All image credit belongs to I’m Not Bored I’m Creative via YouTube. Follow and subscribe to his channel for more!


