Learning to sew and permanently alter your clothes can be a big commitment. You need a lot of time as well. And for those who are very busy, time isn’t a luxury. But you can’t just throw away your favorite clothes just because you can’t alter them by using a sewing machine. There are ways to still be able to wear your favorite outfits. Here are 13 easy clothing alterations that don’t need sewing and are a temporary option to adjust any piece of your clothing. Let’s thank The DIY Designer for these helpful tips.
Materials:
- Safety pins
- Cloth iron
- Broach
Directions:
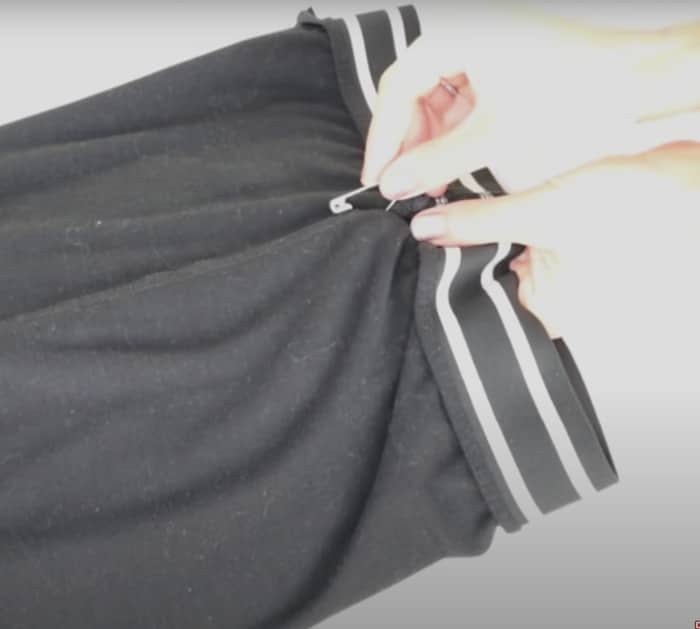
Alteration #1: 2 Different ways to hem pants
To maintain the bubble hem of your jeans, measure the length of your alteration and cuff them. Instead of normal sewing, you will use safety pins just at the edge of the hem. Tuck the cuffed part inside the pants hole and iron out the bubbly area of the hem.
For slim-fit stretchy pants, determine the length of your alteration and fold it underneath the pants while maintaining the bubble hem.
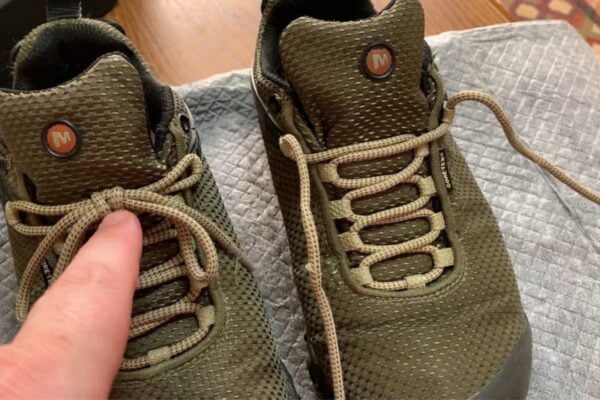
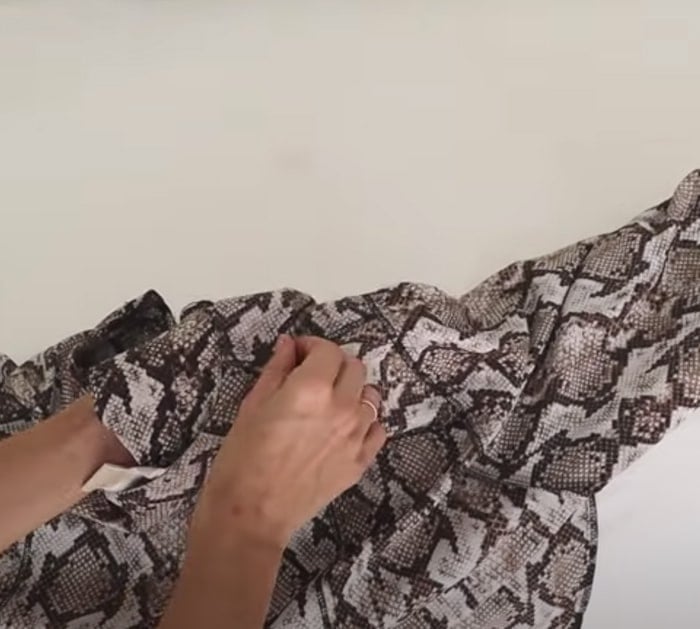
Alteration #3: Tighten the oversized shoulder seams
Sometimes oversized shirts look fabulous and flattering, but sometimes it just never works. This easy alteration adjusts your shoulder seams to your liking and makes them perform better.
Turn your shirt inside out. Determine the length of your alteration and fold a pleat.
With a safety pin, pin the pleat together just underneath the collar.
Ensure that when the pin comes out on the right side of the shirt, it only pokes out the tiny end of the pin.
To even the other shoulder seams, fold both shoulder seams together, find out where everything is in place, and repeat the process.
Additional Alteration: For the loose back end of your shirt, gather in two sections of the extra volume and pin them with a safety pin or a brooch.
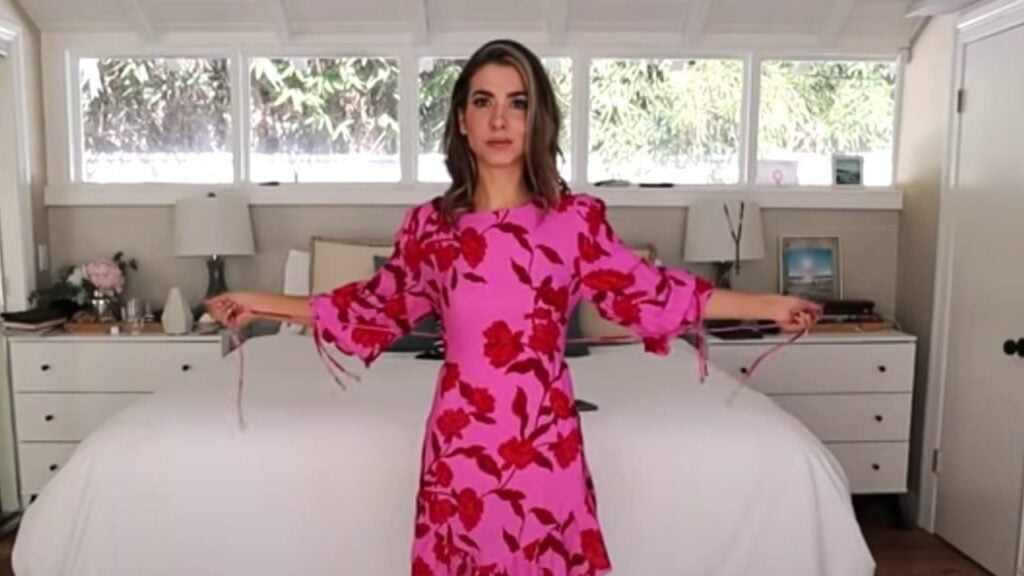
Alteration #3: Taper oversized shirts and dresses at the waist.
Everyone likes comfy, oversized shirts or dresses. However, sometimes it just looks a little bulky. This modification suggests tying it only at the back of the dress.Hence, the front area looks smooth and soft.
For the broad shoulders of the dress, overlap the cloth until it feels like the right fit, and use a safety pin or two to securely pull in the shoulder cloth.
You can check out the video below for the rest of the alteration ideas. These are quick steps to do especially when you’re in a rush.
No Sew Easy DIY Clothing Alterations