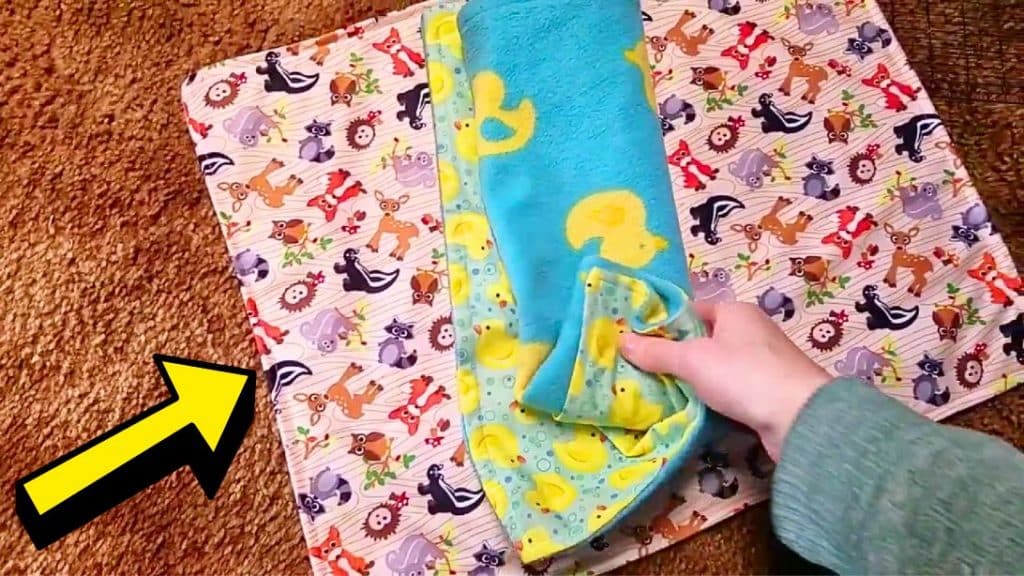
Changing pads are very useful in ensuring that your baby is comfortable when changing diapers, this also helps in keeping a hygienic area to place your baby in. In some stores, changing pads can be quite expensive, which is why it’s much better if you just sew and make a DIY version at home.
RELATED: How to Make a Simple Baby Rag Quilt
Sewing a DIY changing pad can save you a lot of money, plus you can ensure the quality of the fabric that you’ll use, and most important of all you can keep reusing this changing pad for a long time. It’s very easy to make that even beginners can try it, you can also sew it with or without a machine. Learn how in this video tutorial by Laura Noelle on YouTube.
Materials for a Simple DIY Changing Pad:
- Fleece fabric
- Pul waterproof fabric
- Ruler
- Marking pen, pencil, or chalk
- Scissors or rotary cutter and a cutting mat
- Fabric pins
- Needle and thread
- Sewing machine
How to Sew a Simple DIY Changing Pad:

Step 1
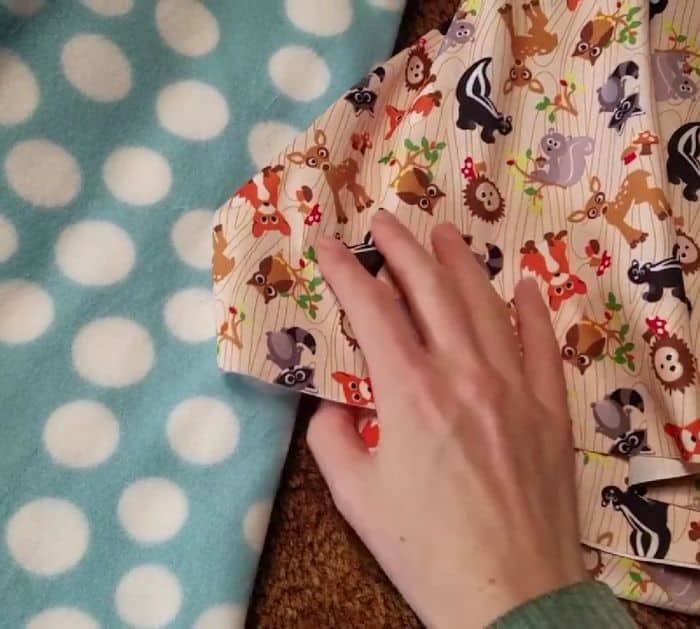
Cut the fleece and Pul fabric into rectangles at 16×20 inches, then lay them together with their right sides facing, and pin them all the way around. Flip it over if needed so that the Pul side is at the bottom, then sew the edges with ¼ inch seam allowance, and leave a 3-inch opening on one side making sure to back tack at the start and finish.
Step 2
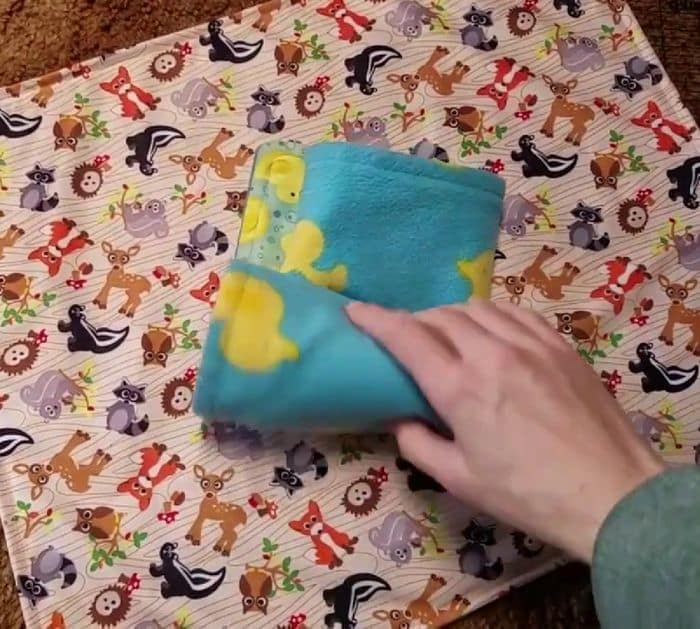
Trim the edges and corners, then turn the piece right side out through the hole you left earlier, and then hand stitch the opening closed. Press the seams nicely and arrange them as needed, then topstitch around the edges with ¼ inch seam allowance, and you’re done.

*All image credit belongs to Laura Noelle via YouTube. Follow and subscribe to her channel for more!


