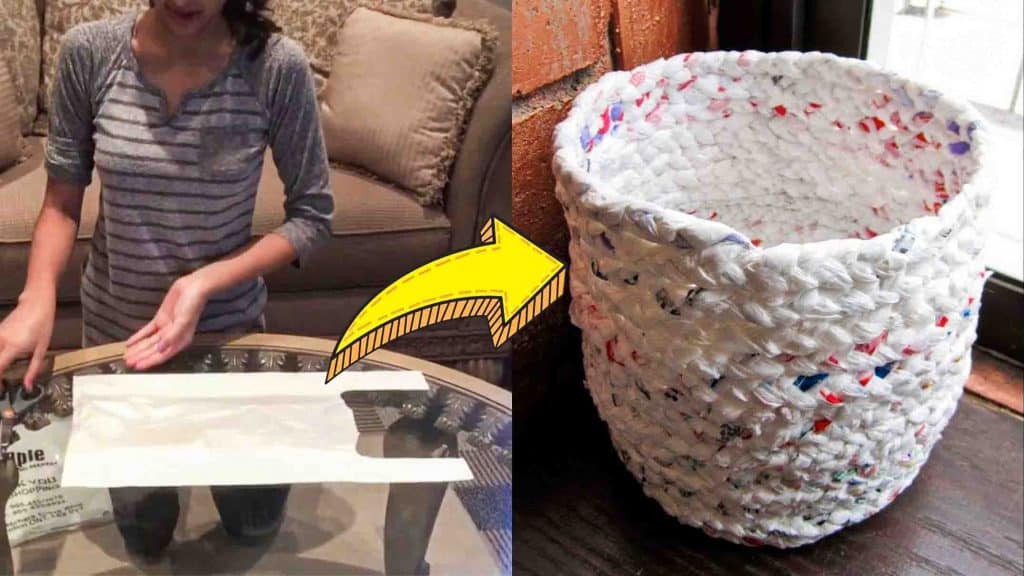
It’s general knowledge that plastic bags can take up a long time to decompose; that is why it’s essential to recycle them. This DIY basket from How to on Youtube is a great way to put your plastic bags to good use! You don’t need to buy baskets anymore; just recycle your plastic bags to make one. You’re saving a lot of bucks, and at the same time, you also help our environment. Start making yours today by watching the video tutorial below.
Materials:
- plastic bags
- scissors
- needle
- thread
- nail
Directions:
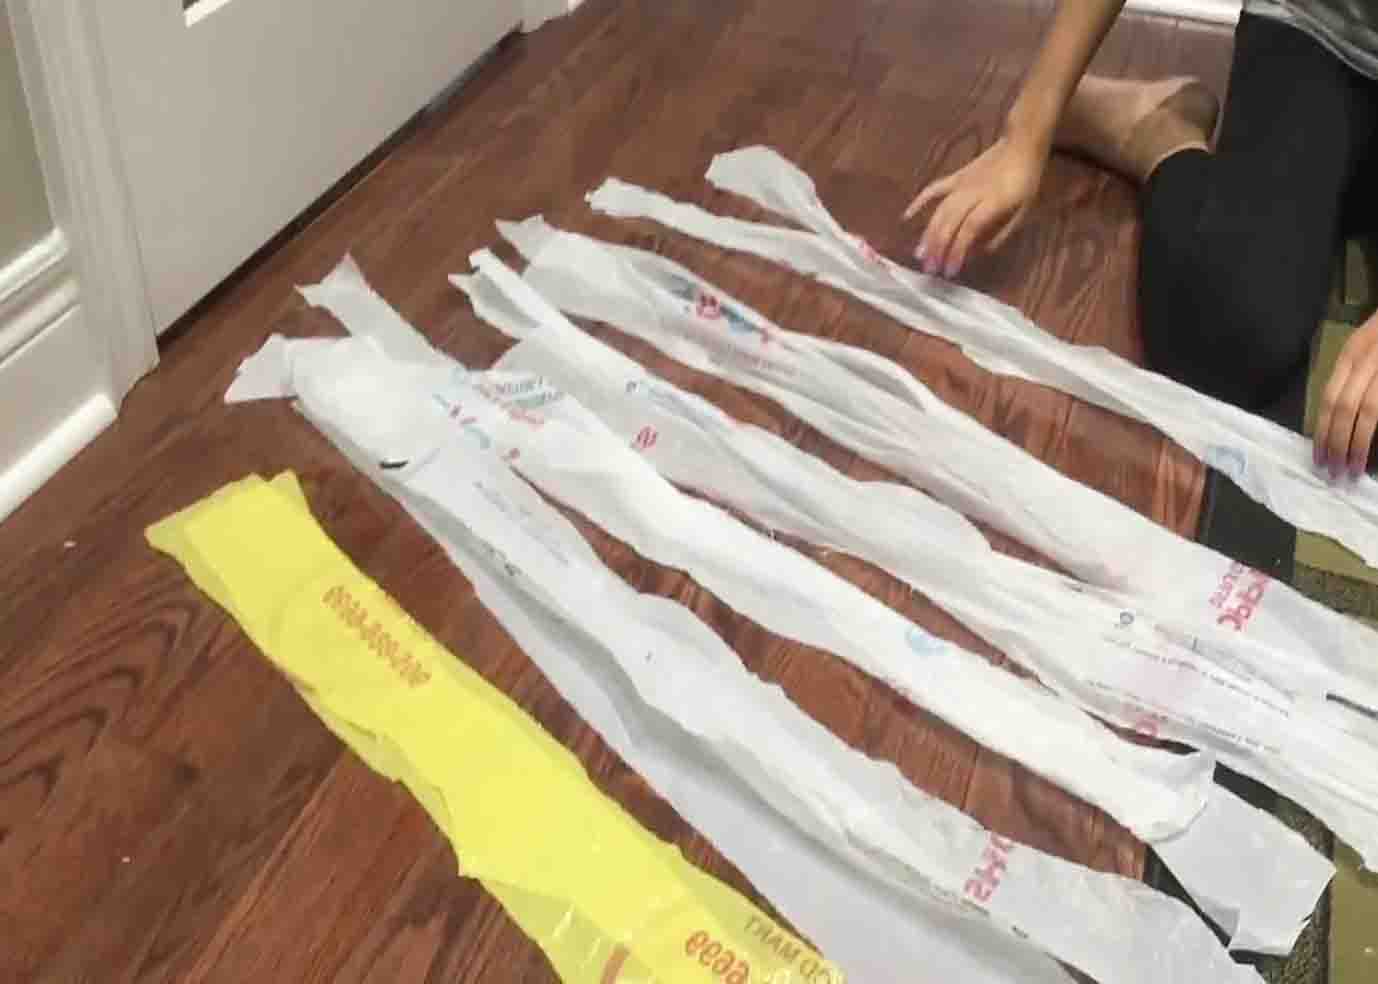
Step 1
Cut the handle of the plastic bag as well as the bottom. Cut one side of the plastic bag so you can open it fully. Next, start cutting 4 inches wide strips vertically. After cutting these strips, order them by putting them in pairs. After this, take three pairs of plastic strips and loop them around a small sturdy metal piece that can be a drawer handle or preferably a nail. Hang three pairs of plastic strips through the handle drawer. (or nail, in this case, the handle drawer was used.) Do a simple braid by grabbing the plastic in two’s. (Make sure the braid is not too tight or too loose.) When you reach the end, take another pair of plastic strips and connect them to the braid by knotting them together to another pair from the braid. Continue braiding until you finish off all the plastic strips or you have the desired length to make your basket.
[social_warfare]
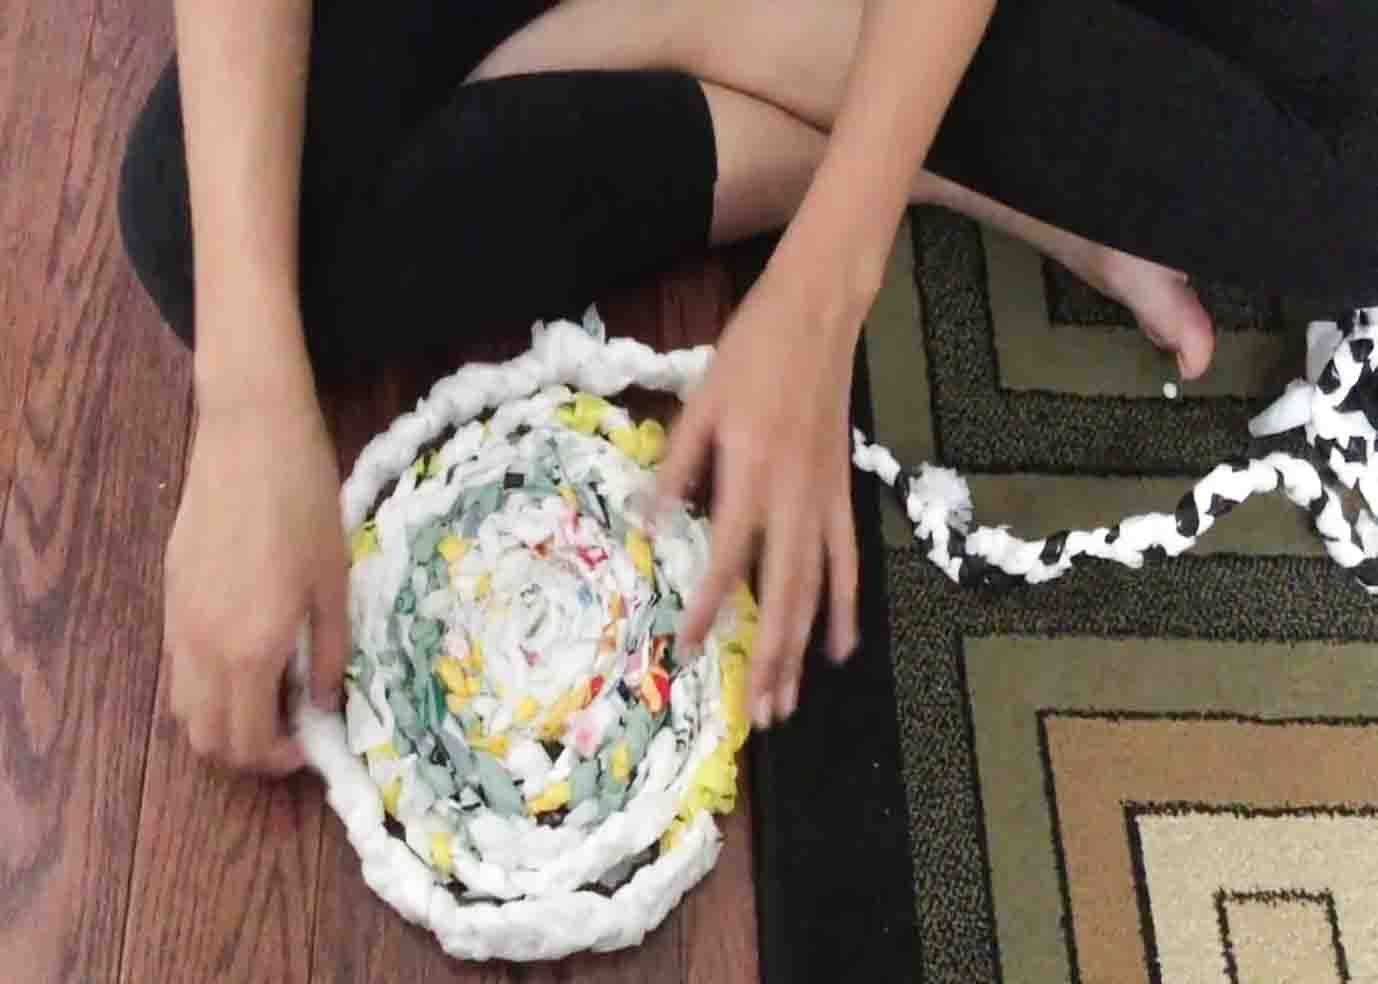
Step 2
Once you’re done braiding all the plastic strips, grab the beginning of the braided plastic and start making the base of the basket. Start quilling it in a circular motion. Make sure to do it tightly so it’s sturdy enough to hold weight. After creating the base, sew the braids so they will stay intact to one another. Start by sewing vertically, then horizontally, and two diagonals to make sure you have a sturdy base. After sewing, start making the walls of the basket by continuing to quill in a circular motion, but this time on top of the last braid to form the basket walls. After you quill the first layer, sew it together to the bottom layer. Once you are in your last braids, secure it by placing the end to the interior of the basket and sewing it. This will make sure that it doesn’t fall out.
Easy DIY Basket Using Plastic Bags