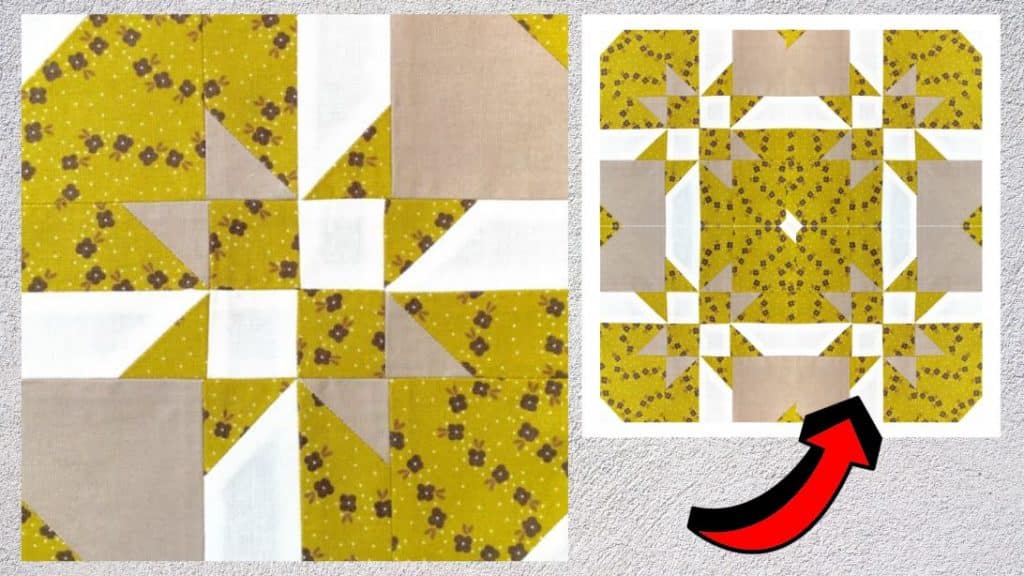
This quilt block is surprisingly easy to make, I always thought that this would be a difficult one to piece together, but this video tutorial by Teresa DownUnder on YouTube made everything look so simple! This quilt block isn’t as complicated as it looks like and even beginners can surely give this a try. The instructions and steps are clear and easy to follow so don’t worry about making it wrong.
RELATED: Disappearing 4-Patch Quilt Block Tutorial
I enjoyed quilting this block so much and I love the fact that you can have so much fun with the pattern by assembling them together in various ways. Get your favorite fabrics now and start making this project today. For now, read the written instructions down below and while you’re at it make sure to watch the video tutorial for more details.
Materials for Disappearing Hourglass Quilt Block:
- Red fabric, or any color you want
- Green fabric, or any color you want
- Ruler
- Marking pen, pencil, or chalk
- Scissors or rotary cutter and a cutting mat
- Needle and thread
- Fabric pin
- Iron, for pressing
- Sewing machine
How to Make a Disappearing Hourglass Quilt Block:
Step 1
Cut two green fabrics into 5-inch squares and two red fabrics into 5-inch squares, then lay the red and green squares together with their right sides facing. Line the wrong side of the fabric on top diagonally from corner to corner, then pin them in place, and stitch on either side of the line with ¼ inch seam allowance.
[social_warfare]
Step 2
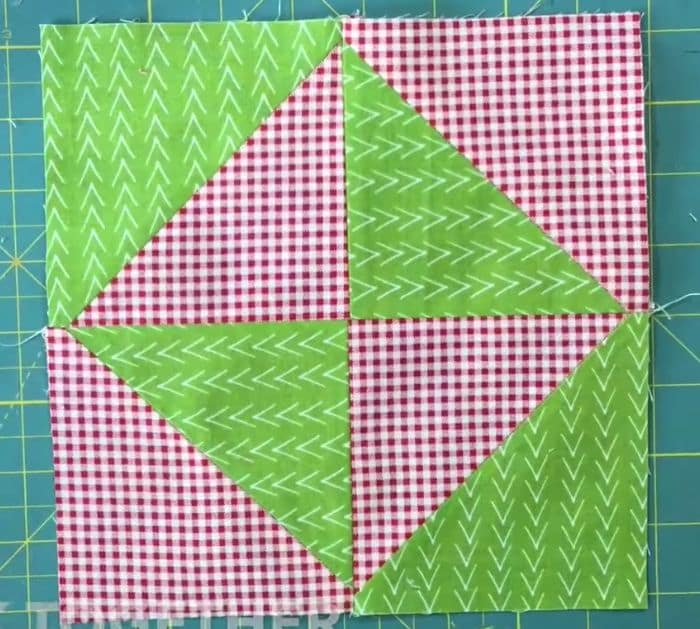
Cut them apart along the marked line, then trim off the nubs, and press the fabric open. Square the half-square triangles into 4 inches, then lay and assemble them as shown in the video. Stitch them per row and then the rows to each other, then press the seams as you go.

Step 3
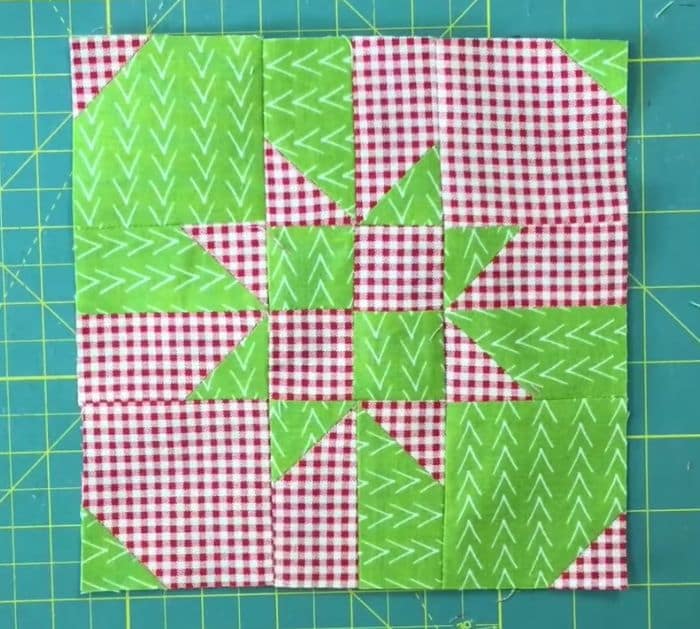
Divide and mark the block into 3 equal parts, then cut them from mark to mark, and you should end up with 9 block units. Rearrange the pieces as demonstrated in the video, then sew the block together per row, and then the rows to each other making sure to press the seams as you go.

*All these amazing images are thanks to Teresa DownUnder via YouTube. Do visit her channel to see more videos like this!


