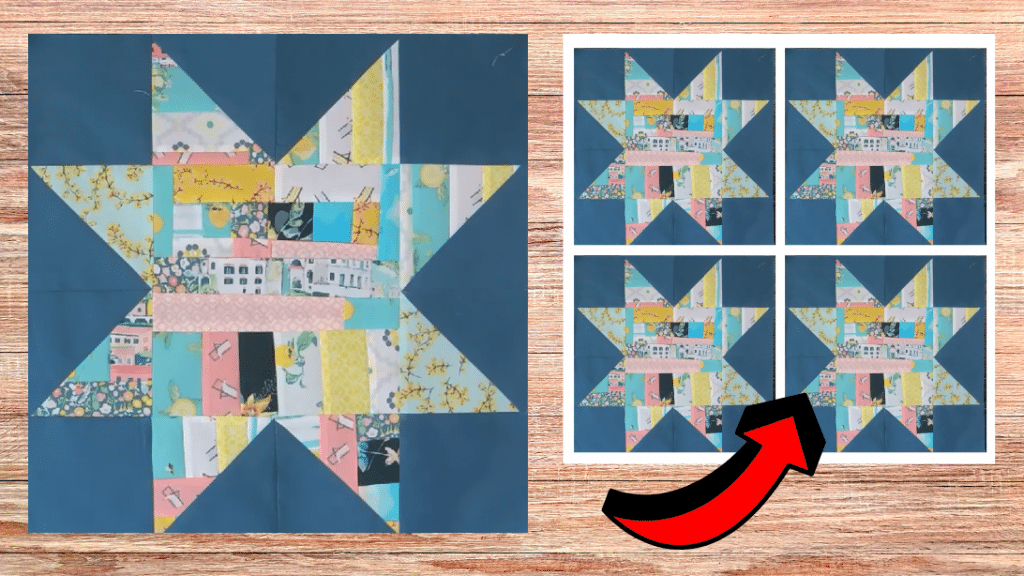
I love crumb quilt projects because they are the best way to use up all leftover fabrics that otherwise would be considered trash. However, if you have a pile of scraps then it would be a waste to throw them away, the good thing is that you can still make a cute block out of them, and one of those kinds of quilt projects is this one by Moonkin Stitchery on YouTube.
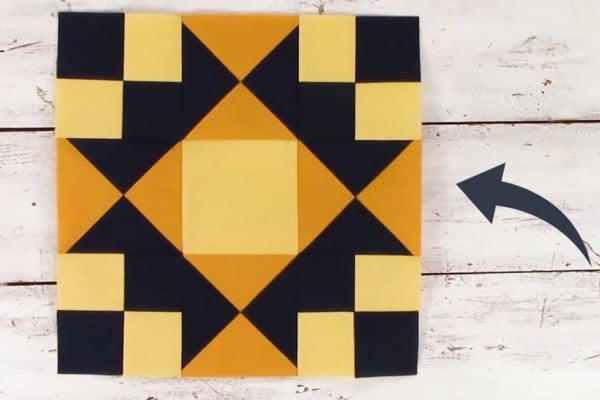
RELATED: Easy Blazing Star Quilt Block Tutorial
This is one the easiest and prettiest scrap-buster projects that you can ever try. The steps are simple enough for beginners to follow and I bet that you would fall in love with how it looks in the end just like I did, you might not even want to make your quilts any other way apart from this. Learn how now by watching the video tutorial below.
Materials for Crumble Star Quilt Block:
- Fabric crumbs and scraps, assorted sizes
- Background fabric
- Marking pen, pencil, or chalk
- Ruler
- Scissors or rotary cutter and a cutting mat
- Fabric pins
- Needle and thread
- Iron, for pressing
- Sewing machine
How to Make Crumble Star Quilt Block:

Step 1
Cut four 5-inch squares and four 4.5-inch from the background, then set them aside, and start working on your fabric crumbs. Select a couple of rectangle scraps and arrange them next to each other vertically, then stitch them, and add a long rectangle piece on top horizontally. Give it a good press, then keep adding fabric until it’s about 5 inches, and then cut out the piece into a 5-inch square.
Step 2
Take the 5-inch background square, then line the wrong side diagonally from corner to corner, and stack it with the quilted square making sure their right sides are facing. Stitch on either side of the line with ¼ inch allowance, then cut it apart, and press the seams open.
Step 3
Trim off the excess, make more sets, and then proceed to make the block’s centerpiece. Using the same technique above, crumb quilt a square until 8.5 inches, then arrange all of the pieces together as shown in the video, and start stitching per row. Once done, stitch the rows to each other and make sure to press the seams as you go.


*All these amazing images are thanks to Moonkin Stitchery via YouTube. Do visit her channel to see more videos like this!
How to Make a Crumble Star Quilt Block