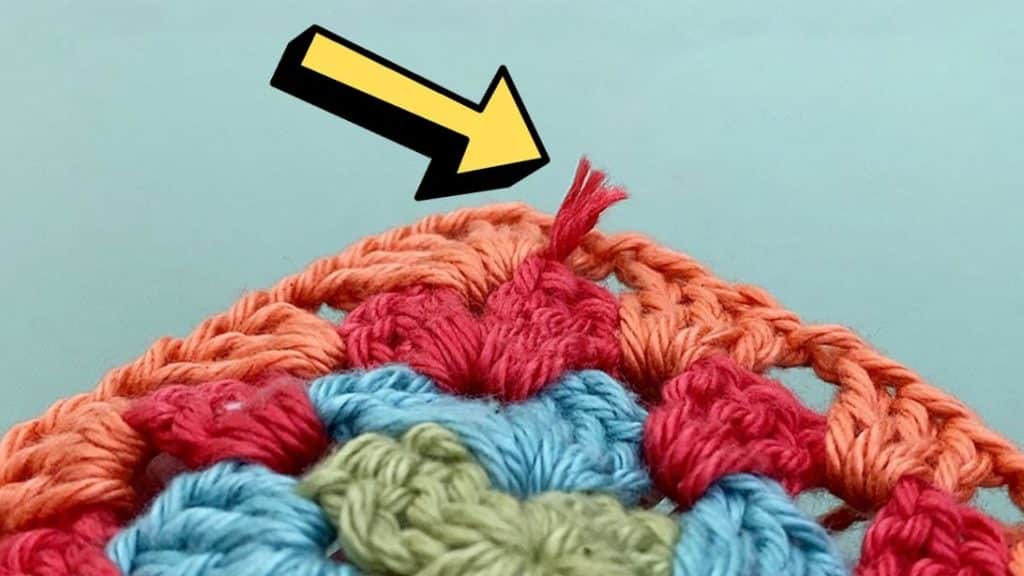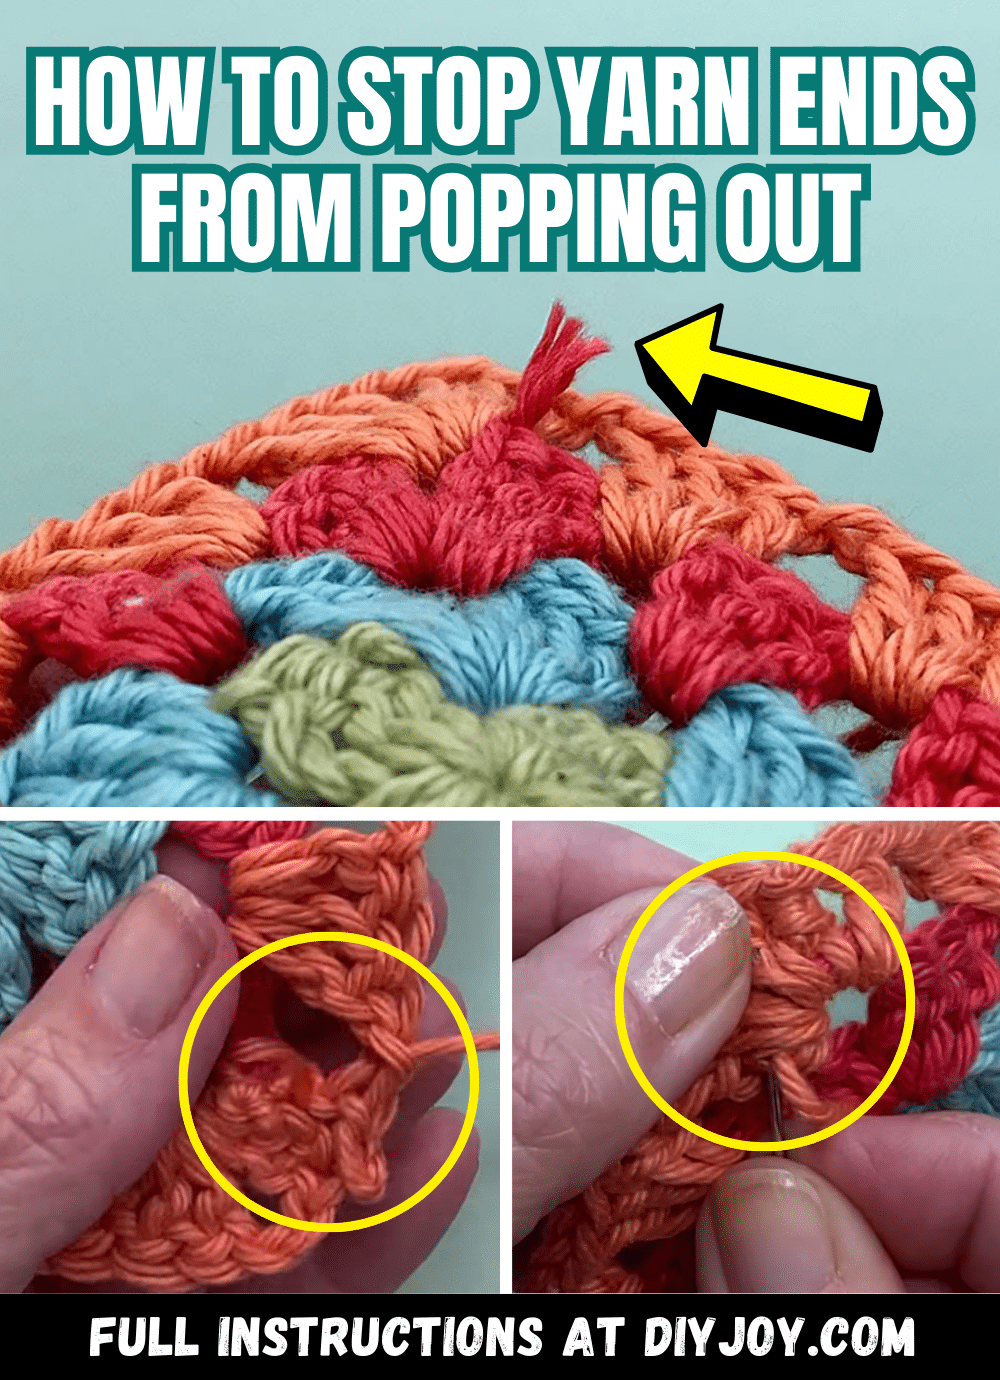
If you love making crochet projects, then you must have also experienced having some of their ends pop out lots of time from their hiding spots no matter how hard you try to put them back in. This is very common and usually happens after frequent use or washing, and the solution is also very easy with the help of this video tutorial by Play Hooky with Me on YouTube. You can do either of the two methods or you can also apply them both, whichever works best for you. Enjoy!
Materials:
- Sharp darning needles
- Scissors
Directions:
Method #1
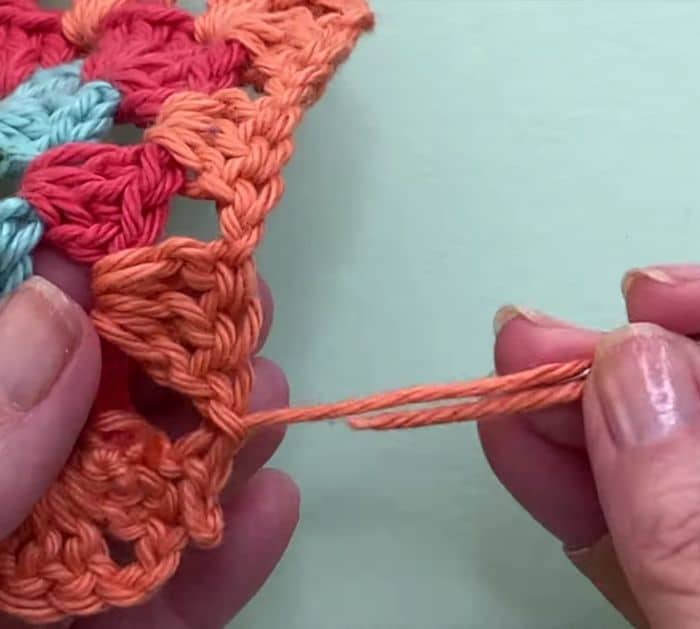
Insert the end of the crochet’s tail through the eye of the needle, then weave it around in 3 opposite directions until you make your way to the thickest place or spot with more stitches, and place the end of the tail in that place. Tug it ever so slightly before cutting the excess off, that way the yarn can spring back in place once it stretches.

[social_warfare]
Method #2
Using a sharp darning needle, take the yarn through and between the yarn fibers weaving the end through the split yarn rather than going under and around the stitches. The goal is to weave your yarn and pierce through those stitches, then snip your yarn as you normally would and you’re done. You can also combine the two methods together for a more secure finish.
Bonus
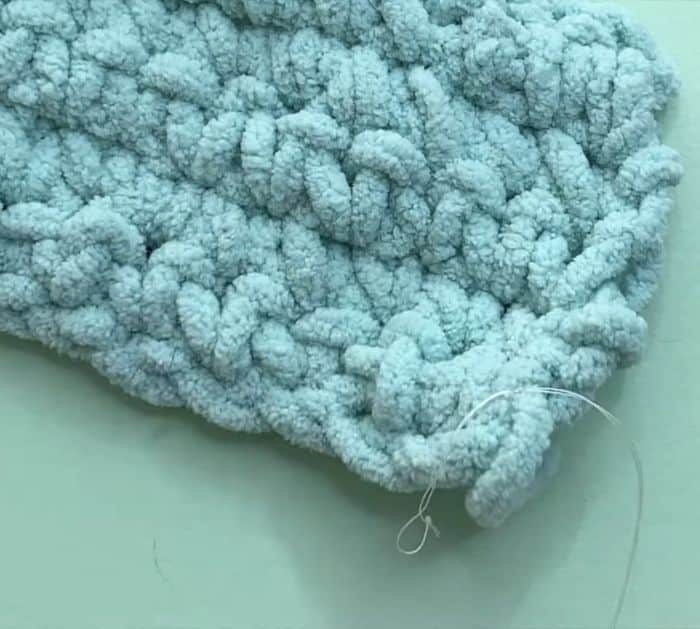
These methods won’t work that much on chunky yarns, so just grab a simple needle and thread, then sew the end of the chunky yarn in place, and make a double knot tie.

*Thanks to Play Hooky with Me via YouTube for all the images used here. If you love this tip, then you’ll surely love her other videos too, so give her channel a visit and subscribe!


