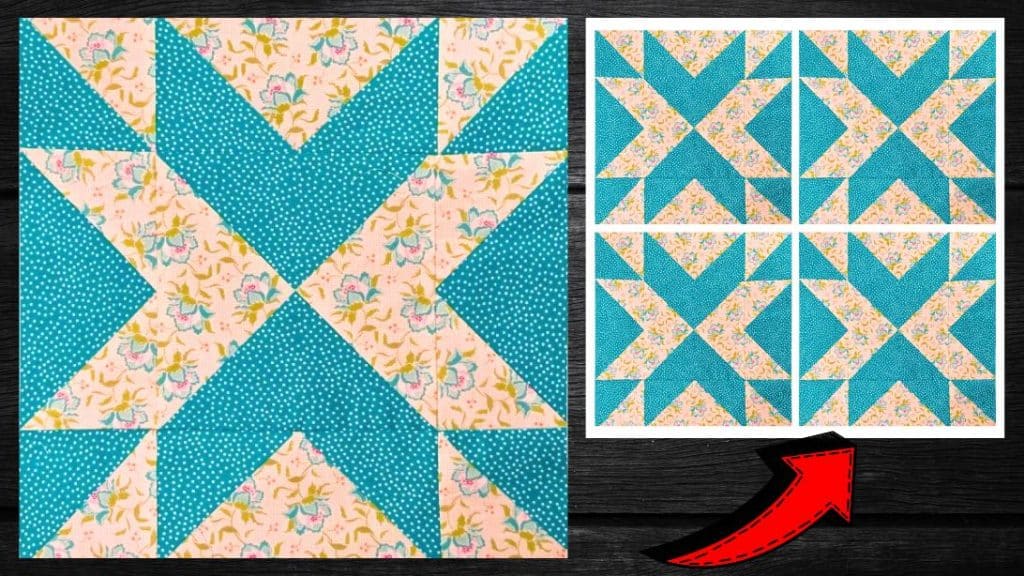
This quilt block by Teresa DownUnder on YouTube is an easy and simple project where you only need to use flying-geese and half-square rectangle units. It’s very fun to make and does not require too much quilting experience or expertise to make, so if you’re a beginner you don’t have to feel intimidated.
RELATED: How to Make Magic No-Scraps Herringbone Quilt!
Check out the video tutorial below now and see the steps to making this quilt, I’m sure you’ll love making this, too. You can use any fabric prints and combination of colors that you want with this quilt block idea.
Materials for Blazing Arrows Quilt Block:
- Light print fabric
- A darker contrasting fabric
- Marking pen, pencil, or chalk
- Ruler
- Fabric pins
- Needle and thread
- Scissors or rotary cutter and a cutting mat
- Iron, for pressing
- Sewing machine
How to Make a Blazing Arrows Quilt Block:
Step 1
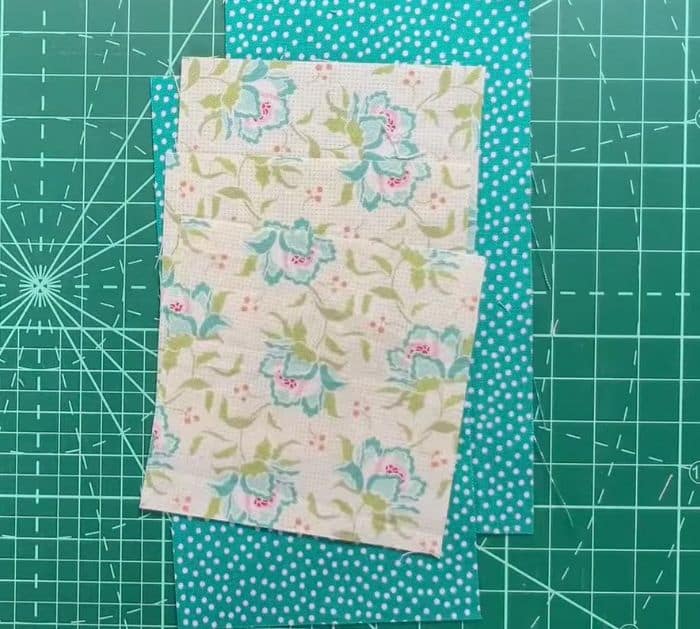
Cut the fabrics into squares at 7½ inches, then lay them together with their right sides facing, and line the back diagonally in half from corner to corner. Stitch on both sides of the line with ¼ inch seam allowance, then cut apart along the line, and press the seams toward the darker fabric. Lay the half-square triangles together with their right sides facing and fabric prints opposing, then align the seams well, and pin them in place.
Step 2
Line it diagonally in half across the seams, then stitch them on either side with ¼ inch seam allowance, and cut it apart in half along the marked line. Swirl the seams as shown in the video, then trim it to 6½ inch square, and set it aside. Cut the darker fabric into a 3½x6½ inches rectangle, then cut the lighter fabric into a 3½ inches square, and draw a diagonal line at the back of the square from corner to corner.
[social_warfare]
Step 3
Place a square on top of the rectangle with their right sides facing and edges matching, then pin them together, and draw a 2nd line ½ inch away from the original line. Sew along the lines, then cut between both lines ¼ inch away from each, and press the seams nicely.
Step 4
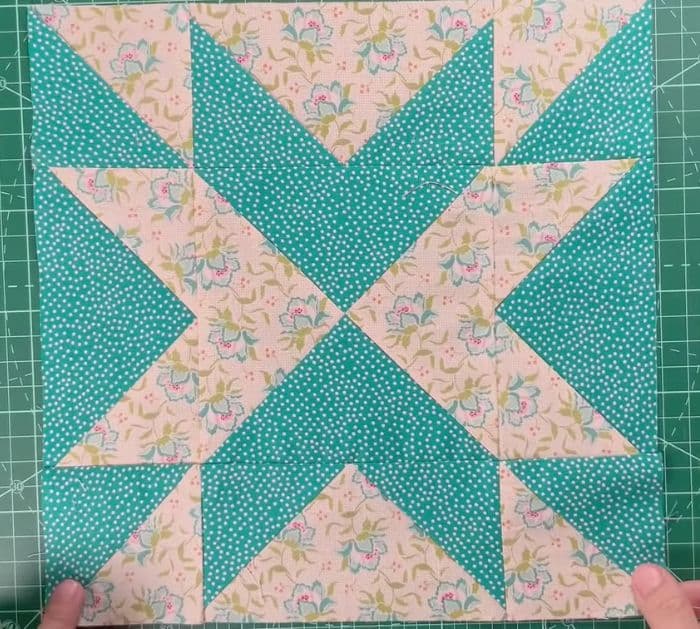
Do the same for the rest, then put another square on top of the rectangle on the other side, and stitch it the same you did to the first square. Repeat the same steps with inverted fabric and make 2 more flying geese blocks, then make half-square triangles at 3½ inches finish size, and start to assemble the block as demonstrated in the video. Stitch them per row, then sew the rows to each other, and press the seams as you go.
*All these images are credited to Teresa DownUnder via YouTube. Give her channel a visit and subscribe for more!
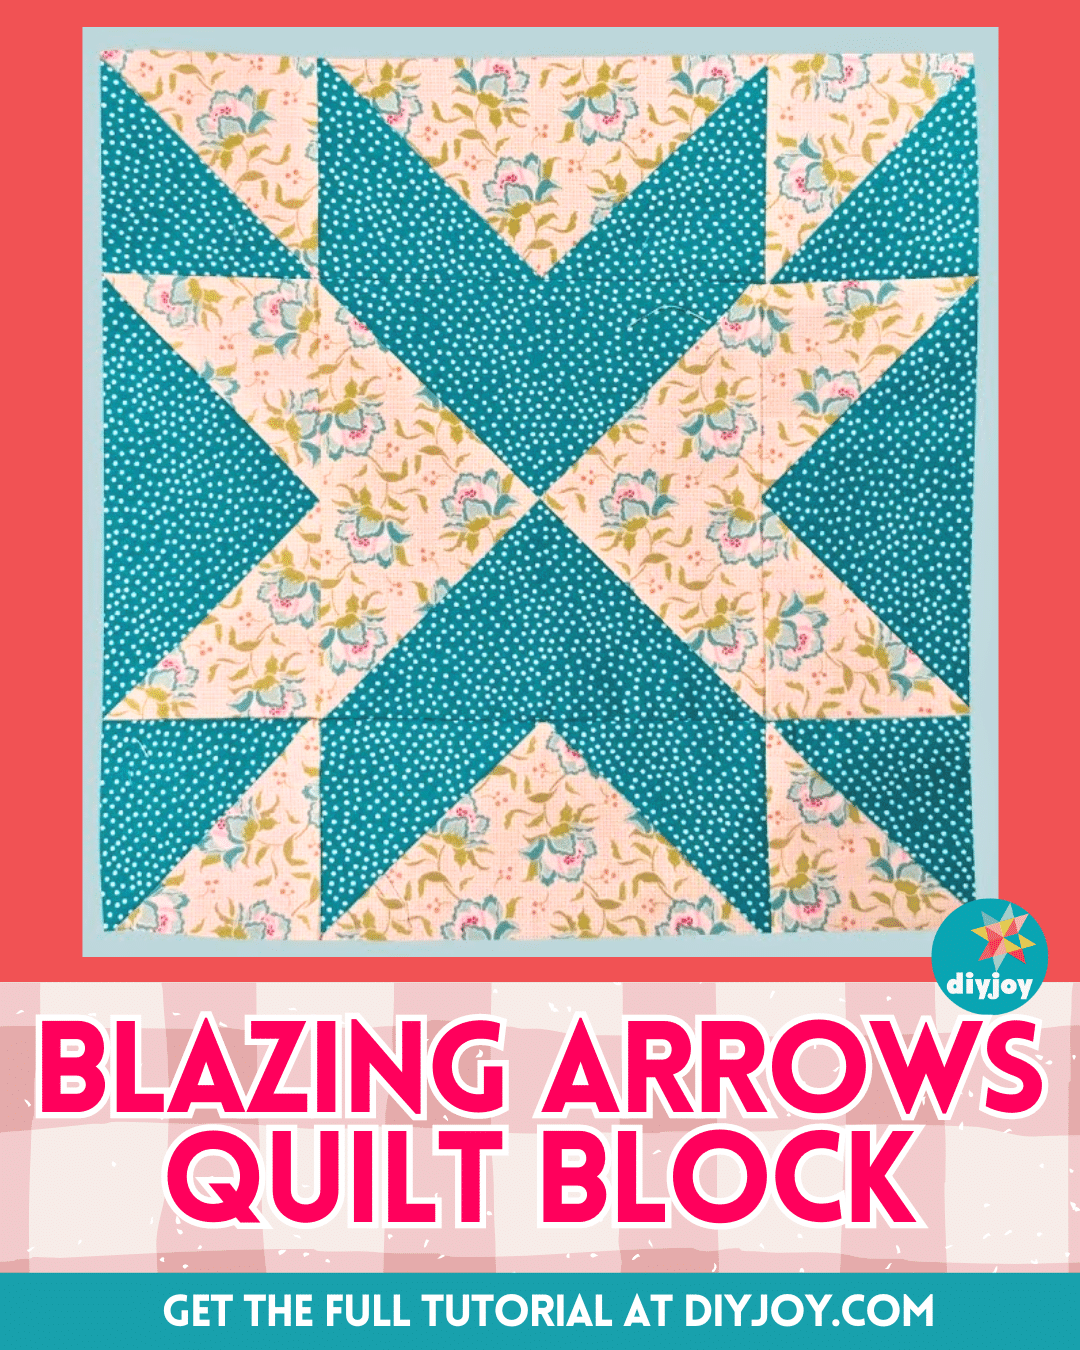
Easy Blazing Arrows Quilt Block Tutorial

Easy Blazing Arrows Quilt Block Tutorial


