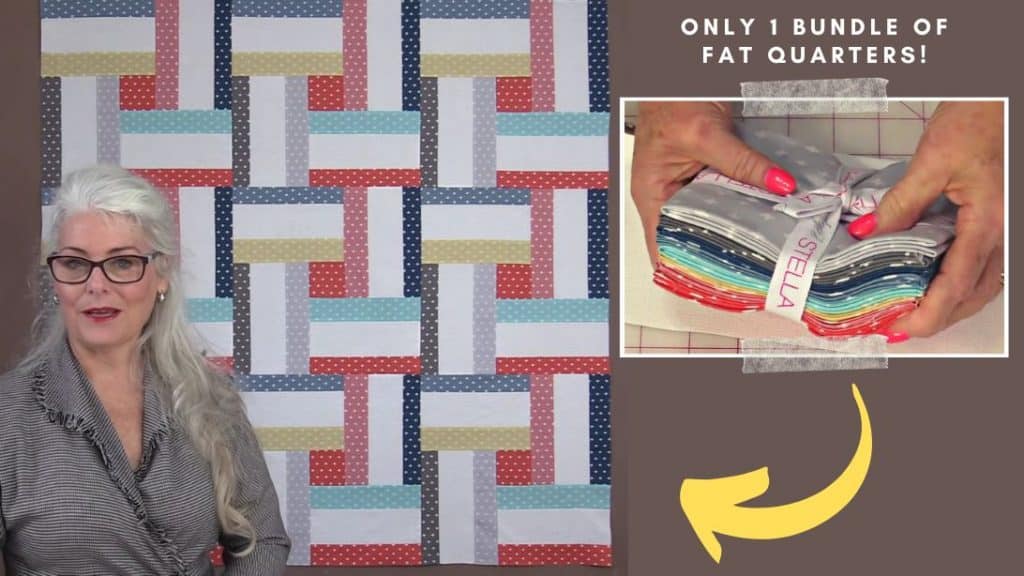
This lovely quilting project by SewVeryEasy may look intimidating and complicated to make, but you’ll be surprised at how easy it actually is! No difficult patterns or shapes are needed in this project, all you’ll be using are a bunch of strips, and you’re done. Try it out now and be fascinated with the lovely result.
Materials:
- A bundle of fat quarters or 8-9 pieces with different colors
- 1 yard of solid color fabric
- Fabric for backing and binding
- Iron, for pressing
- Needle and thread
- Scissors or rotary cutter and a cutting mat
- Sewing machine
Directions:
Step 1
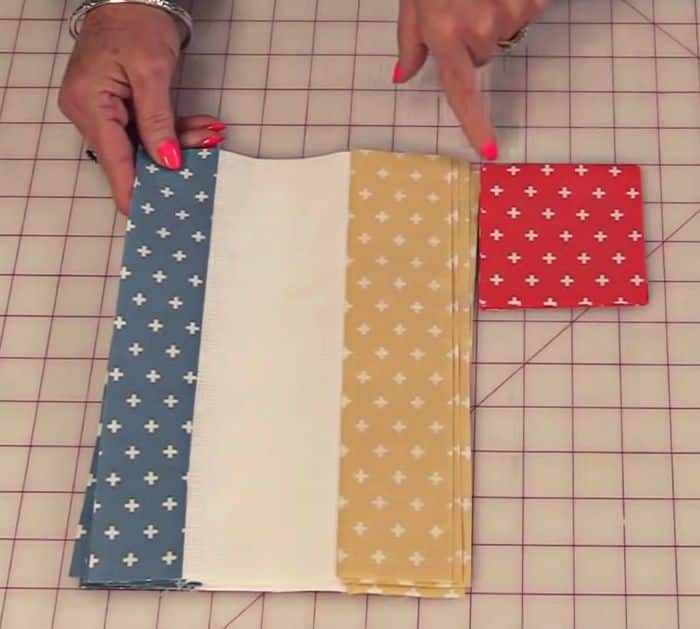
Cut 9 pieces each of 4 different colored fat quarters into 10 x 2 inches, then cut 9 pieces each of another 4 different colors of a fat quarter into 10 x 2½ inches, 9 pieces of the solid color fabric into 10 x 3½ inches, and 9 pieces of a single colored fat quarter into 3½ inches squares. Assemble the 3 units together with the 10 x 2½ inches strips at the top, then the solid color in the middle, and the thinner or 10 x 2 inches strips at the bottom. Alternate the color of the strips at the top and bottom four times and you should have 4 different sets with 9 units each. After sewing the units together with a size of 10 x 7 inches each, give them a nice press with the seams going in the direction that you want. You’ll need 1 unit from each set to create a block.

[social_warfare]
Step 2
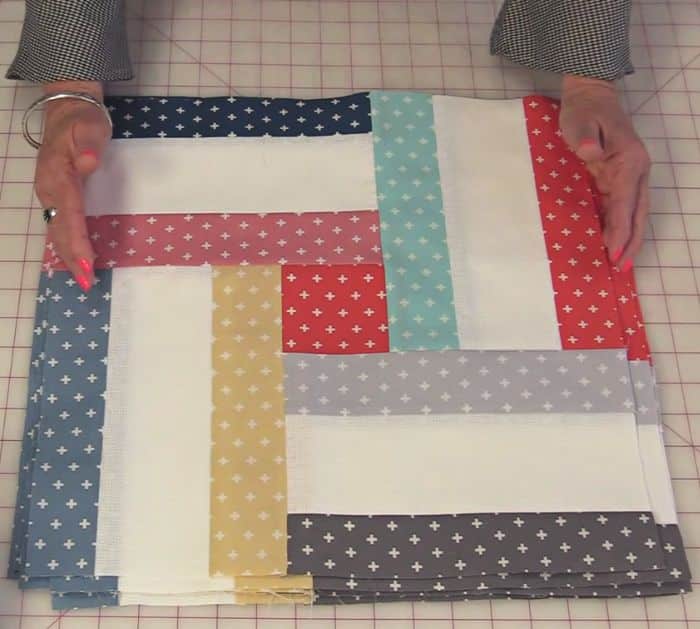
Put 1 square in the center, then place the 4 units around the square lining them up to the center square nicely, make sure that the side with the thinner strip is always facing outside the block. Sew them together, then press, and square them down as needed. Now, sew the rest of the units together in a block making sure to arrange them the same way that you did the first block, they should all be the same. Once they are all sewn and trimmed down to the same size, sew three blocks together to create a single row, then sew the three rows together, keep the blocks going in the same direction, and press them nicely. Finish your quilt by adding a backing and binding to them.

*All image credit belongs to SewVeryEasy via YouTube. Follow and subscribe to her channel for more!


