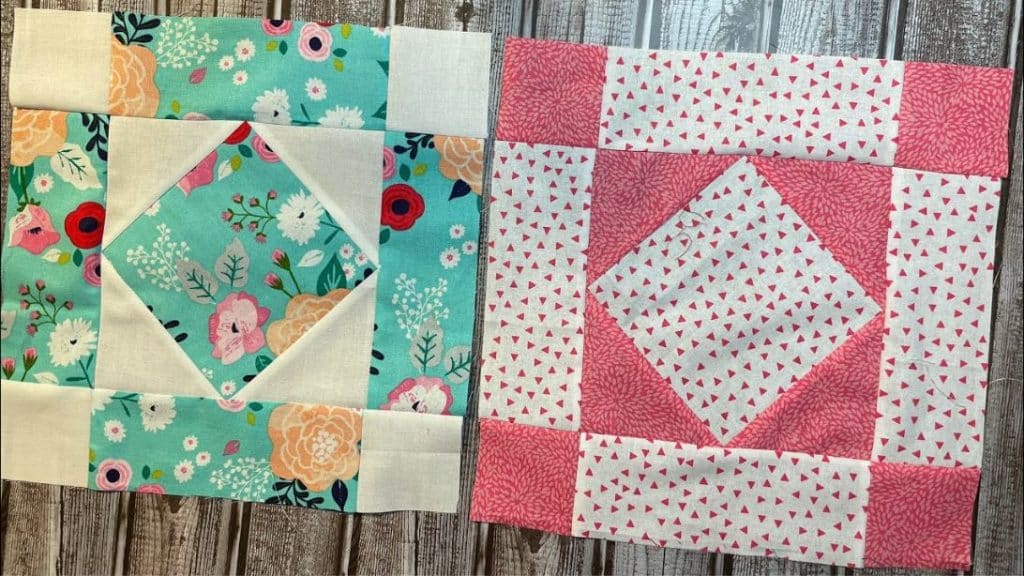
This quilted block tutorial by Cut and Create on YouTube is a simple project that you can try if you want something easy and quick to put together. This block’s pattern looks so pretty and you can make a lot of pretty quilts with this, too!
Materials:
- 4 pieces of 2.5 x 2.5″ fabric squares
- 2 pieces of 4 x 4″ fabric squares
- 1 piece of 5″ fabric square
- 4 pieces of 2.5 x 6¾” fabric rectangles
- Ruler
- Scissors or rotary cutter and a cutting mat
- Iron, for pressing
- Fabric pins
- Sewing machine
Directions:
Step 1
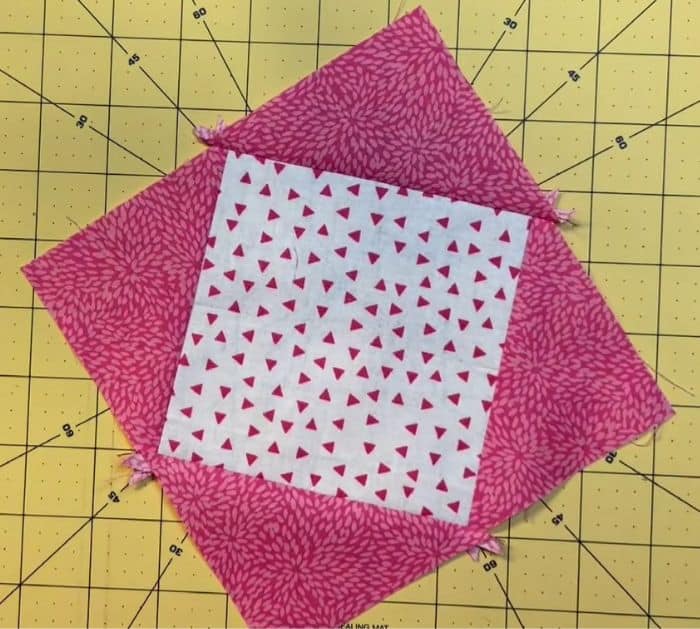
The first thing that you have to do is to cut the fabric according to the sizes needed for this quilt block. Next, get the 2 squares at 4×4″ and stack them together nicely before cutting them all together in half diagonally. After cutting them from corner to corner, fold them in half and line them up nicely, then find the midpoint, and press. Get the 5×5″ square fabric, then lay it at the center, and place the 4 triangles on each side of the square with their straight edges matching. Pin them in place, then sew with a ¼” seam allowance, and press nicely.

[social_warfare]
Step 2
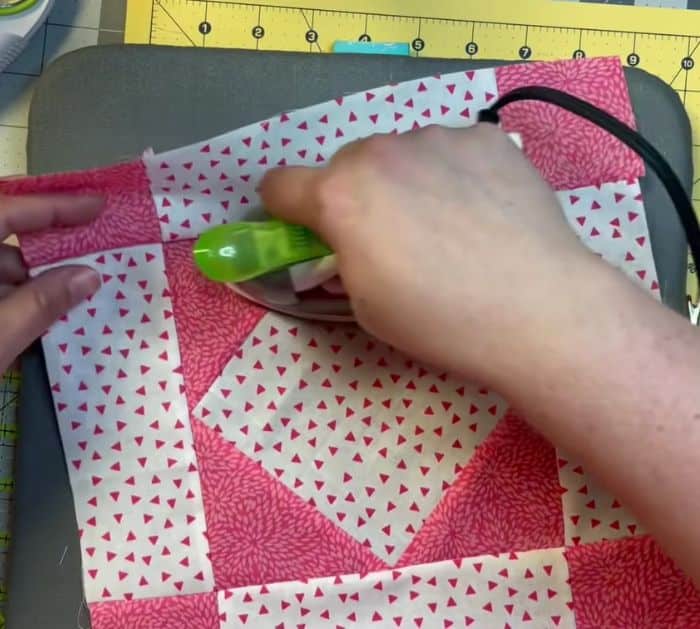
After sewing, all of the sides, pivot the patchwork so that you have a diamond shape at the center, then place a ruler on top of the fabric, and trim the sides to make them straight. Now, get 4 pieces of 2.5″ squares and place them on each outer corner of the patchwork making sure that their pointed corners are lining up nicely, then place the rectangles in between each corner square. Sew the first row of small squares and rectangles together, then proceed to the next until you’re done, and give them a good press. Finally, sew the rows together, then give them a good press, and you’re done with your quilt block.

*Thanks to Cut and Create via YouTube for all images used here. Give her channel a visit and subscribe!


