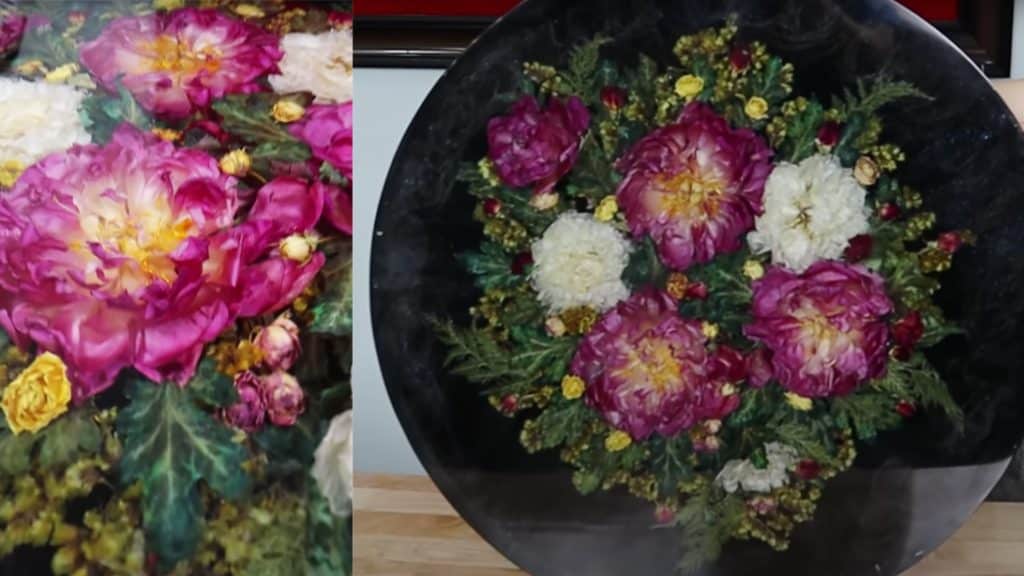
By preserving your favorite flowers that have sentimental value to you, they will remain in bloom forever. OHE shares with us this straightforward tutorial that you can easily follow. Place your resin art on your favorite side of the house when you’re done.
Materials:
- Flowers of your choice
- Silica sand
- Tweezers
- Containers with lids
- Resin
- Black paint
- Round mold
- Hot glue
- Sand Buffer
- Sandpaper
- Cloth buffing wheels
Directions:
Prepare all the needed materials.
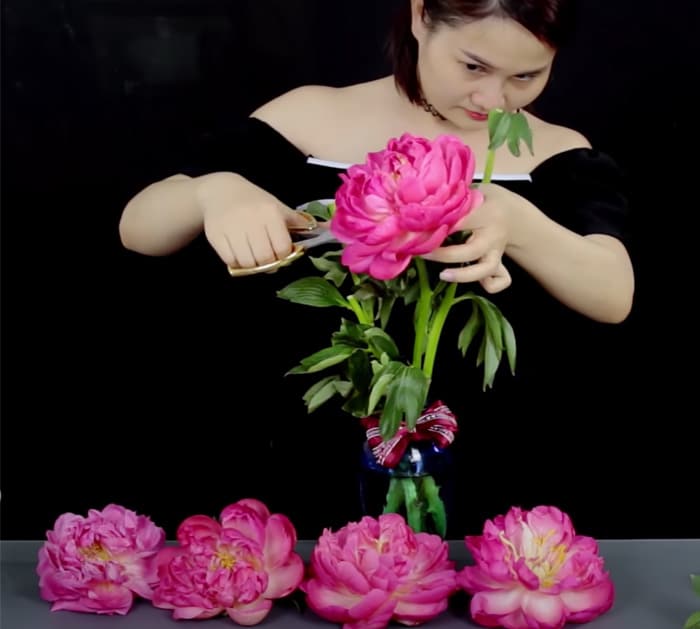
Ensure the flowers are hydrated before cutting by placing them in a jar with water and misting them. With clean scissors, gently remove each flower bud from its stem. Using clean scissors avoids contamination and fast rot. Put silica sand in a container that is the size of your flower. Carefully place the flower on the silica sand to avoid the petals coming off. Pour silica sand over the flower. Make sure to cover every petal.
Preserve the flowers by sealing the container with a tight lid and letting them stay for a few days or a week.
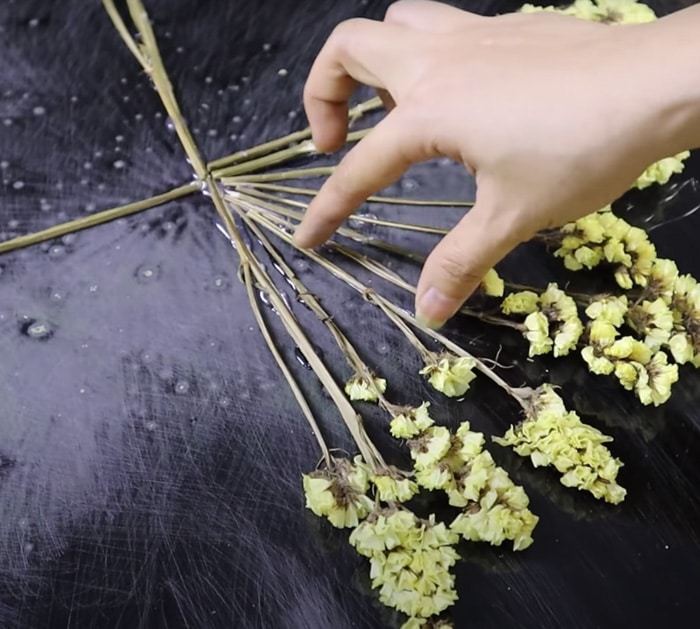
Remove each lid, and carefully take the flower off the silica sand by using tweezers. Prepare the resin mixture in a plastic container and add black paint. Mix well until both liquids are incorporated. Pour over a round mold. Form a ring of flowers into a circle and lay it flat. Using hot glue, press the flowers onto the resin and the ring of flowers. Arrange before or as you go. Follow your creativity!
Add in preserved leaves and tiny preserved flowers. Mix another resin mixture good enough to cover the arranged flowers. Make sure to mix it in a plastic container. Gently pour over the mold just ¾ of the arranged flowers. Let it dry by using a heat blower. Add another layer of dried leaves. Pour in the remaining resin in layers.
Dry each layer with a heat blower. Carefully remove the mold from the resin art. Prepare your sand puffer and buff the top layer following a water buff.
Then, use a cloth buffing wheel to smooth out the clearing solution for the resin.

