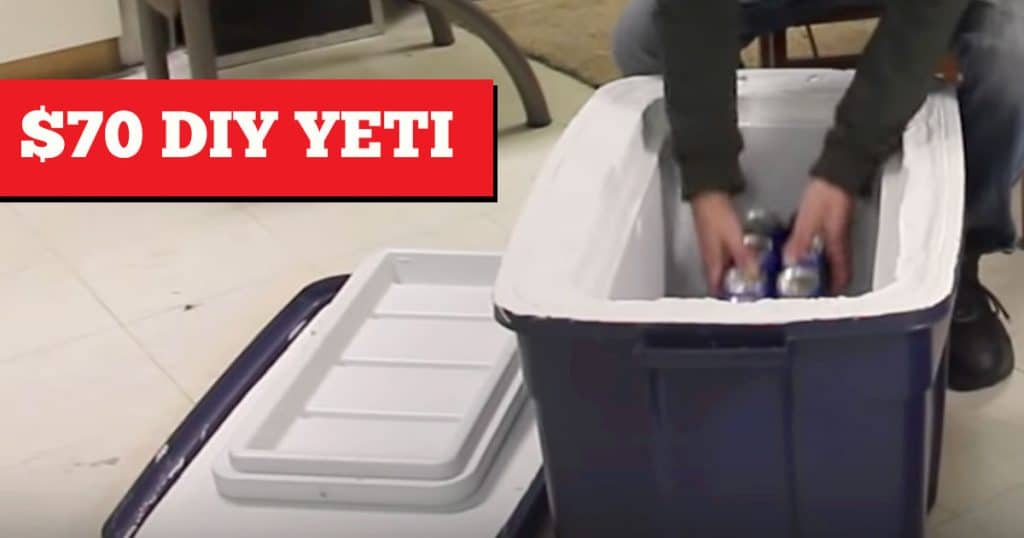
The Yeti coolers are a phenomenal development of modern technology, I have been wanting a Yeti cooler for so long but they cost between $250 and $1000! I have so many bills and obligations, I could never see that fitting into my budget, but I found this project idea on Youtube for a DIY Yeti for $70, and knew I had to make one. The instructions were super easy to follow and the project was a lot of fun. I got all my supplies from Walmart, a traditional cooler, 10 cans of spray foam, a Rubbermaid storage container, and 4 small styrofoam squares.
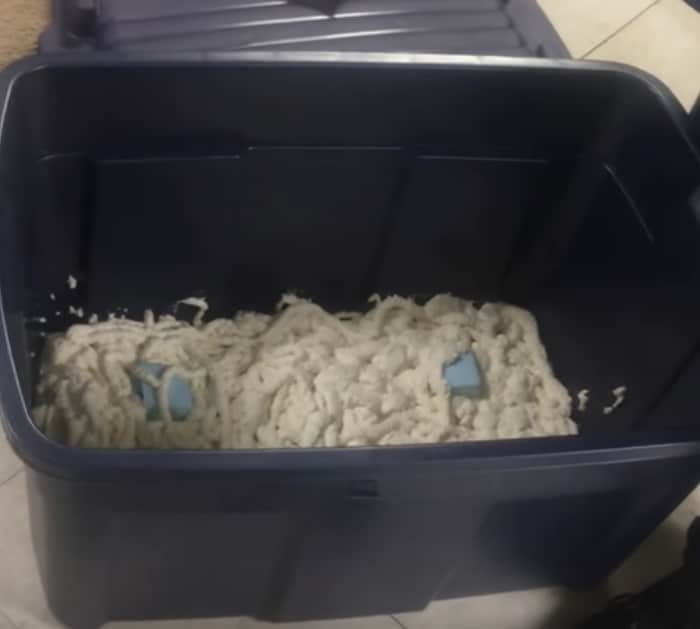
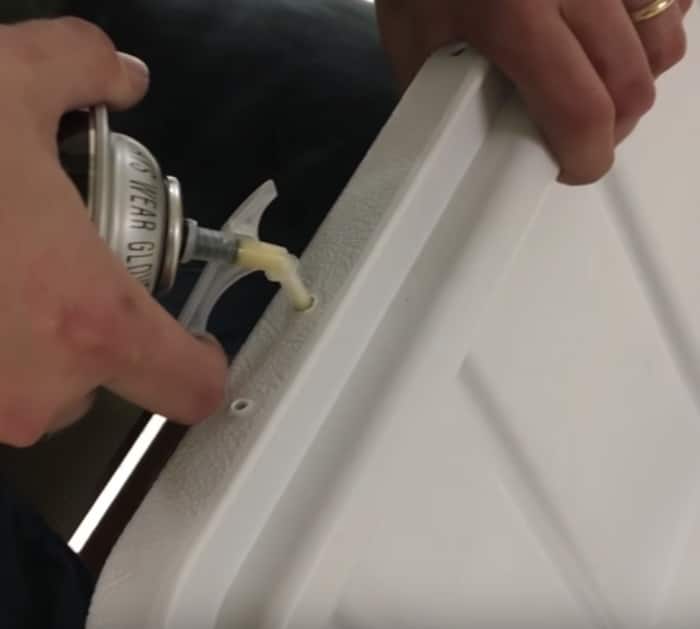
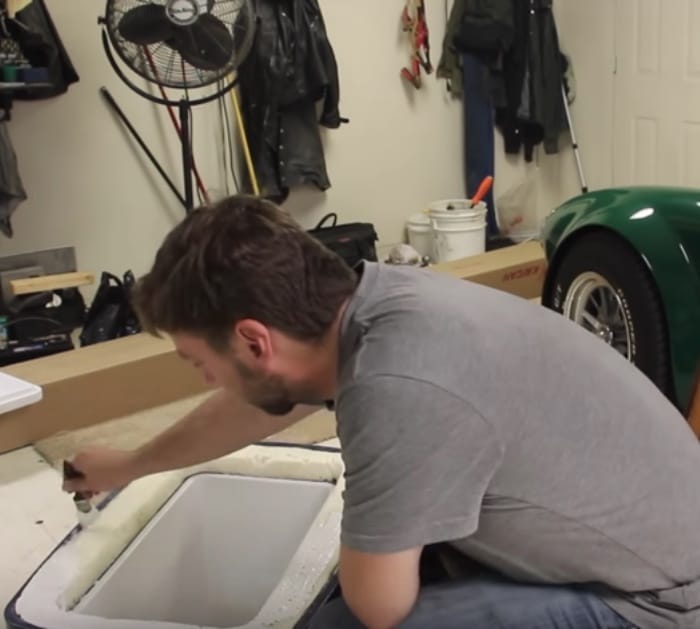
The idea of a Yeti is a double insulation construction, so basically you are just putting a cooler inside another insulated cooler, once I understood that basic premise I was ready to steam through this project like a bat out of the blue! I glued the 4 styrofoam squares down to the Rubbermaid storage container then started spraying the foam. I set the traditional container inside the Rubbermaid container and sprayed foam in the sides, you let the foam expand and cure for about a day. Also, drill some holes alongside the traditional container lid and spray foam inside it.
When the foam is expanded and dry, file it down even with the edges of both containers and give it a coat of a sealing paint, roofing paint is a good choice.
I was so excited about my new Yeti creation, I told my friends over the phone I was coming over with a surprise. They were laughing already and did not even know what I had done this time. I got there with two 18 packs, which wasn’t a big surprise, it was a normal sort of gesture coming from me. But then I had gotten my best friend to walk around the house and ring the bell. I had placed the DIY Yeti right on the doorstep. My troop of beer lovers went to the door and let out a yelp! They all demanded one of our famous group bear hugs! Then we put on the Hank Jr. and rocked all night.
DIY Yeti Cooler

