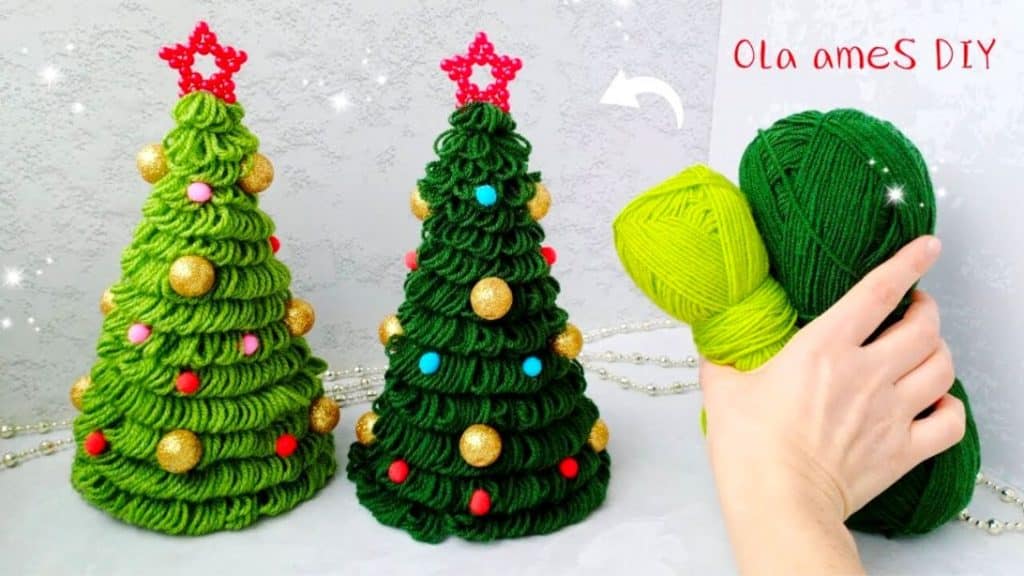
Celebrate the holiday season by making this adorable DIY wool Christmas tree for your home. Aren’t these cute? They make perfect centerpiece decorations for your tables. It’s an easy project you can do with the kids! Learn how to create this beautiful decor piece with this tutorial by Ola ameS DIY on Youtube.
Materials:
- ruler
- a thick piece of paper
- pencil
- scissors
- green wool
- tape
- hot glue
- 25 red beads
- thread and needle
- small decorative balls
[social_warfare buttons=”Facebook,Pinterest,twitter,WhatsApp”]
Instructions:
Step 1:
Get a piece of paper and make a quarter circle with a 7.9 inches radius. Place your ruler on one corner and measure 7.9 inches, then make a mark. Change the angle until you reach the other side, marking every movement. Connect all the dots to make the quarter circle.
Step 2:
Cut the quarter circle and make it into a cone. Secure it with tape.
Step 3:
On the excess paper, trace the bottom circle of the cone, then cut. Glue it on the bottom of the cone.
Step 4:
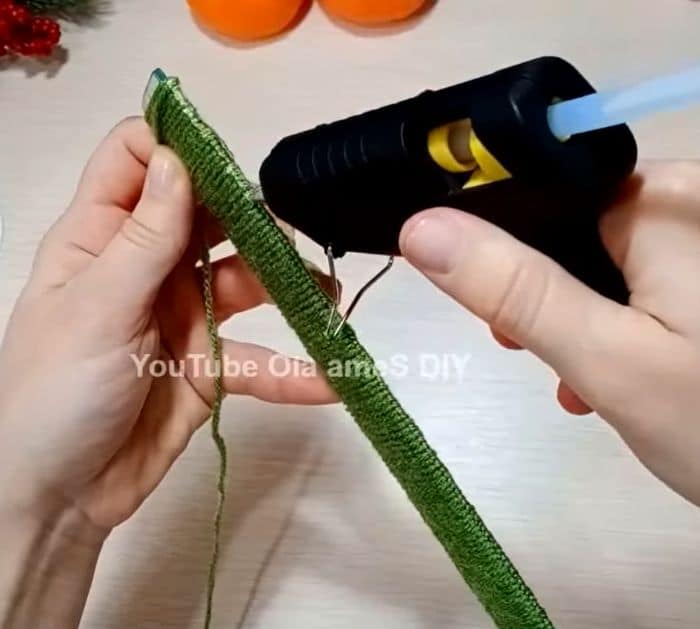
Get your ruler and green wool. Secure the end of the wool to your ruler by making a knot. Loop it around the ruler from one end to another. Make sure every loop is tied. Watch the video below to see how to do it.
Step 5:
Once done, put hot glue on the side with knots. Let it dry then gently remove it from the ruler. Make 4 or more.
Step 6:
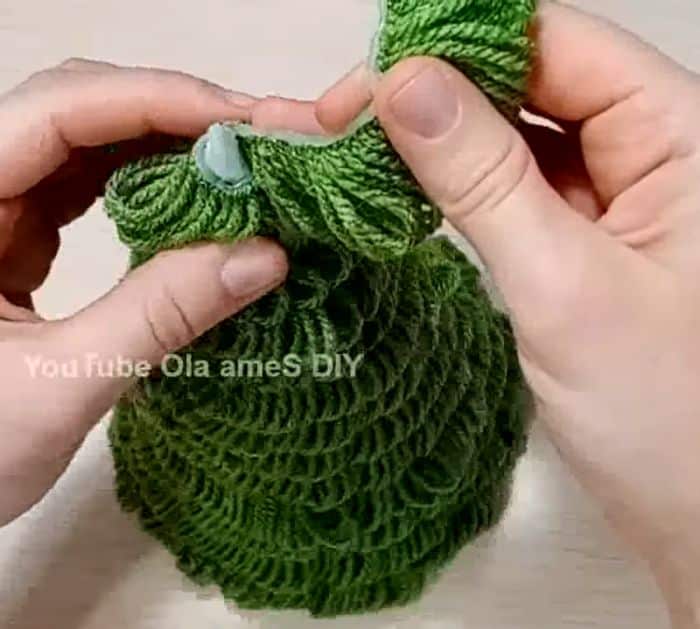
Wrap them around the cone and secure them in place with hot glue. Start from the bottom to the top. Once you reach the top, cut the excess wool.
Step 7:
Cut a small piece of wool, then set it aside. Loop some wool on your 2 fingers then tie it in the middle using the small piece. Cut the excess. Spread it and place it on top of the Christmas tree.
Step 8:
Insert 10 red beads on a needle with thread. Tie the ends of the beads together, then insert the needle into the beads again. Put 3 beads on the end of the thread and insert the needle on the second bead on the circle. Do the same for the remaining beads to make a star.
Step 9:
Place the star on top of the Christmas tree then decorate it with the balls.

