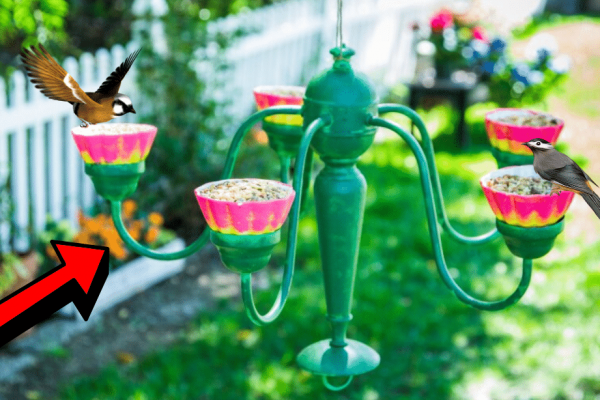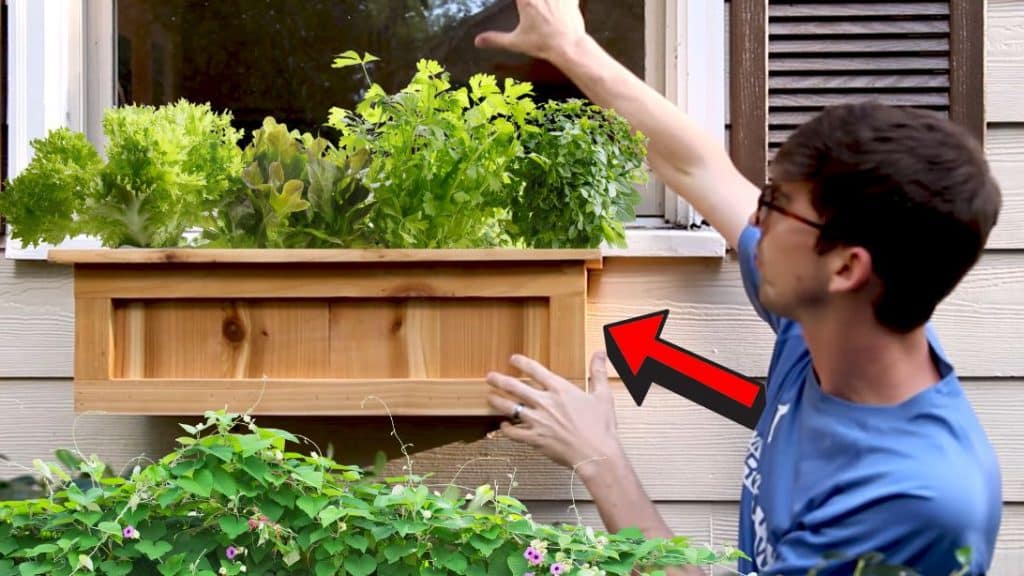
I love adding herbs to my food and always wanted a herb garden. We don’t have space for it, but we have a window in the kitchen, so I thought of making a DIY window planter box instead. I’m glad I found this simple tutorial by Make or Break Shop, and now I have fresh herbs at home!
Materials
- planter insert
- 5 pieces of fence pickets
- 2 pieces of 1x4x6 cedar board
- wood glue
- brad nails
- sandpaper
- decking screw
- potting soil
- plants
Note: the dimensions are based on the planter container
[social_warfare buttons=”facebook,pinterest,twitter,whatsapp”]
Instructions
Step 1:
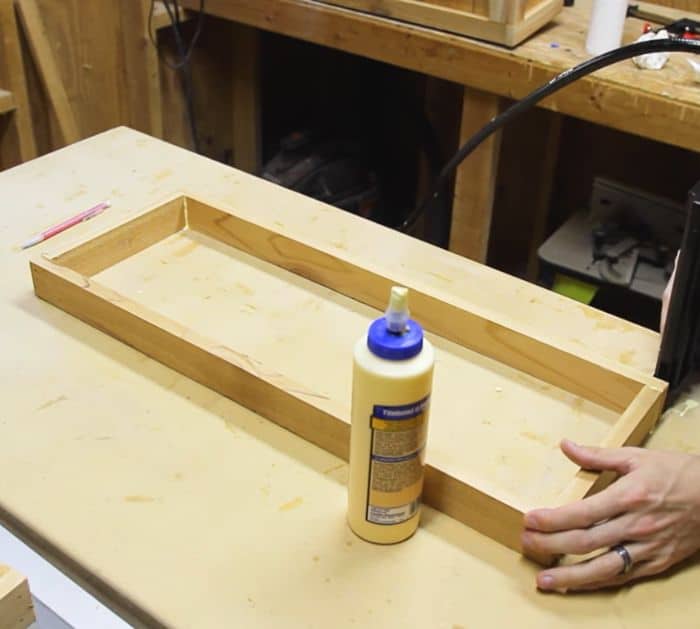
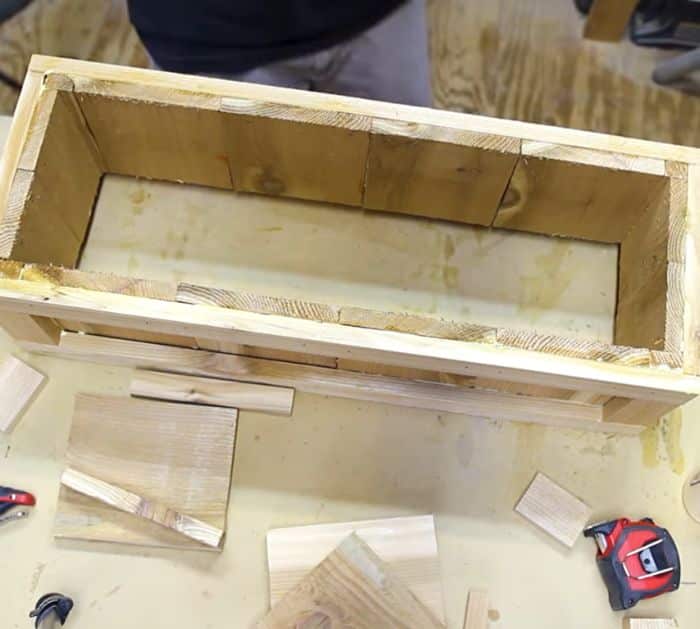
Build the frame of the box. Cut the cedar fence planks into 1″ thick pieces.
Step 2:
Measure the dimensions of your planter insert and cut the base frame based on that size. Make sure to add 1 inch for both the width and length to account for the pickets that will be attached to the inside. Repeat to make 2 frames for the top and bottom.
Step 3:
Attach the frame with wood glue and brad nails.
Step 4:
Make the wooden pickets. Cut them down to size to leave a 1/2″ gap at the bottom and a 1/4″ at the top. This will allow the top lip of the flower container to extend beyond the frame and the base to be inserted. Split the difference into both sides of the frame and attach it with glue and brad nails.
Step 5:
Cut the vertical supports and glue them into place. Butt the vertical supports against each other at the corners.
Step 6:
Attach the top frame by gluing and nailing it. This will sit on top of the vertical supports and is attached to the interior pickets.
Step 7:
Measure the width of the bottom, then cut two pickets of the same size based on the measurement. Glue and nail it in place.
Step 8:
Make the lip. Cut a strip of wood the same width as the pieces used for the frame to the size of your box. The corners will be cut at a 45-degree angle with a miter saw. Attach them with glue and brad nails.
Step 9:
Sand and coat.
Step 10:
Cut a scrap piece of a picket. It should fit inside the back frame. Drill it to your wall. Next, place the plaster against the board and drill two 3″ decking screws from the inside of the planter.
DIY Window Planter Box