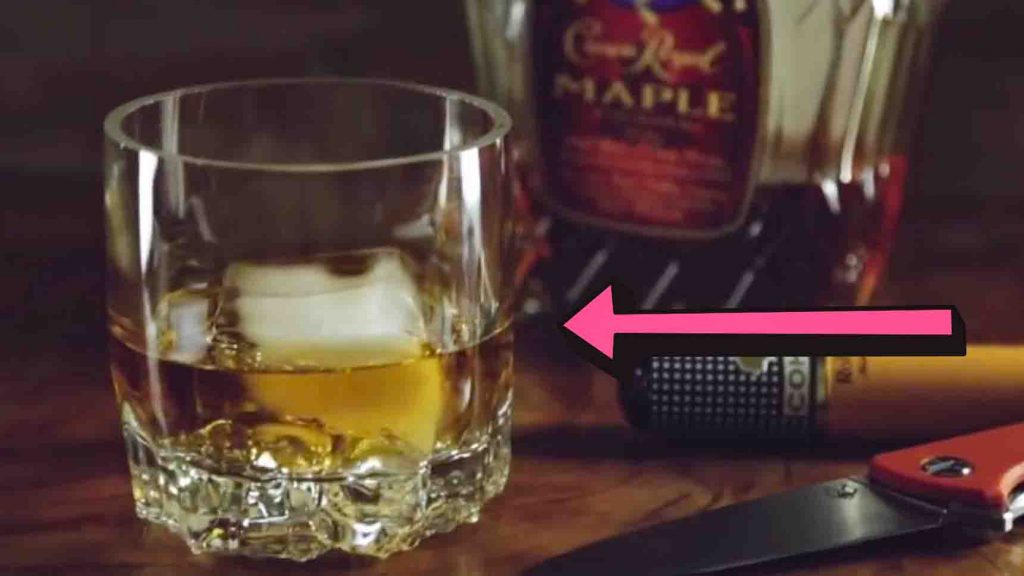
If you have some fancy-looking wine bottle that you think will look good as a whiskey glass, this DIY tutorial from Inspire To Make on Youtube is perfect for you! You will learn how to cut your wine bottle efficiently with this easy technique that doesn’t require a lot of materials. The end product will blow your mind, I’m sure! Watch the video tutorial below to learn the step-by-step instructions.
Materials:
- wine bottle
- a jig (or a DIY one, see video below)
- glass cutter
- boiling water
- cold tap water
- sandpaper
Directions:
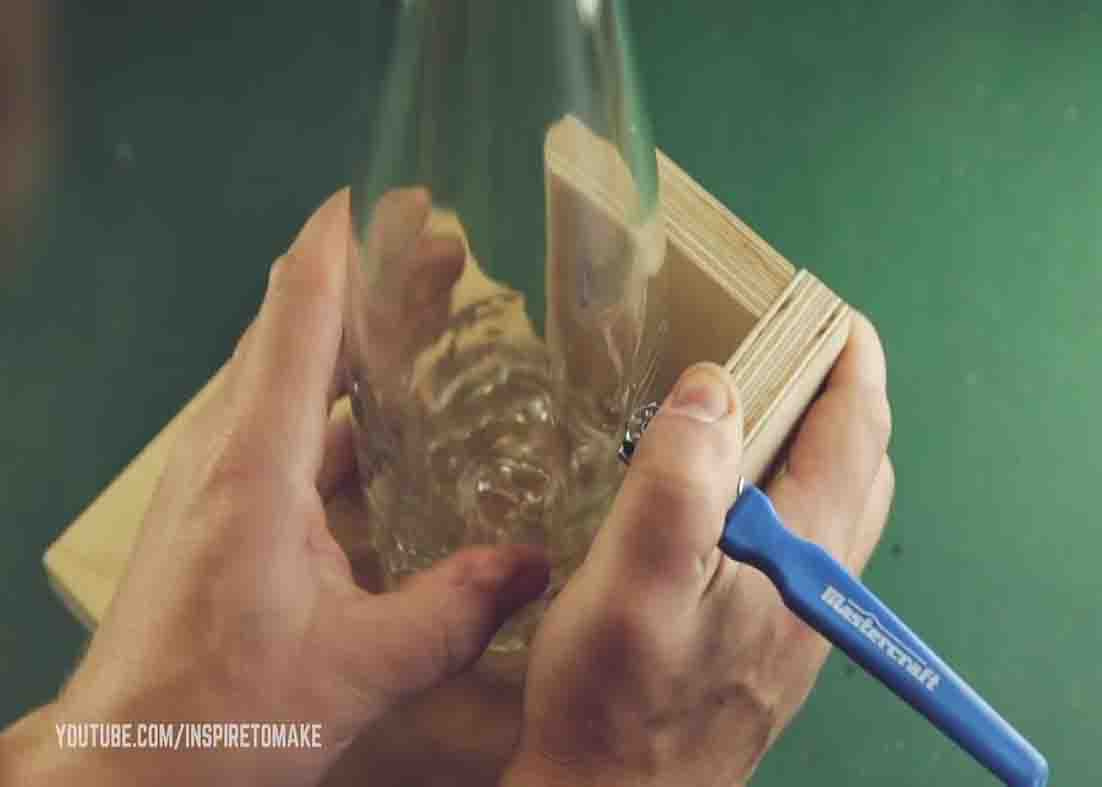
Step 1
To start, place the wine bottle on the jig and start making a cut line with your glass cutter. (Be very careful and gentle on this step.) After this, boil some water and run your tap with cold water. Wait for the water to boil before going to the next step.
[social_warfare]
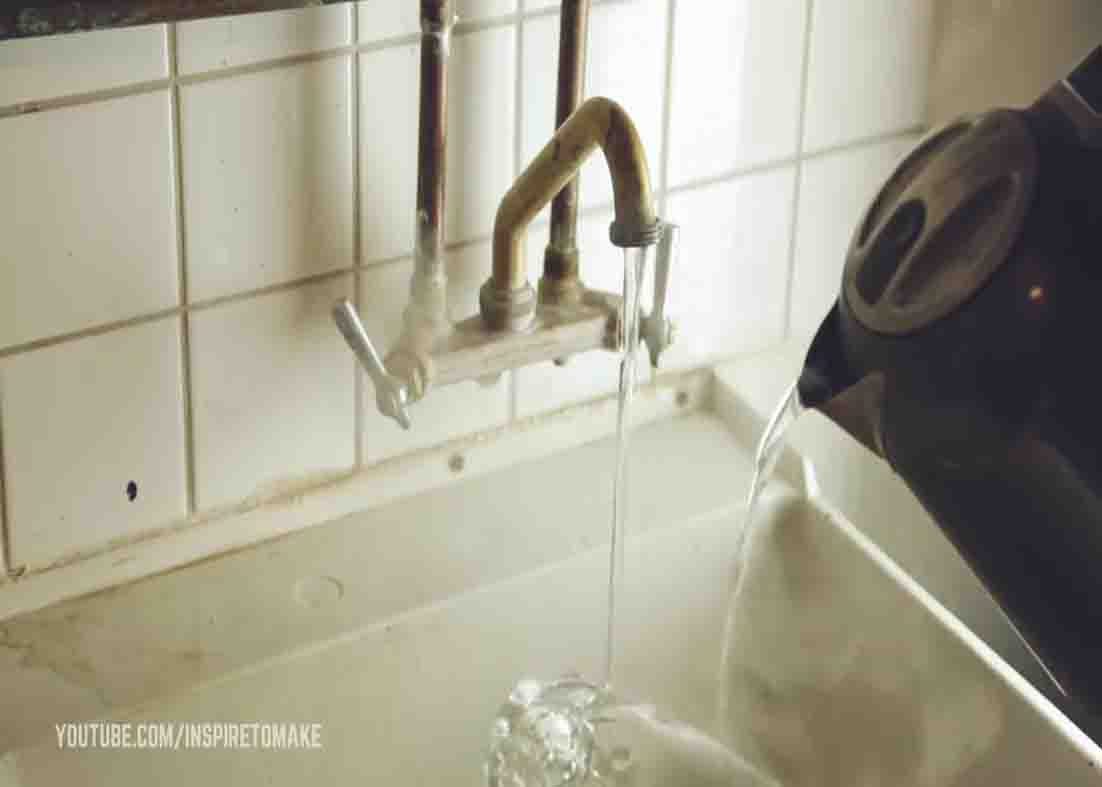
Step 2
Once the water boils, run your bottle first through the cold tap water, then carefully pour the hot water all the way around the bottle at the same time. After pouring the hot water, just continue to run cold water into the bottle until it snaps into two. Now, sand down the sharp edges on top with different sandpaper to finish off the DIY whiskey glass.
DIY Whiskey Glass From Wine Bottle Tutorial