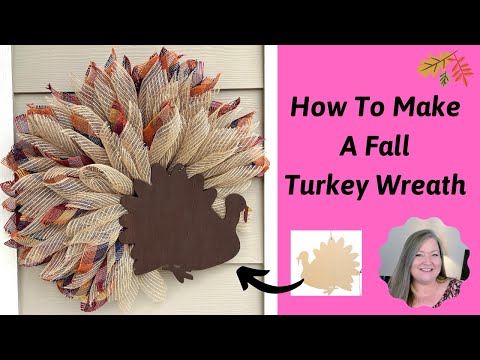
Thanksgiving is right around the corner! Have you finished decorating your home? If you haven’t, here’s a DIY turkey Thanksgiving wreath by Michelle Smith Creations. You can finish this beautiful piece in a day. It’s super easy to make. To create the feathers, she used the sunburst method. You take out a strip of mesh, fold two opposite corners a little bit, pull them towards the center, gather in the center, and then fold. Once you’ve done five pieces, you’ll master the process.
RELATED: DIY Thanksgiving Holiday Door Wreath
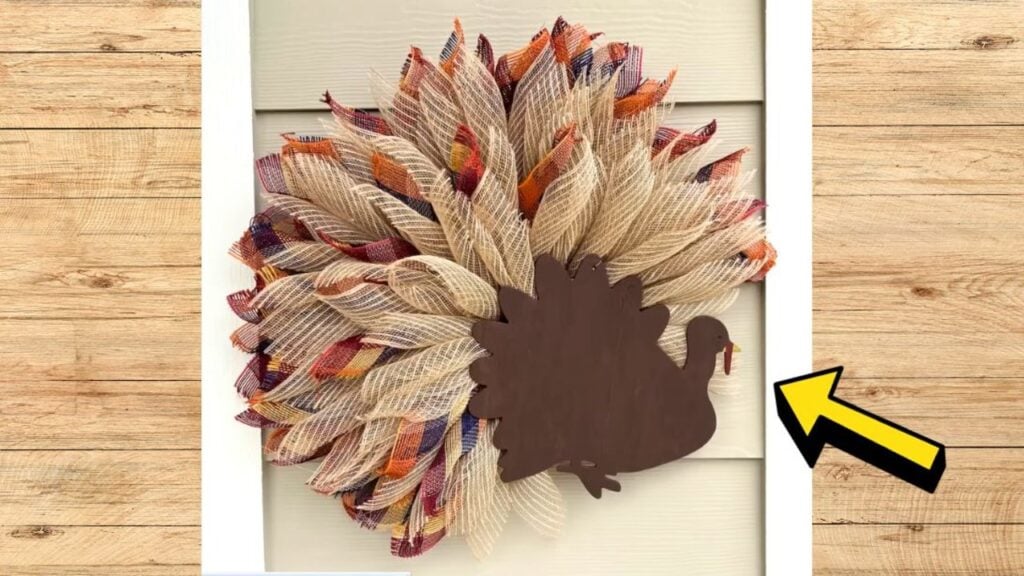
You can find most items she used for this project in Dollar Tree, Hobby Lobby, or Michael’s. It’s the perfect fall craft this season to celebrate the coming holiday. I love how it turned out, especially the feathers! Hang this on your front door and I’m sure your neighbors will be impressed.
Turkey Wreath Materials
- glue gun and glue sticks
- wire cutters
- scissors
- silicone spatula
- ruler
- floral wire
- zip ties
- pipe cleaners
- paint and paint brushes
- Minwax finishing paste
- wood glue
- Elmer’s glue
- 1 piece of 14-inch wire wreath form
- 2 wood cutout turkeys
- 1 piece of 10 x 10 jute color mesh
- 1 piece of 9.5 x 19 ft checkered mesh
- plastic canvas
[social_warfare buttons=” Facebook, Pinterest, Twitter, WhatsApp”]
How to Make a Turkey Wreath for Thanksgiving
Step 1:
Glue the two wooden turkey cutouts to make them sturdy. Weight it down with a book and let it sit overnight.
Step 2:
Paint the turkey with your preferred color. She painted the body with a dark rich brown color, gold for the beak and red for the gizzard. For the eye, use a marker.
Step 3:
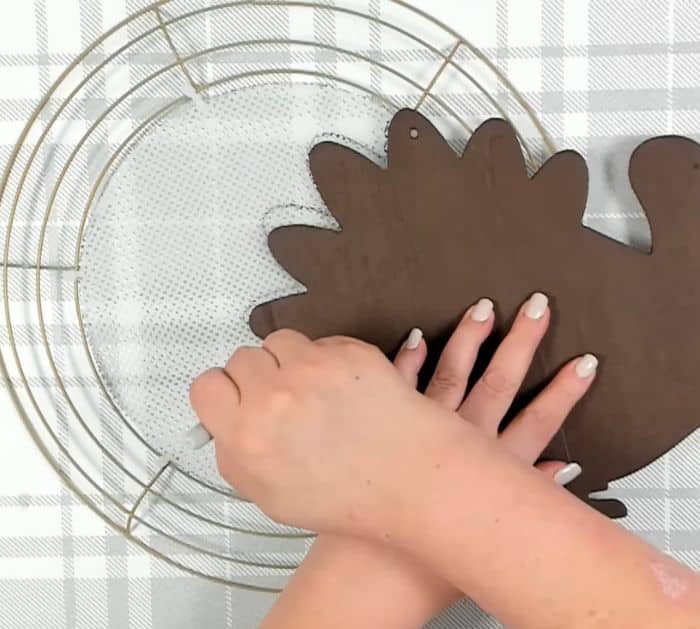
Place the wreath on top of the plastic canvas and trace the inner circle. Cut it out and attach it to the center of the wreath using nylon ties. Put one zip tie on each crossbar. Once done, trim them.
Step 4:
Attach your turkey to the wreath. The hole on top should be on a crossbar and the down and side parts should cover the wire frame. Take your marker and trace it on the center plastic canvas. Attach it using a floral wire and pipe cleaners.
Step 5:
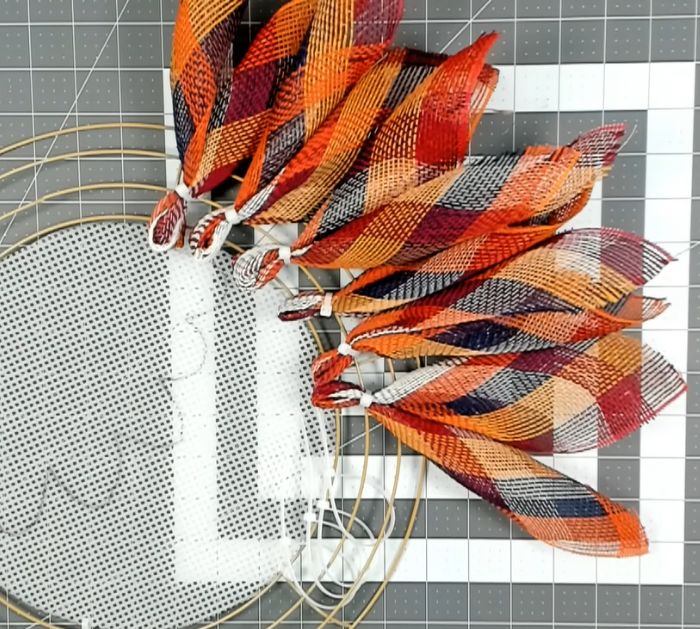
Attach 5 zip ties to the second ring from the center. Cut the mesh into 10-inch strips.
Step 6:
Make the first row. Get one strip from the colored mesh, grab diagonal corners, and slightly pull. Fold the bottom and top corners a little bit. Take both sections and bring them to the middle, then scrunch right in the center. Take those two and bring them together. This is called the sunburst method. Turn it over – you want the cut sides down. Slide it into the zip tie and get it nice and tight. See the photo below for reference. You will need about about 20 bundles.
Step 7:
Make the second row. Do the same sunburst method with the jute mesh and attach them to the plastic canvas. They should be a few inches away from the second ring from the center. The first layer should still be visible when you lay the second layer. Make sure not to cover the turkey part. You will need about 23 bundles.
Step 8:
Make the eight remaining checkered mash on the third layer spacing them evenly. Lastly, add the fourth layer with the 6 bundles of jute-colored mesh.
Step 9:
Paint the turkey with finishing wax. Once dry, attach the turkey.
DIY Turkey Thanksgiving Wreath