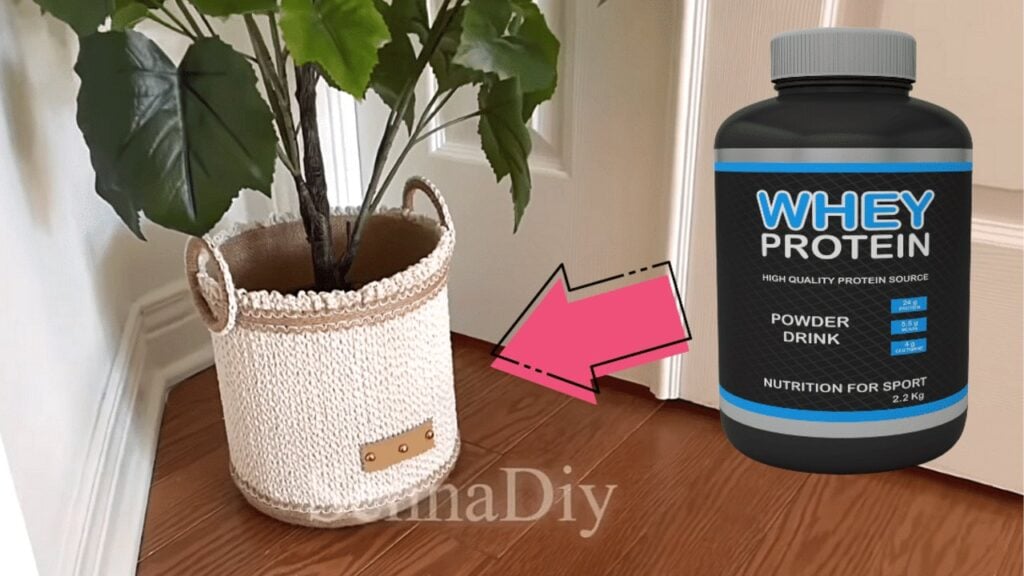
Do you have big plastic powder containers at home? If yes, it’s time to upcycle them and turn them into a beautifully crafted DIY rope basket. Give them a new life instead of just throwing them in the trash. This project turned a simple container into a high-end and expensive-looking plant pot – a wonderful idea from SennaDiy on Youtube. You will love the details and attention she has put on this gorgeous basket. It can be used as a pot for your indoor plants, or you can use it for storage. It definitely adds a natural touch to your space. Watch the video below for the full instructions.
Materials:
- big plastic powder container or plastic bucket
- macrame cotton rope
- jute rope
- burlap
- hot glue gun
- cutter
- cardboard
- crocheting hook
- 2 circular plastic ring
- beige synthetic leather or any cloth (optional)
- 3 gold round beads (optional)
[social_warfare buttons=”Facebook,Pinterest,Twitter,WhatsApp”]
Instructions:
Step 1:
If you have the plastic powder container, use a cutter to cut just below the curve of the top part as you want the sides to be flat. If you have a bucket, you no longer have to do this. Once done, get the burlap and measure your container. Make sure you can cover all sides with allowance. Then glue about an inch to the top of the container, and fold it inward.
Step 2:
Cut out a circle smaller than your round container on the cardboard. Then cut another circle on the burlap, an inch bigger than the cardboard circle. Place the cardboard on top of the burlap, then fold and glue the allowance to the cardboard using a glue gun. Attach it to the inner bottom. Then create another 2 circles using the cardboard and burlap. Measure your container, so you’ll have the correct measurements. Once you have them, stick them to the outer bottom of the container.
Step 3:
Now, glue your jute rope around the container. Start on the bottom and use a glue gun to secure it. Stop until you reach just above the curved bottom.

Step 4:
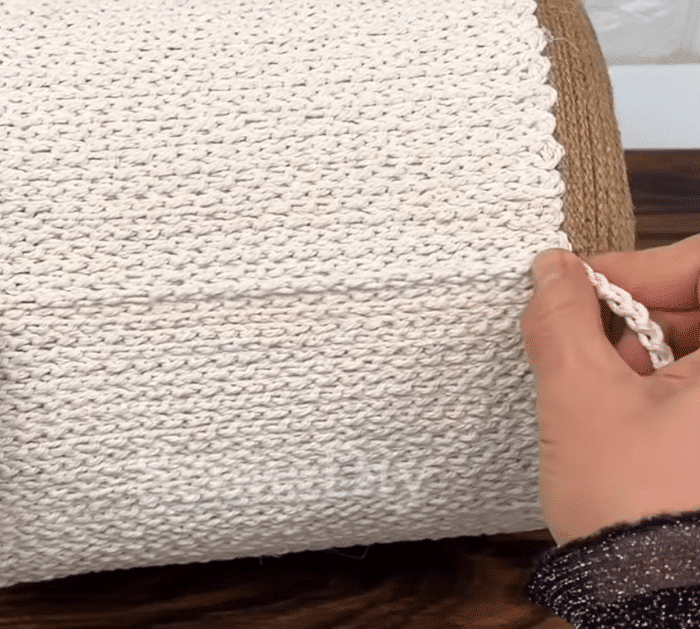
Get your macrame cotton rope and crochet to create a cord long enough to cover the container in a vertical pattern. Once done, you can now glue it to the container using a hot glue gun. Start with a vertical line, then continue until you reach where you started. Make sure to leave a little allowance just above the top of the container to create a frill look. Next, get the jute rope and cover across the ends of the macrame cord. Also, glue some jute rope around the top for design. If you have ribbons with design, glue them on top and bottom.
Step 5:
Get your 2 circle rings, then cover them with jute rope. Once done, glue some of the extra macrame cord on the sides of the rings. Then attach it to the opposite sides of the container as a handle. Next, get your synthetic leather and cut a rectangle using zigzag scissors. Glue it on the bottom part of the container and embellish it with the gold beads.
DIY Rope Basket


