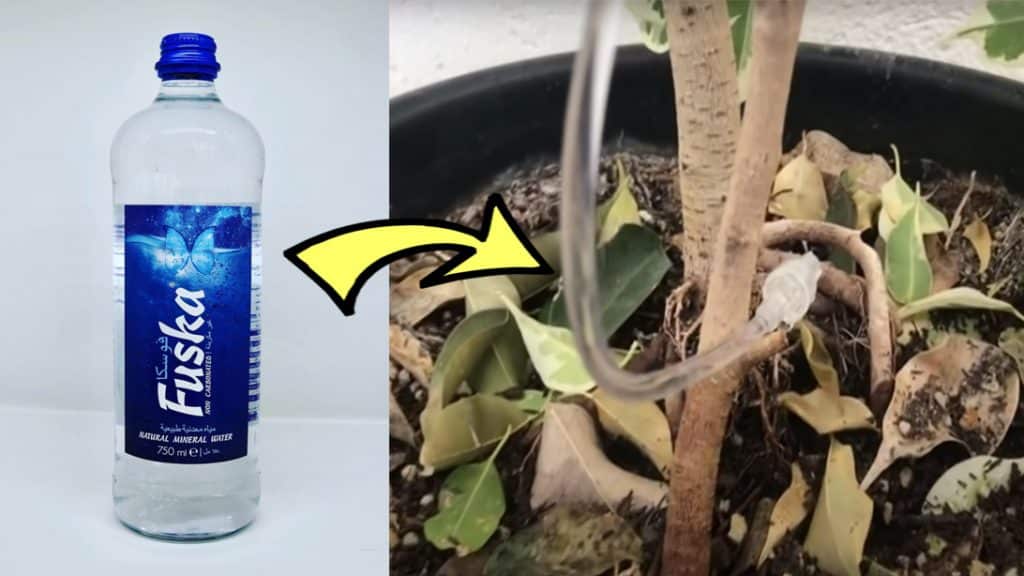
There are countless possibilities for repurposing a mineral water bottle. When you look for thoughts on this subject on the internet, you will never run out of options. But did you know that you can construct a DIY dip waterer out of a plastic bottle with a little imagination? People who have a garden and need to water their plants on a daily basis may find this very useful. This does not necessitate the purchase of a costly item. Nature Plus on YouTube provides us with a very simple video on how to change a simple plastic water bottle into something more useful.
While on vacation, you can use the water collected from this DIY project to irrigate your plants. Because this piece can be used as part of a self-watering system for your plants, it is highly recommended.
Materials:
- Bottle of mineral water made of plastic
- Scissors
- Drill
- Rope
- Gloves
- Clamp with a roller
Directions::
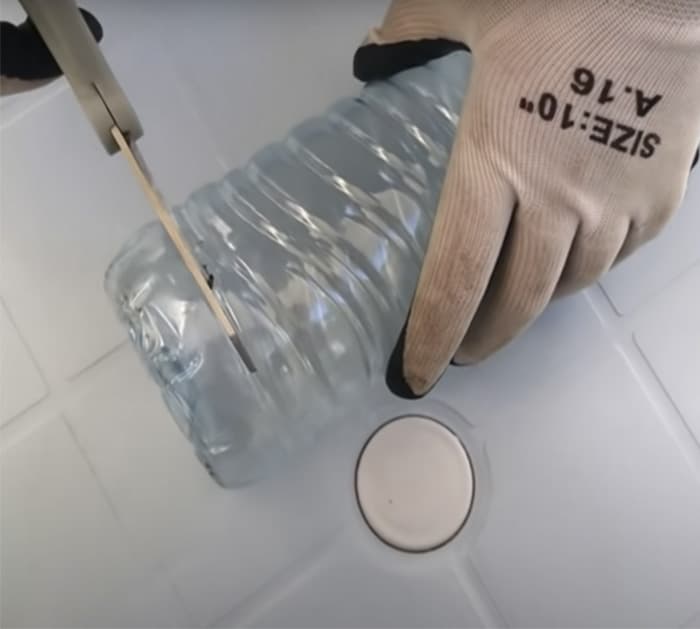
Cut the bottom of the bottle about 80 percent of the way around its circumference. Make two parallel holes below the level of the cut, one on either side of the cut. Take a rope that is 40 cm in length. Each end of the rope should be threaded through one of the two holes and tied together with a double knot.
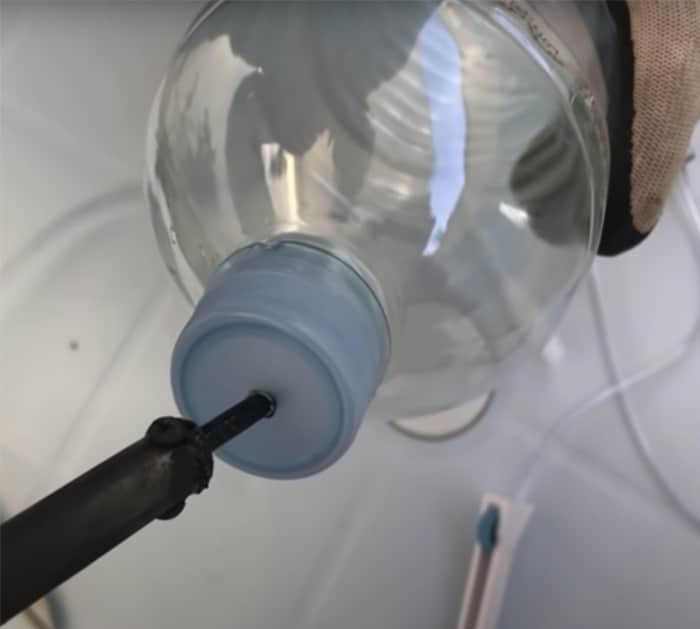
In the cap of the bottle, make a hole that is slightly smaller in diameter than the diameter of a needle attached to the IV line. Insert the spike into the hole that has already been created. Fill the bottle with water and hang it above the plant that needs to be watered. With the roller clamp, you may adjust the rate at which the irrigation runs. A 2 liter bottle will provide enough water to irrigate your plant for two days.
This project will teach you how to build an autonomous drip irrigation system for your garden. The positive aspect of this is that you are repurposing plastic garbage for gardening purposes. You will be participating in a fun endeavor while also contributing to the preservation of the environment.


