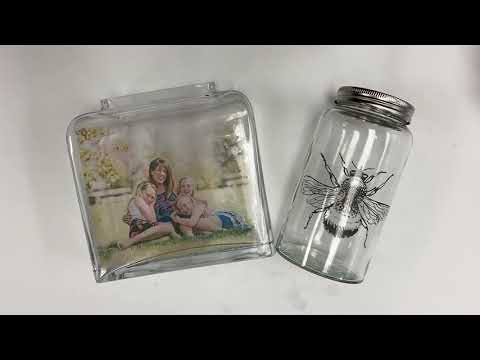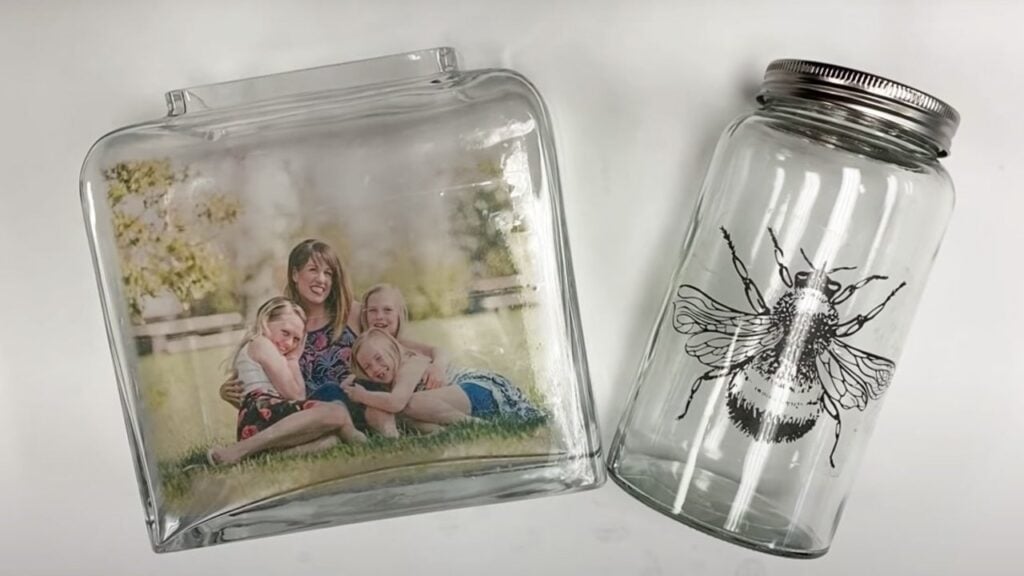
Having a photo frame displayed in your living room is such a common idea. Why not try to make a photo transfer on a piece of nice-looking glass as decor? You can take cues from BFranklinCrafts on Youtube on how to make this happen with just packing tape and a few materials. It’s so easy and simple that you can actually make as many as you want in one day.
Materials:
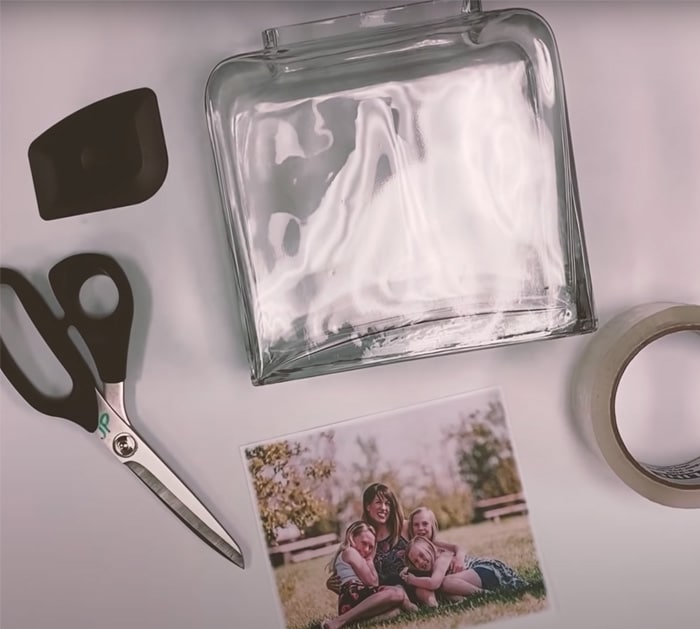
- Glass block
- Packing tape
- Laser printed photograph (make sure it’s reversed)
- Scissors
- scraper
- bin of warm water
Directions:
Lay all the materials on a table.
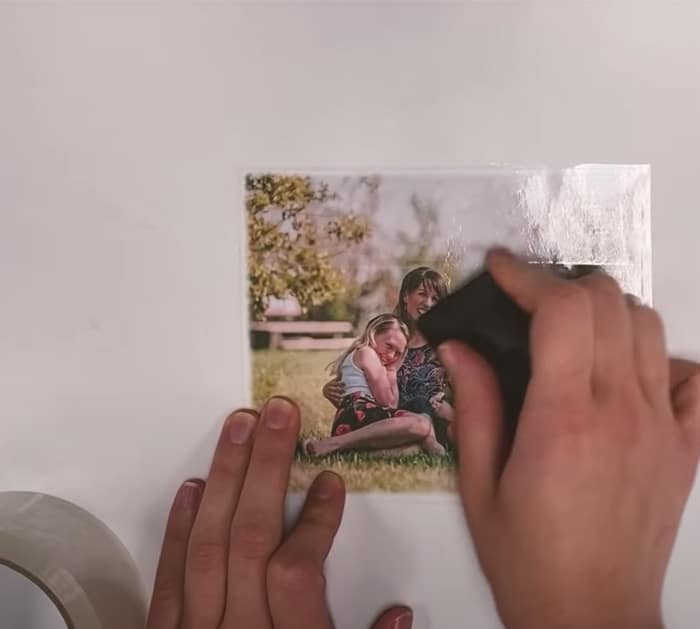
Make sure you have cut out strips of the packing tape with each of them overlapping each other a bit and having the sticky side up. Stick the picture right onto the stick part of the packing tape. And try not to wrinkle it. Trim the edges of the tape or any excess sticking out. Put the picture right side up. Using a scraper to rub the colored side of the picture, make sure to apply enough pressure to press the photograph well. Give each direction a pass and ensure the corners are pressed as well so that they will adhere to the tape.
Take out the photograph with packing tape pressed on it and put it in a bin with warm water. Let it soak for about 2- 3 minutes. After that, you should start rubbing off the photograph so that only the translucent part remains. As a result, the ink part of the tape is left with no residual paper on it.Let it dry completely. Make sure there is no water left.
Take out your glass block. Make sure the sticky part of the photograph is still sticky. Then press the picture onto the glass surface. Rub the photograph surface again with a scraper or a burnishing tool, making sure there are no wrinkles. Slowly peel off the tape once you see the image is transferred to the glass.
Make sure the surface of the glass where the image is transferred is nice and smooth.
And that’s it! You can now have a tiny piece of art ready to decorate on your shelf.
DIY Photo Transfer on Glass Using Packing Tape