
I like to have my phone in one place when I charge it, I don’t want it on the table risking falling off. So when I found this Mobile Charging Pouch tutorial on Youtube, I went crazy and knew I had to make it You guys are not going to believe how easy this project is , wait till I tell you how! First I cut my fabric, I used a heavy Duck Fabric, but you can use anything here, old clothes, for example, this would be a great upcycling project. I cut the Main back panel, cut two 11″ x 6″ with a curved bottom and two 7″ x 6″ square and also either a piece of paper or interfacing as well.

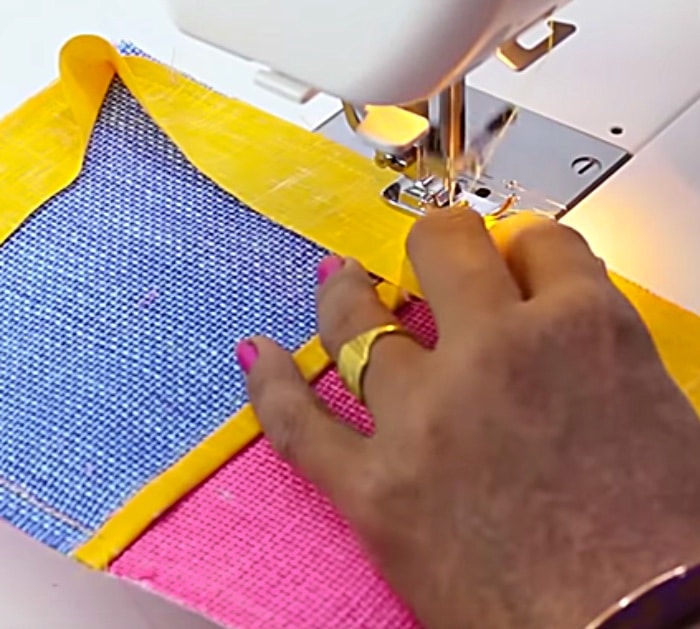
Then you sew all those pieces together with the interfacing or paper sandwiched in between. Then do your piping, the method used in this tutorial is super easy and original. You just sew it to the edges, right side down then flip it around to the back and topstitch. Can I tell you how much I love this method? It was so easy and looked really nice!
The finished product will be nothing short of amazing. I ended up making 10 more to give as gifts after I finished my first one. I keep a large stockpile of sewing projects I can give away as gifts, I am always at the ready for Teachers Events, Office Parties or House Warmings. This project suits all those purposes very well.
DIY Phone Charging Pouch


