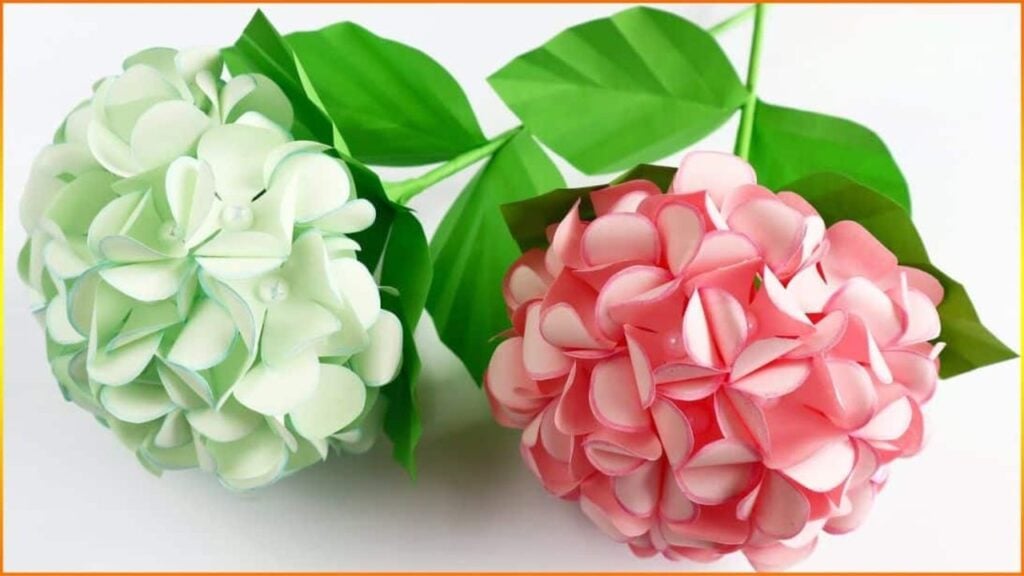
This DIY paper hydrangea by Amazing Super Craft was super fun to make! I absolutely love how it turned out. I’ll place them in vases and use them as decoration at home. It’s an easy project that you can do with the kids!
Materials
- green paper
- pink paper
- light pink A4 paper
- scissors
- glue
- ruler
- red colored pencil
- sticker beads
- hot glues
- skewer
[social_warfare buttons=”facebook,pinterest,twitter,whatsapp”]
Instructions
Step 1:
On the pink paper, draw vertical and horizontal lines that are 2 inches apart to make 2-inch squares. Once done, cut each of them. You need 45 pieces.
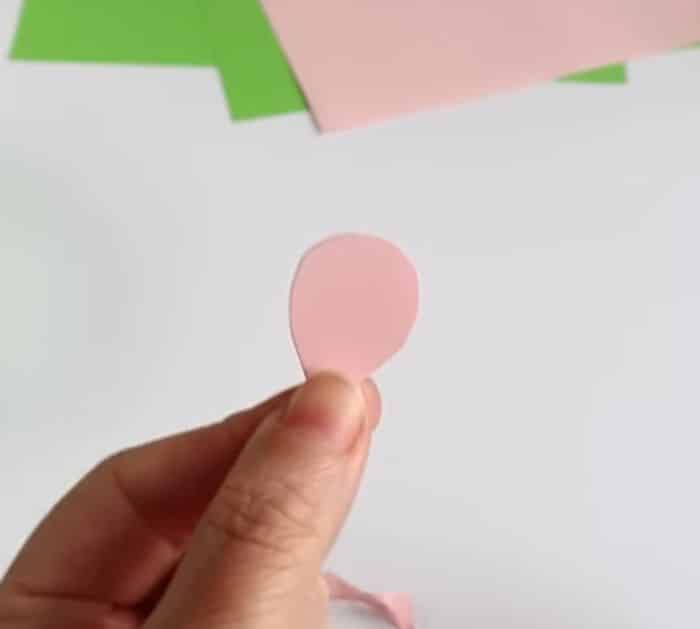
Step 2:
Get one of the pink squares, and fold it in half two times to make a small square. Cut it exactly in the photo below with the folded part on the tip. Repeat with the remaining squares.
Step 3:
Open it and trace the edges with the red colored pencil. After that, curve each petal towards the center. Do the same with the other flowers.
Step 4:
Glue the sticker beads on the center of each flower.
Step 5:
Cut a 3.15-inch green square, and fold it in half diagonally to make a triangle. Cut a curve from one corner to another. Fold it diagonally several times to make the vines of the leaf. Repeat and make 4 more.
Step 6:
Fold the A4 paper in half lengthwise, then fold two times to make three equal sections. Draw a 3.95-inch circle and cut it to get 6 circles.
Step 7:
Get one of the circles and fold it in half 3 times. Repeat with the other circles.
Step 8:
Open it into a half circle. Add glue to the first crease on top and fold the bottom half towards it. Repeat with the other circles. After that, get one of the pieces, add glue to the crease, and top it with another one. Continue until they are all stacked together.
Step 9:
Cut a 3.15″ x 7.9″ green rectangle. Use a skewer to roll it. Make two pieces of this stem. Add glue to the top part of one of the stems, then attach what you made in step 8. Glue the first and last pieces together to close.
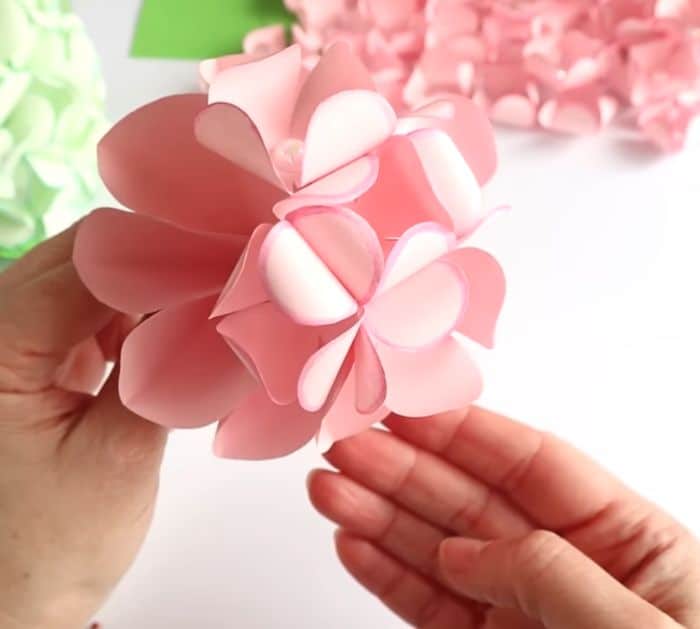
Step 10:
Get one of the flowers and glue it on top of the pink half-circle. Next, glue the flowers on the sides just like in the photo below. Repeat with the remaining flowers.
Step 11:
Glue the leaves on the stem.
DIY Paper Hydrangea


