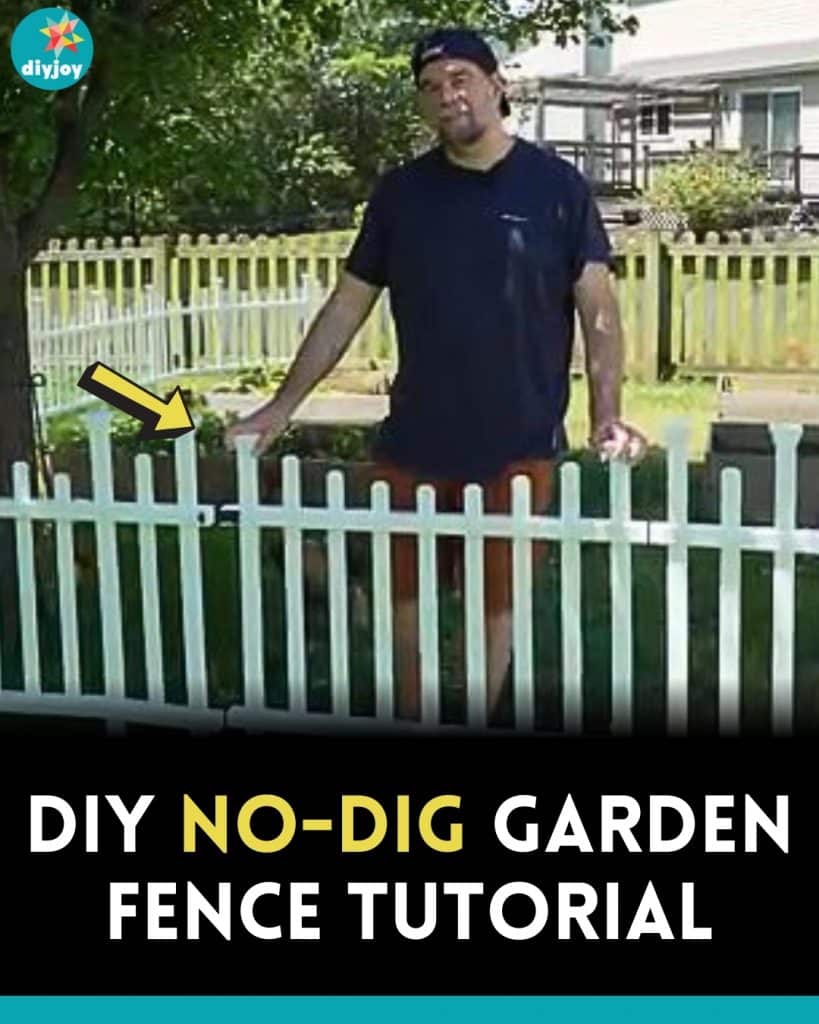
Imagine being able to enhance your garden’s appeal and functionality in just a few hours, without breaking a sweat or disturbing the soil. With this step-by-step guide from Blackberry Hill House on YouTube, you’ll learn how to install these fences with ease. Creating a beautiful and functional garden space is a rewarding endeavor, but the idea of installing a fence can often be daunting. Fear not, as this approach not only saves time and effort but also minimizes the impact on your garden’s ecosystem, making it a perfect choice for environmentally conscious gardeners.
RELATED: DIY Platform Deck From Pallets and Fence Pickets
Whether you’re a seasoned gardener looking for a quick weekend project or a beginner eager to improve your outdoor space, this DIY no-dig garden fence tutorial is tailored for you. By the end of this guide, you’ll have a beautiful, functional fence that enhances your garden’s aesthetics and provides practical benefits. Transform your garden with minimal effort and maximum satisfaction with this beginner-friendly tutorial. Learn how by watching the video tutorial below for the step by step instructions. Thanks to Blackberry Hill House for this fantastic tutorial.
Materials:
- Zippity 30″ vinyl picket fence
- mallet or hammer
Directions:
Step 1
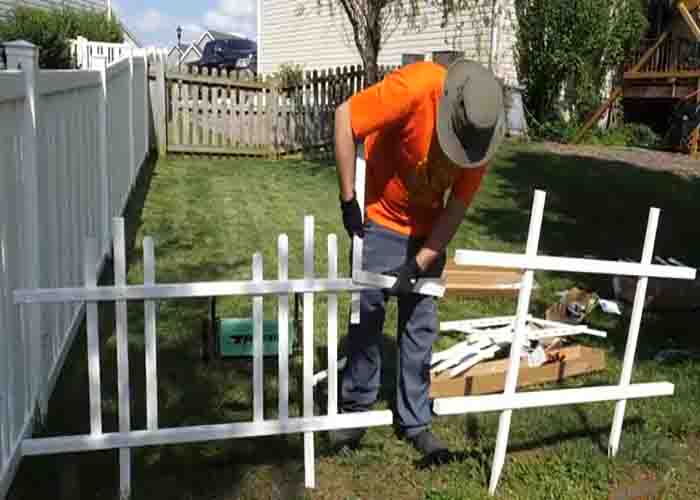
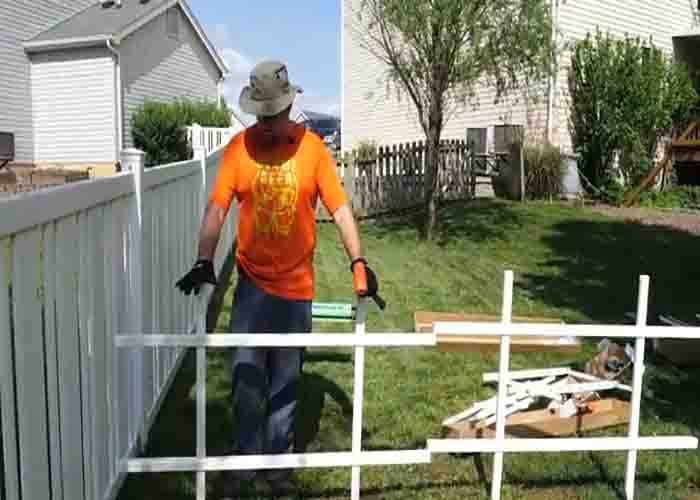
To start, determine the areas where you want to put the fences and have some kind of marking. Next, assemble the Zippity fences according to the instructions found inside the box, then start putting them around the perimeter of your garden, hammering each section down.
Step 2
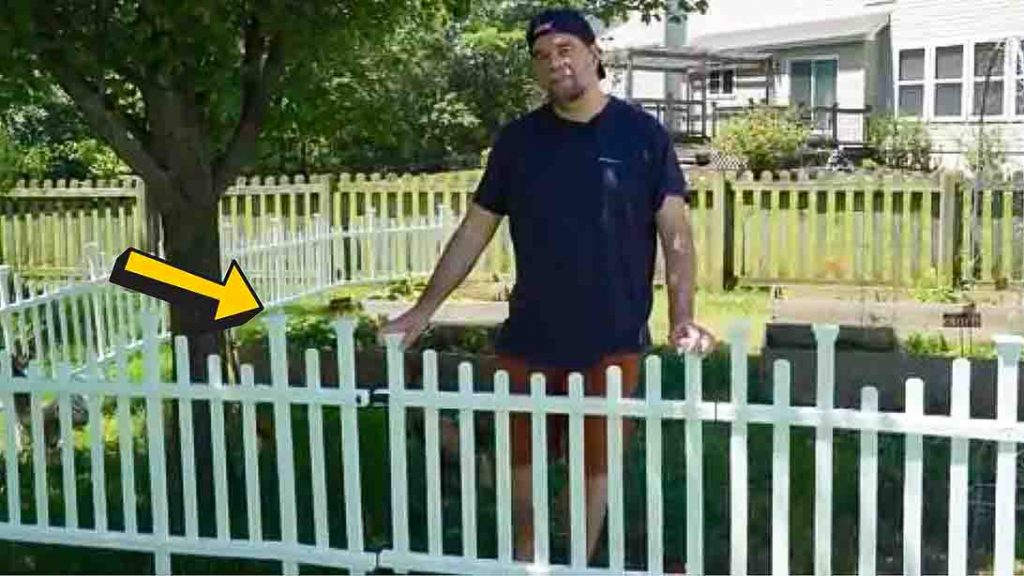
Fix the clasp on each piece, putting them to each other, so you can extend them indefinitely. Once done, screw each section to one another with the screws included in the box. Your DIY no-dig fence is now finished.
