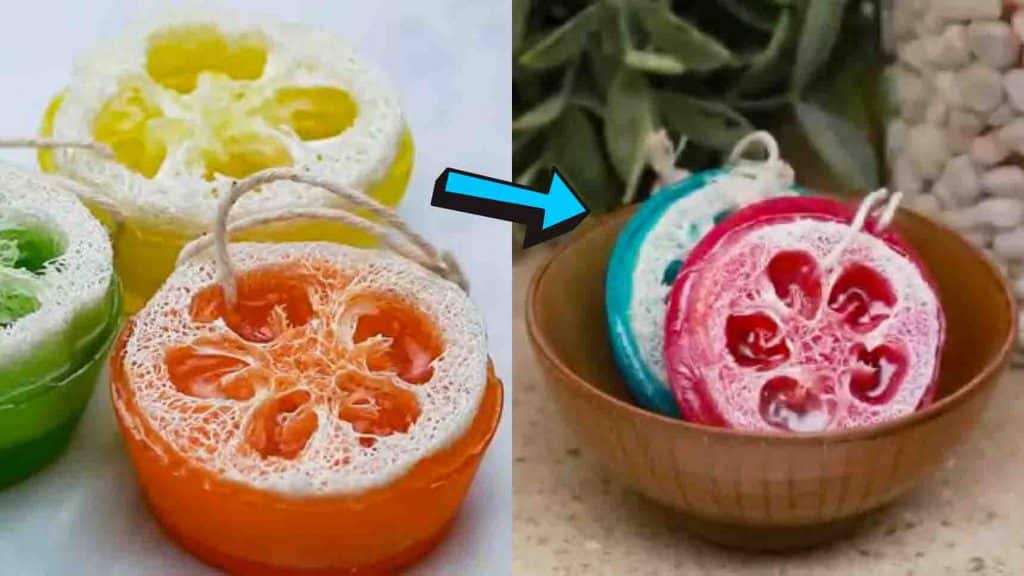
This DIY project from Tasty Home on Youtube is my go-to tutorial whenever I need something personalized for gifting. These melt and pour loofas bars are seriously so cute, and they are so easy to make! No need for refrigerating; you just have to let these soaps set, and they are good to go! You can even use your favorite essential oils for this loofah soap and color them in any color you like. They are seriously one of the best personalized gifts you can do. Watch the video tutorial below to learn the step by step instructions.
Materials:
- 2 lb melt and pour soap base (clear glycerin base)
- natural loofah
- string
- essential oils
- soap dye
- knife
- muffin tin (or soap mold)
Directions:
Step 1
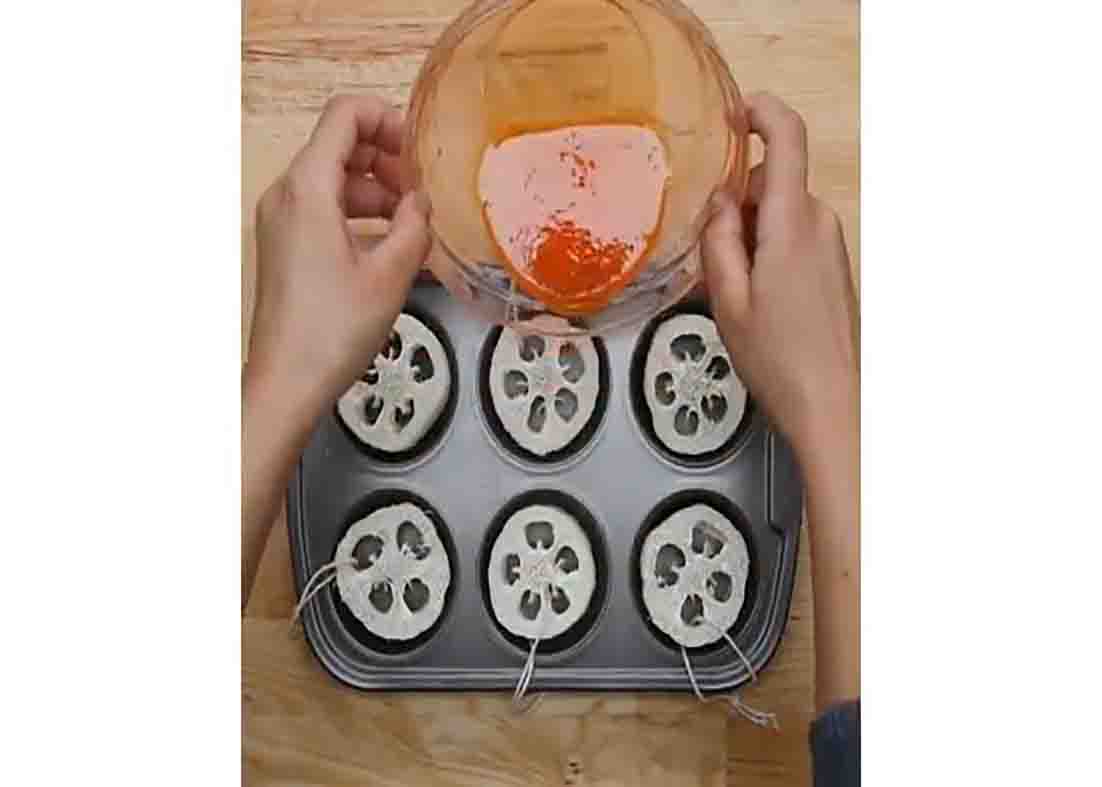
To start, cut your loofah into 6″ slices, then loop a string on each. Next, grab a muffin tin and place each loofah on the muffin cups, then set them aside. After this, chop your glycerin base into pieces and melt. Once you have all melted down, transfer it to a bowl. Add two to three drops of soap dye and mix.

[social_warfare]
Step 2
Then, add drops of your favorite essential oil and mix. Pour this mixture into the loofahs, distributing them evenly. Give each loofah a push to the bottom so they are all properly soaking in the soap. After this, set them aside to cool. Once the soap hardens, remove the loofas from the muffin tin. Store them for future use or gift them to your loved ones.
DIY Melt-and-Pour Loofah Soap Bars


