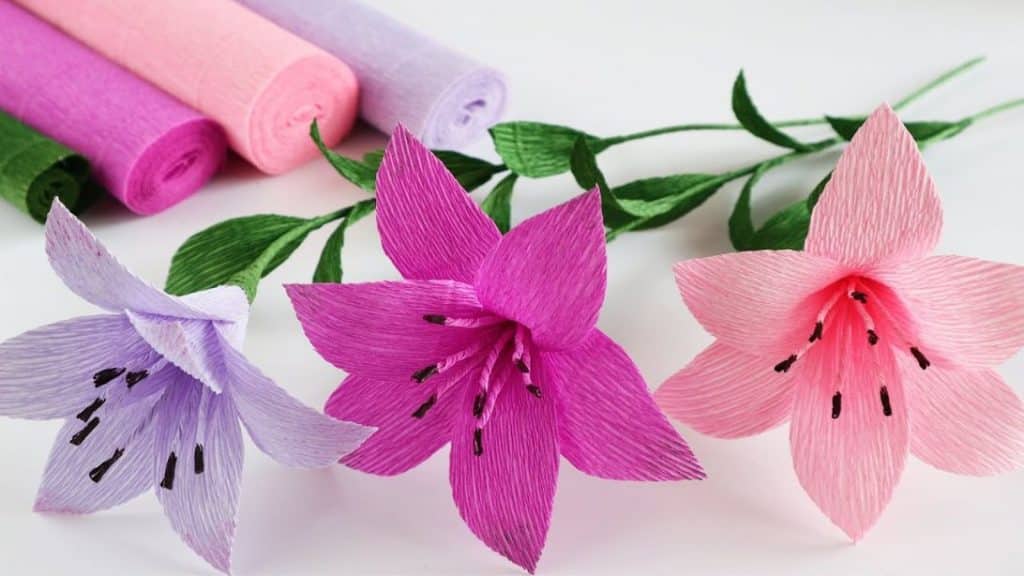
I was looking for a pastime project that I could do with the kids and saw this beautiful DIY lily crepe paper flowers by Amazing Super Craft. Aren’t these gorgeous? We bought the materials and started making them right away. The kids couldn’t decide what color to choose, so we made them in different colors, then put them in vases. I was so happy with how they turned out. The smile on their faces after we finished all of the flowers was priceless!
Materials:
- crepe paper (your preferred color of the flower and green for the leaves)
- scissors
- hot glue
- marker
- thread
- green wire
[social_warfare buttons=”facebook,pinterest,twitter,whatsapp”]
Instructions:
Step 1:
Cut 6 pieces of 1.6″ x 3.95″ rectangle paper.
Step 2:
Fold one piece in half lengthwise and cut a curve line to make a petal. Repeat with the other pieces.
Step 3:
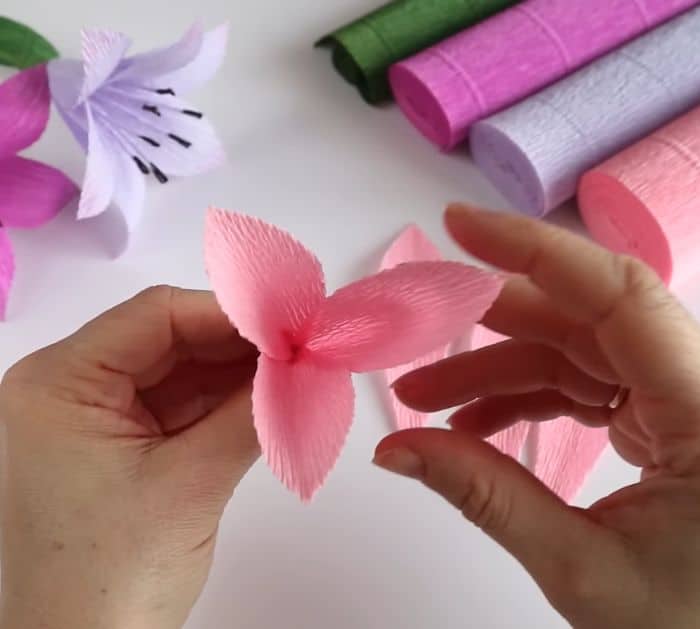
Glue 3 petals together with the bottom sides overlapping just a little, then glue the first and last pieces to make a flower. Glue the remaining 3 between each petal.
Step 4:
Use a pen or pencil to gently curve the tips of the petals.
Step 5:
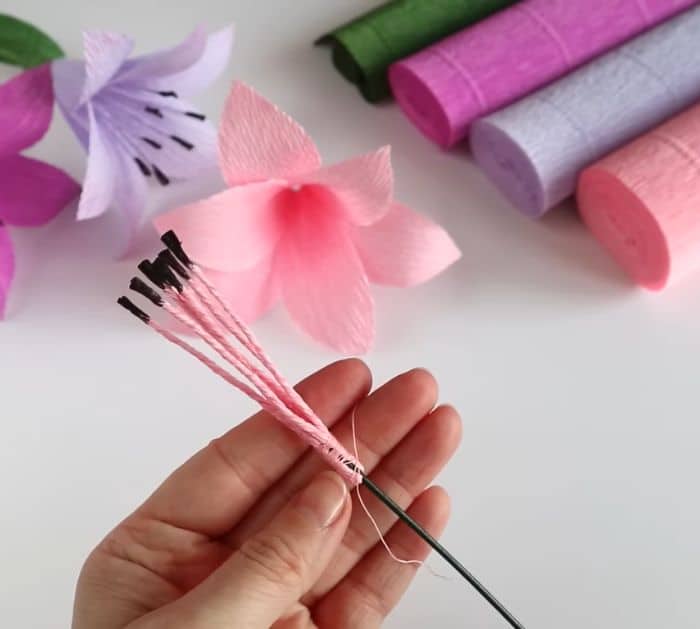
Cut a 2″ by 3.15″ rectangle in the same color and cut it into 0.27 inches strips. Twist each of the strips. Color about half an inch of the end of each one with a black marker. Then tie them around the end of a green wire with a thread. Insert the flower into the wire and wrap the ends with a thread to secure it in place. Move the strands away so they are not close to each other.
Step 6:
Cut a 0.4″ x 9.85″ strip from the green crepe paper and use it to cover the thread on the end of the flower then all the way down.
Step 7:
Cut 6 pieces of 1″ by 2.8″green rectangles. Get one and fold it in half lengthwise. Cut a curve to make a leaf. Use a pencil to curve it, then repeat with the remaining rectangles. Glue them on the stems.

