Looking to learn how to make cornhole boards for a cool DIY board game idea? We think making your own DIY cornhole board is a fabulous game idea, since the game is easy to play, and a great game for families and get togethers. Cornhole is can be played by all ages, and the game itself is pretty portable, so you can take it pretty much anywhere. If you can throw a small corn bag 30 feet and at least kind of of aim in the right direction, you can play cornhole. The game can be played indoors or out, and requires little in terms of special equipment to build or to play. All you need is wood, some basic woodworking tools and supplies, and some beanbags to use to play the game. You can also make DIY cornhole bean bags to go with your game board, and we will show you how to make those, too.
What is Cornhole, anyway?
Cornhole is also sometimes call Corn Toss, Corn Hole, Bean Toss, Bean Bag, Indiana Horseshoes and Soft Horseshoes. However, to people born in or around Kentucky and southern Ohio, the game is almost always referred to as Cornhole. The game originated in Germany, but was rediscovered in the Kentucky hills over 100 years ago, where playing cornhole remains a favorite pasttime.
Cornhole is very much like horseshoes, but you use a wooden box called a cornhole platform and bean bags instead of using horseshoes and metal stakes. Players take turns tossing their corn bean bags at the cornhole board until a contestant reaches 21 points. For every corn bag that lands in a hole, a player scores 3 points, and every bag that lands on the platform scores 1 point.
You will need to build two cornhole platforms and either buy or make 8 corn bags to play the game. Follow our step by step tutorial and how to video to learn exactly how to make the perfect DIY backyard idea for summer. Plus, you get to bring your game indoors after that for year round fun.
How to Make DIY Cornhole Boards
Tools Needed:
- Miter Saw
- Drill
- Orbital Sander
- Jig Saw or 6” Hole bit
- Supplies:
- 2.5 inch screws
- 1.5 inch screws
- Carriage bolts
- Wing nuts and washers
- Pain supplies/stencils
- Minwax semi-gloss poly
- 120 grit sandpaper
- Masking tape
Tutorial
Step 1
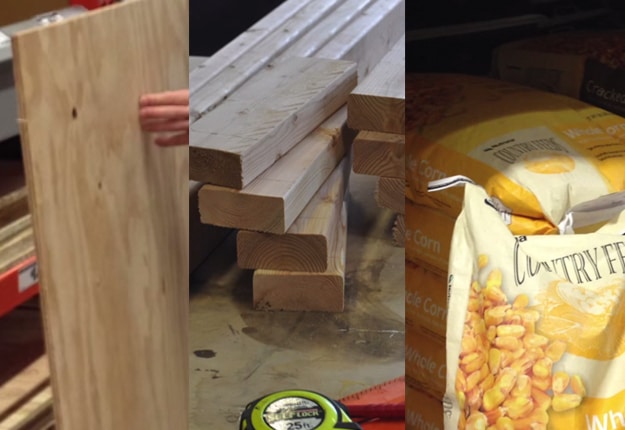
Procure a ½” plywood from the lumber store (commonly available 2 ft. x 4 ft. sheets) and also pick-up a 2 x 4 for the frame and the table legs. If you choose to do your own bags, you might also want to pick-up some corn beans or any other fill that you would put in the fabric bags.
Step 2
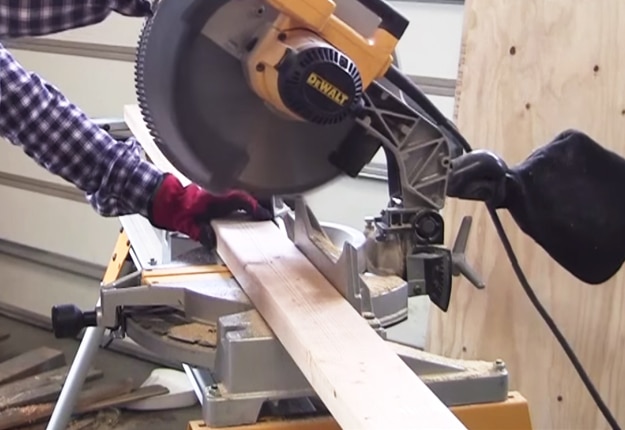
Cut the two by fours for the frame of your table. You need to cut two 48” long for each cornhole board. Cut two boards that are 21” long for each cornhole board otherwise a total of four for the entire set. Then cut two legs for each platform (they need to be 12”)
Step 3
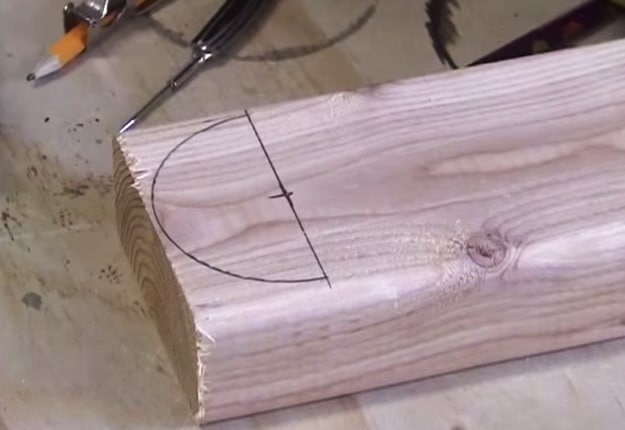
To make your foldable leg, you need to measure 1 ¾” down from the top and then you’ll draw a line across with a straight edge. Find that a center point at 1.75” then use a compass to draw a nice round arc which we will then cut so that you can easily open and close the legs.
Step 4
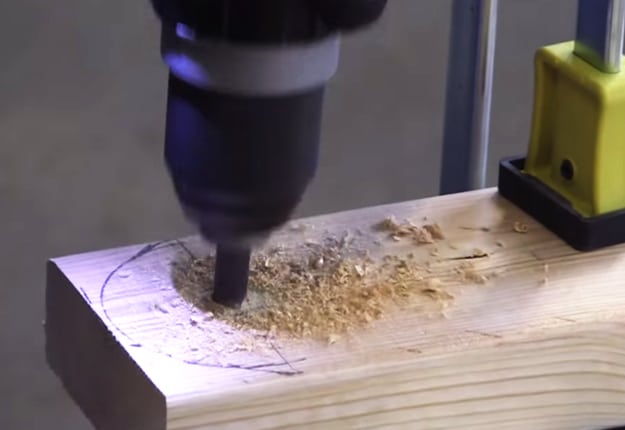
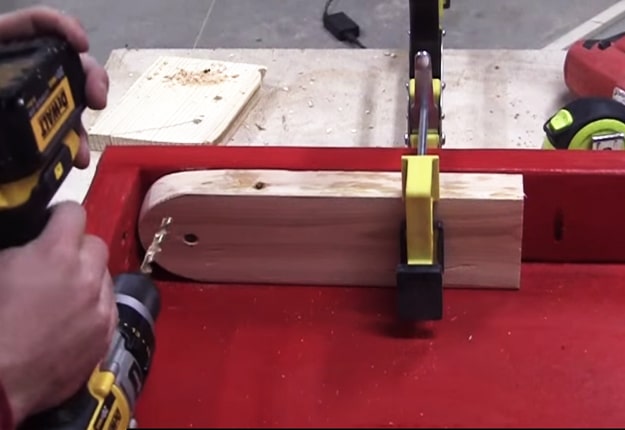
Drill a 3/8 inch hole where the center marks are and later we’ll put a carriage bolt through this hole to attach the two by four to the frame of the platform.
Step 5
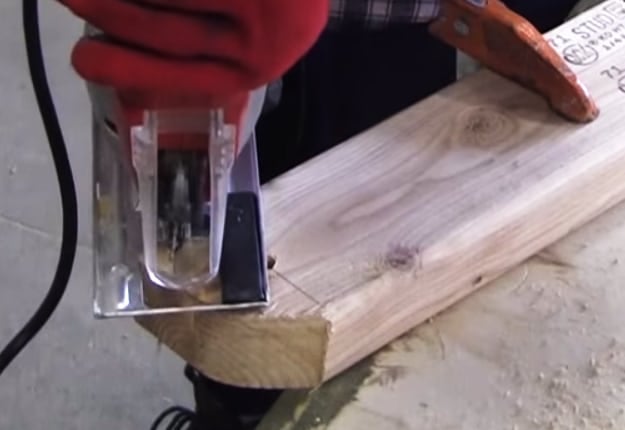
Use a jig saw to follow the arc that you have drawn and this is going to create a nice rounded top edge on each leg. Use an orbital sander to round off the edges some more and smooth things out.
Step 6
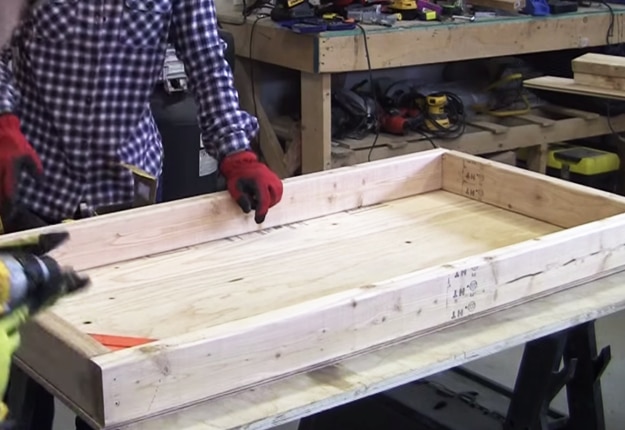
Next, grab your ½” plywood; put it on a flat surface and dry fit all of the two by fours together. You’ll have 2 pieces that are 48” long and 2 pieces that are 21” long. Connect all the two by fours to each other at the corners. Optional: Draw pilot holes and then follow up with 2 ½” wood screws. Make sure that you use a square so that all the corners are at a nice 90 degree angle.
Step 7
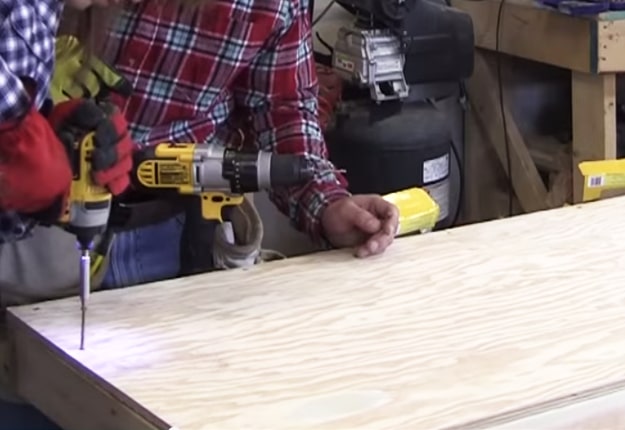
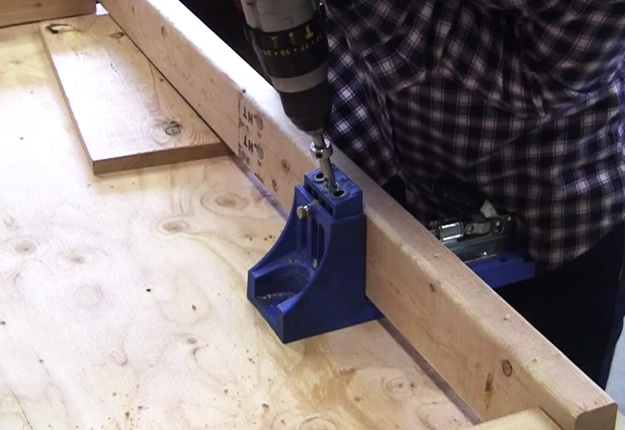
Flip everything over and attach ½” plywood to the frame. Drill pilot holes about every 8-10” apart so that you won’t split the wood then follow up with 1 ½” wood screws. Now that we finished the first board, we can move on to the second cornhole board. Another technique to attach the board is to drill pocket holes with a tool called Kreg jig. The advantages of using pocket holes for this project include the screws are hidden underneath and out of view and you won’t have to fill in any holes at the end with putty.
Step 8
Attach the two by fours to the ½” plywood from the underside using 1 ½” Kreg jig screws. You will then be ready to attach the legs to the frame of the platform.
Attaching the Legs
Step 1
Line up your two by four then clamp it down and use your 3/8” drill bit to drill through that hole that you already made into that two by four.
Step 2
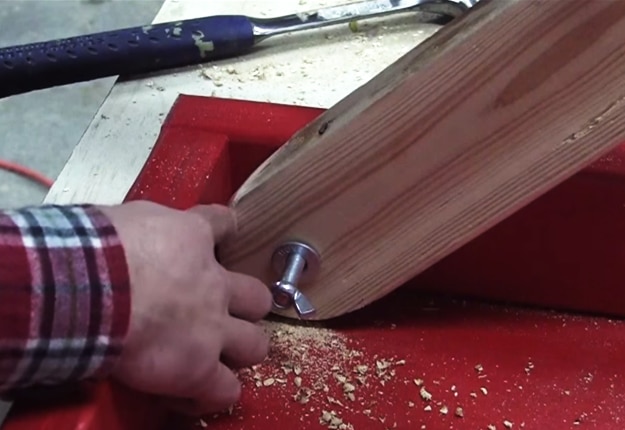
Take your 3/8” carriage bolt which is 4 ½” long and put it through that two by fours. Put a 3/8” washer on the other side and wing nut to secure the two boards to each other. Test out the leg to make sure it opens and closes easily. If you find that it is not, use an orbital sander with an aggressive pad on it to take out some of that actual wood. Do the same for the next leg.
Step 3
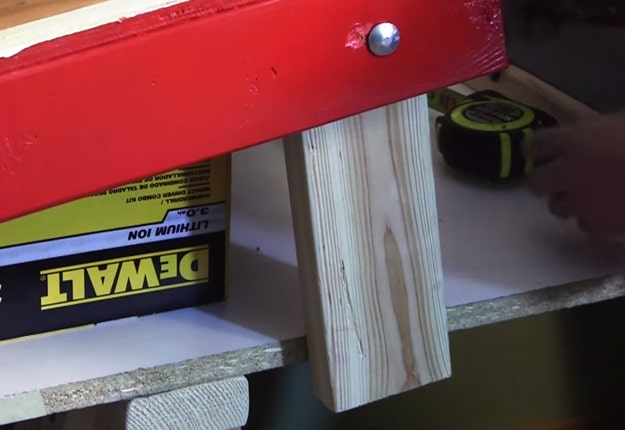
To make sure your platform is exactly 12” on the one side and that the legs are a perfect angle, find a large surface and put the cornhole table on it. Slide a box underneath and use a measuring stick or a tape measure to make sure that the table is 12” at the ends on each corner. Then move the edge of yourplatform to decide if your work surface open up a leg and use that work surface as a straight edge so that you can draw the angle that you’ll need to cut using a miter saw on a later step.
Step 4
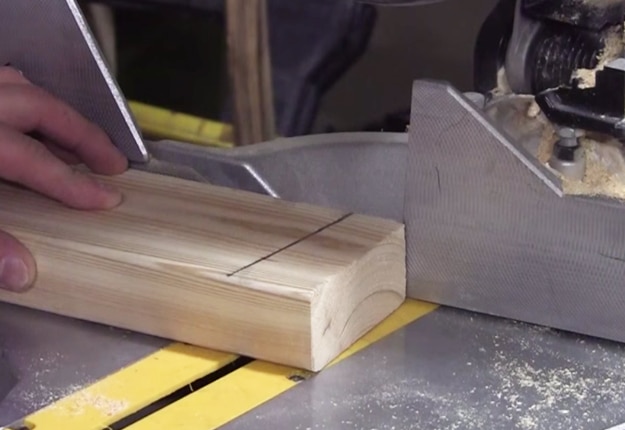
To repeat the process for the second leg, make sure that your platform is propped up using a box and that its 12” at the back of each corner and slide your platform over and draw that angle. Now, you can cut your angles using a miter saw. Using this technique will ensure that all the legs have the exact right angle so that your table does not wobble. Double checks that both back corners are at 12”.
Hole Drilling Process
Step 1
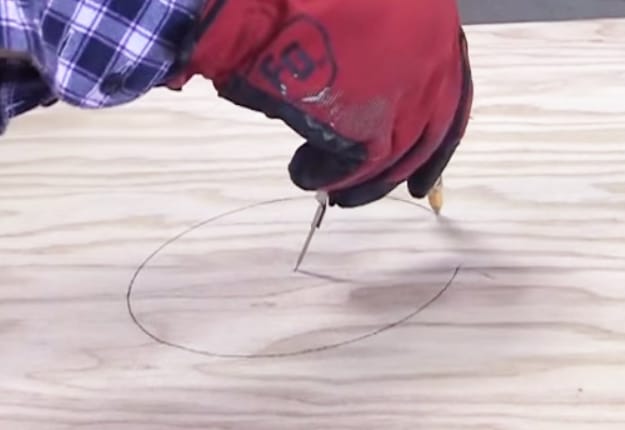
To figure out where the hole is going to go, find the center of that platform which is at 12”. Once you find that, measure 9” down and that’s where we will put the center of our compass to draw 6” diameter hole.
Step 2
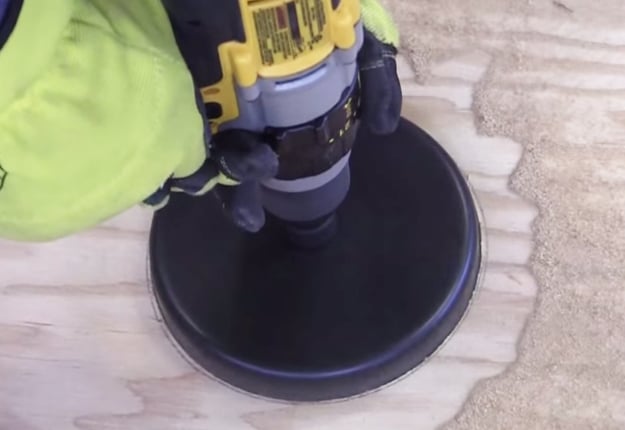
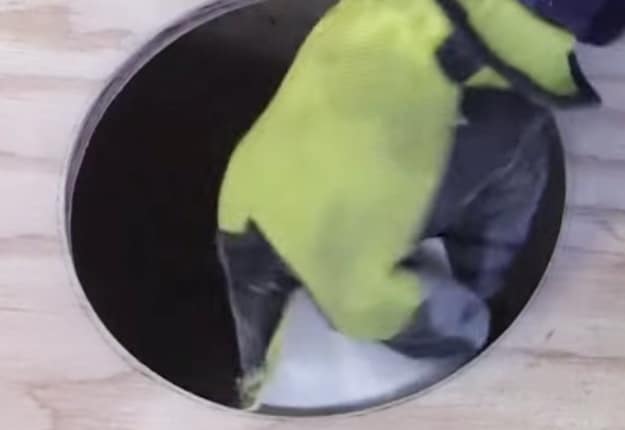
Now you can create the hole. There are several techniques- first, is the Jig saw method. Drill a hole so that you can get your jigsaw blade in and then you follow around the line that you draw with your compass and you’ll get a pretty good circle. Take the time to follow that line so you get a nice round cut. The other method is using a 6” hole saw which you can just attach to your drill and you find the center point and then you can begin drilling.
Step 3
After the hole is drilled, use a sandpaper to clean up the rough edges and to smooth things out.
Finishing and Painting the Platform
Step 1
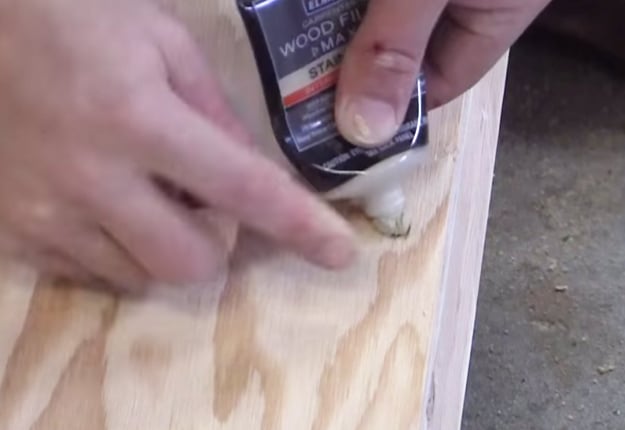
If you ended up connecting the platform to the frame using screws from the topside, make sure that all those screws have been countersunk and then use a little wood putty to fill in and level out the surface. Let the wood putty dry a bit and then use a sander to remove any excess putty and smooth out the entire top of the board.
Step 2
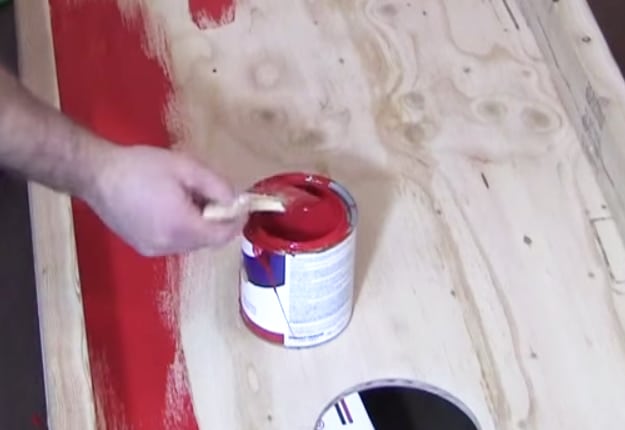
Paint your boards according to your preference. Latex paint is recommended because its durable and it doesn’t have the fumes that oil-based paint has.
Step 3
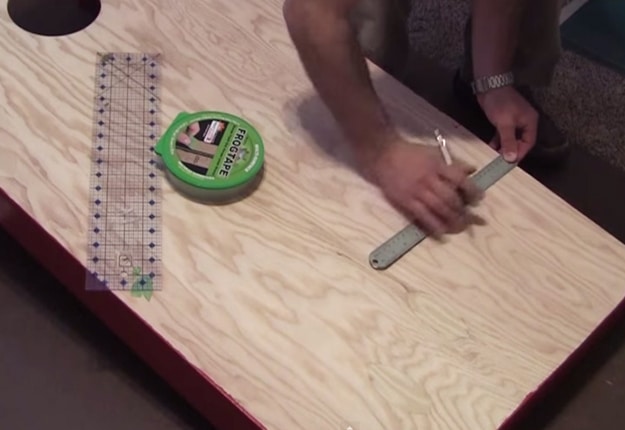
Paint the underside and move on to the top. You can use masking tape so you have a guide on the borders.
Step 4
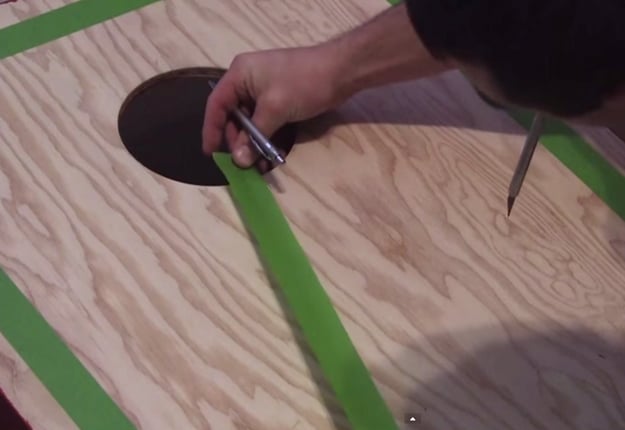
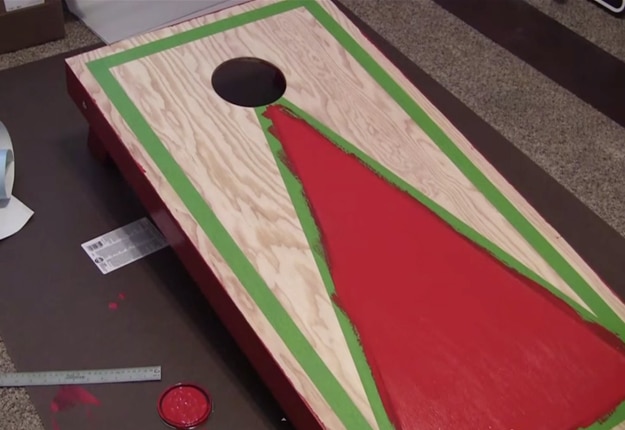
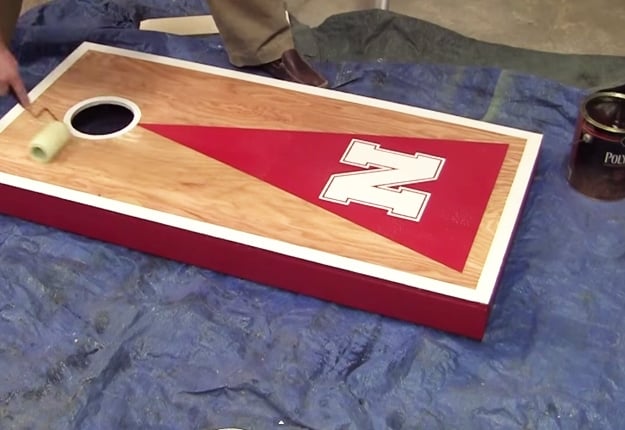
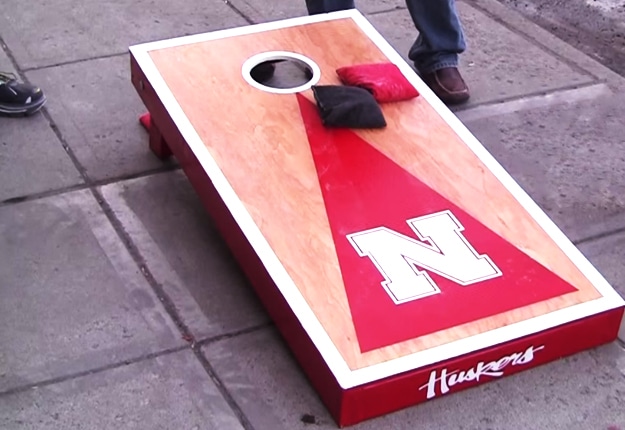
To create the triangle design or the arrow that points to the hole, find the center point at 12” and then line up the masking tape with that and then the inside corner of that masking tape used in creating the border. Do it in both sides to complete the triangle.
Step 5
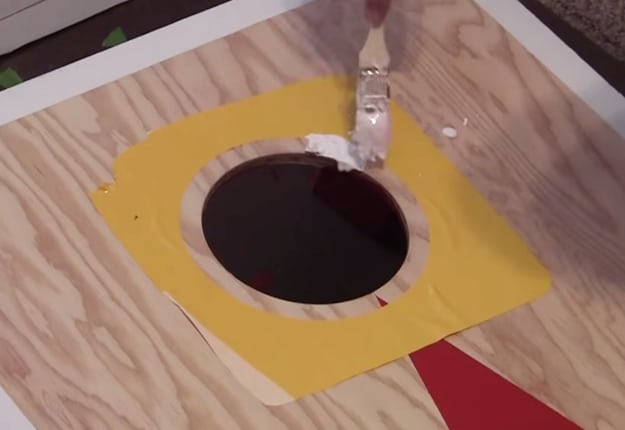
Once you have created the stencil for that triangle, you can begin painting using a brush or a roller. Use a small brush to paint the white border ensuring that its not too thick so it won’t drip on the edges of the frame. Do two coats for optimum results. And now you can remove the masking tape once the paint is nearly dried up (you will get cleaner edges by doing this).
Step 6
Use a circular stencil to create a border around the hole. Then you can proceed to putting a design on the board. You can either do something freehand or you can order vinyl decals or use a stencil.
Step 7
The final process of the build is to seal that top piece of plywood. You can use oil-based polyurethane and apply the finish using a roller or brush in a well-ventilated room.
How To Make Cornhole Bags
Materials:
- Duck cloth
- Corn beans or other fills
Step 1
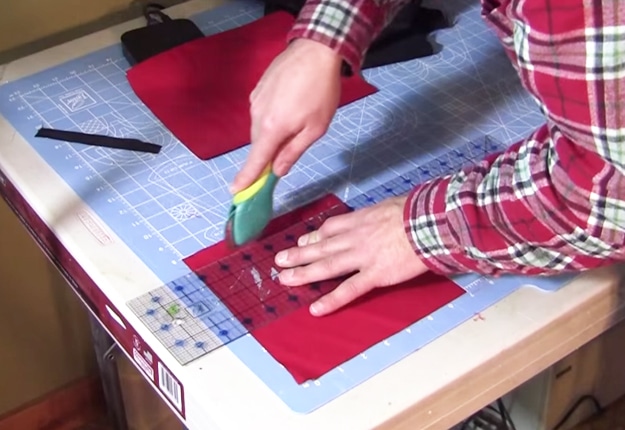
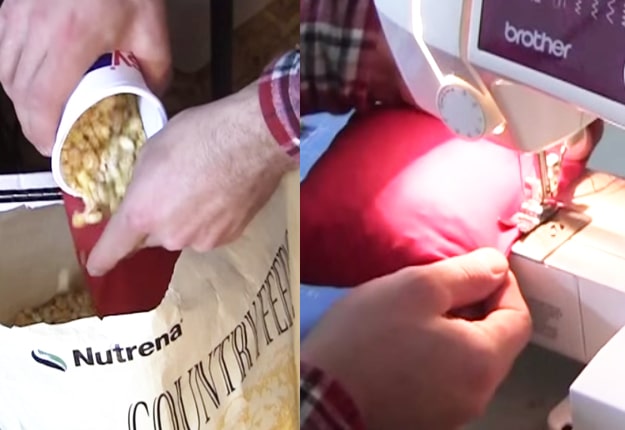
Cut the duck cloth into squares about 27” x 7”. Make sure you get two colors so that you can make four bags for each color.
Step 2
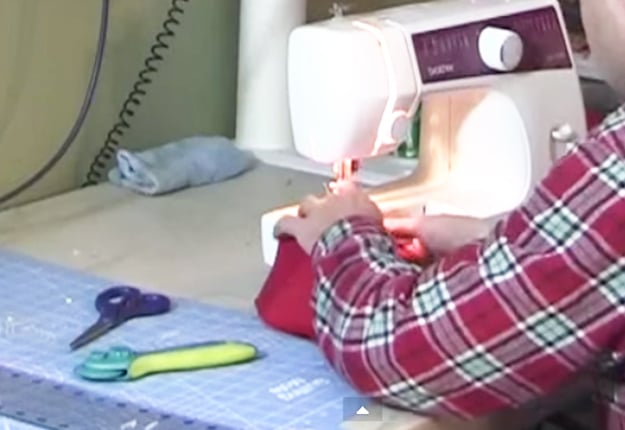
Sew the bags inside out and then reverse. Use a pen to push out the edges so that you have a nice square corners.
Step 3
Fill the bag between 14-16 oz of either dried corn beans or plastic pellets. After filling up the bags, you can close it up by sewing the last edge.
And let the games Begin! Your Cornhole Toss Boards are now ready for battle.
Love this DIY game idea?
Pin It to save and share it. Follow DIY Joy on Pinterest for best DIY ideas.

