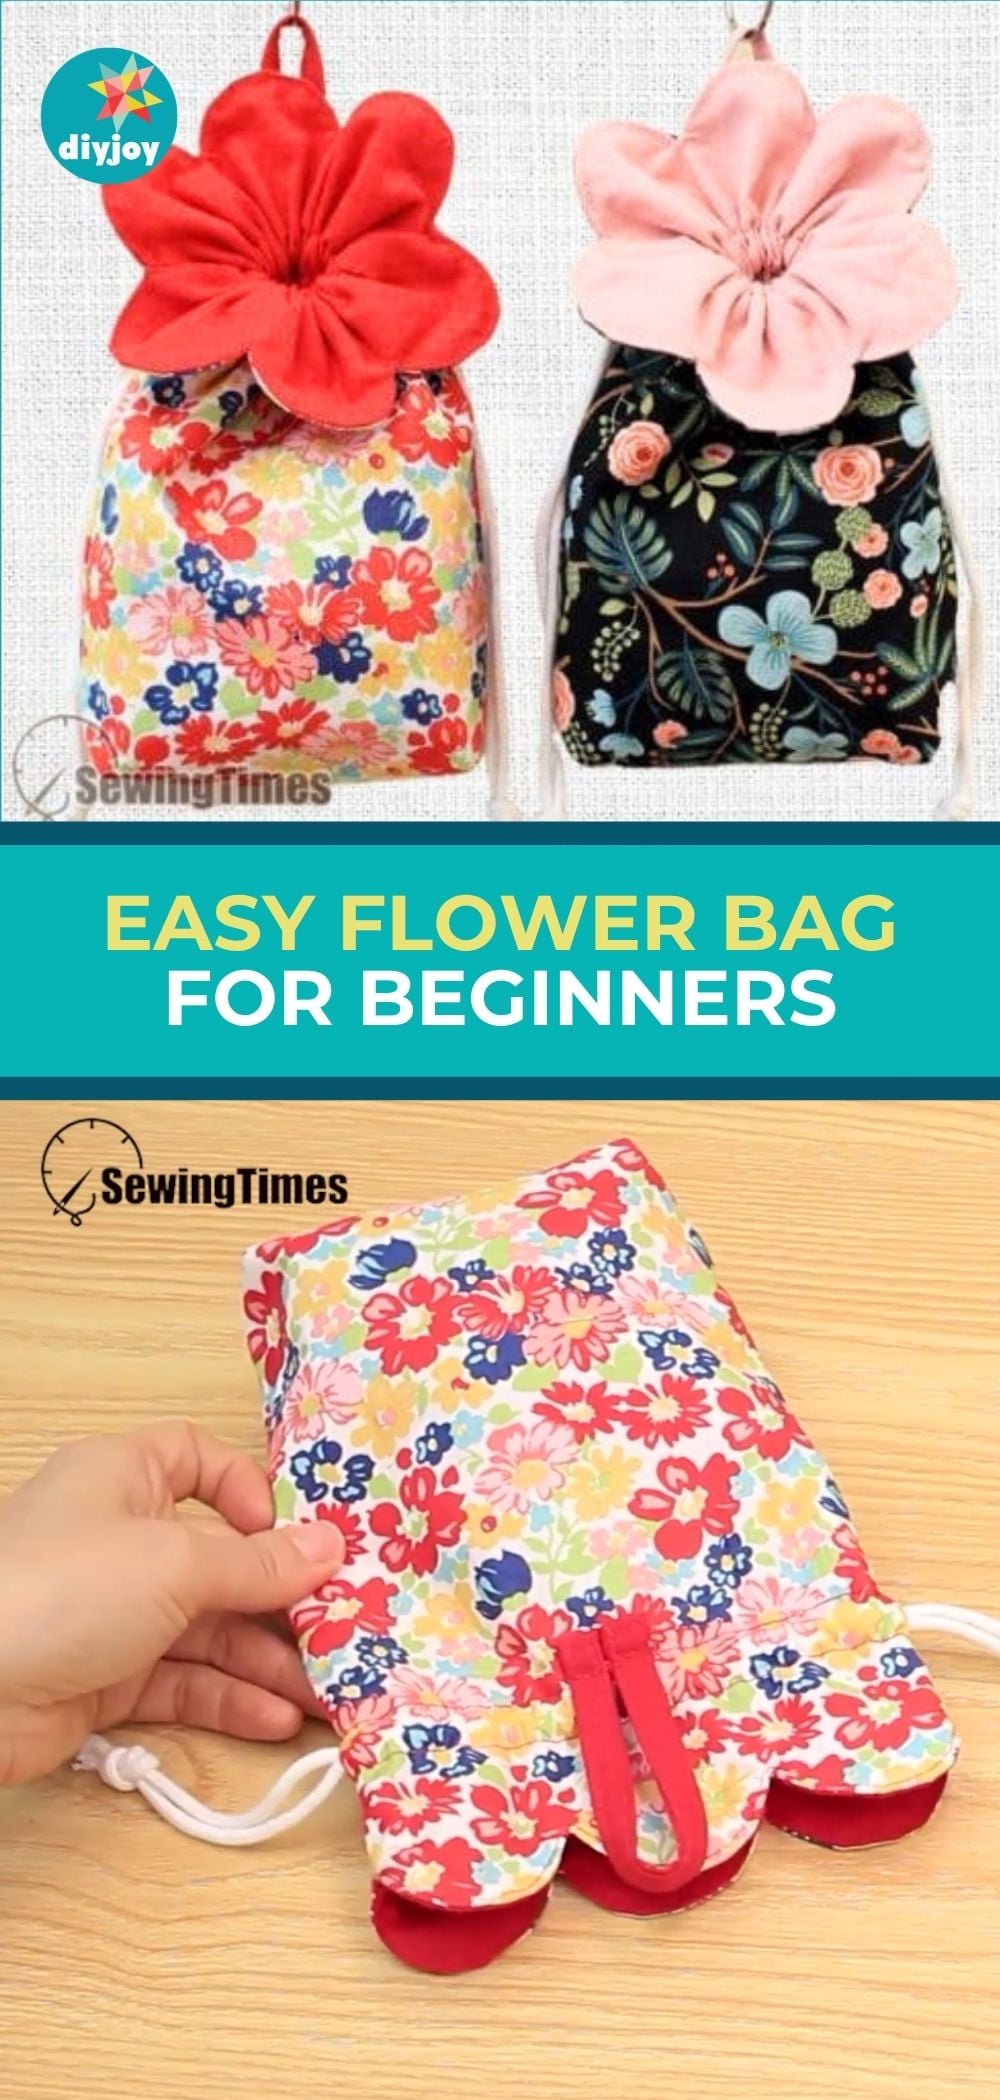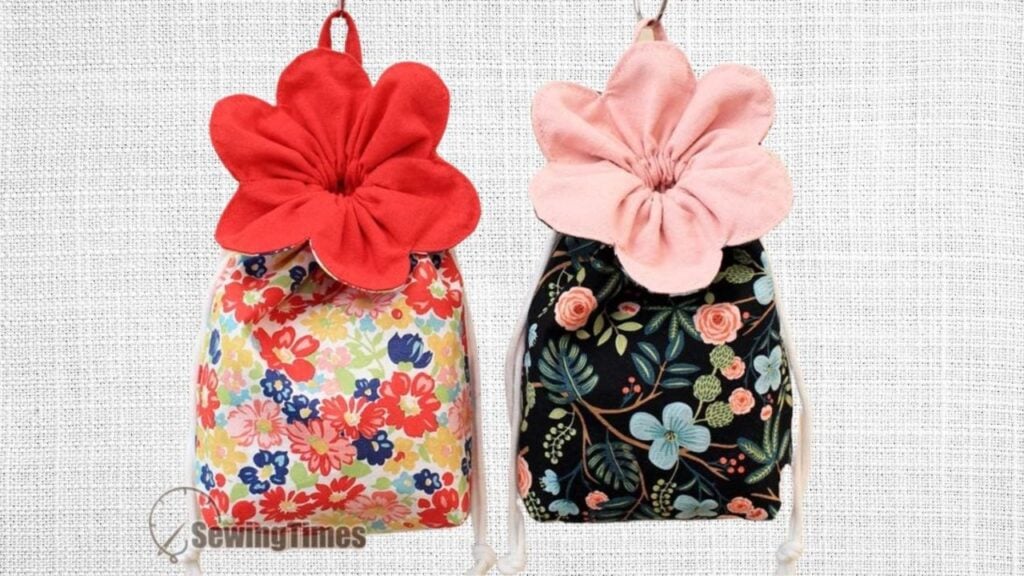
I was looking for a new sewing project to try this week and found this adorable DIY flower pouch bag tutorial by sewingtimes. I just love the design and the fabrics used for this cute drawstring bag, so I had to share it with you. There is a step-by-step direction for the pattern, but if you want to download it, you can visit the video below on Youtube. This is very easy to make, perfect for gifts to friends or families. You can even sell this to online selling platforms. Read on for the full instructions. Happy sewing!
Materials:
- 2 pieces of 7-1/2″ x 11″ outer fabric
- 2 pieces of 7-1/2″ x 11″ lining fabric
- 1 piece of 1-1/2″ x 6″ fabric (same fabric with the lining)
- 2 pieces of 21-3/4″ cotton cord
- A4 paper
- ruler
- pencil
- pair of scissors
Instructions:
Step 1:
On an A4 paper measure 6-3/4″ horizontally. From that end, measure 2-1/4″ vertically. Cut the rectangle using a pair of scissors.
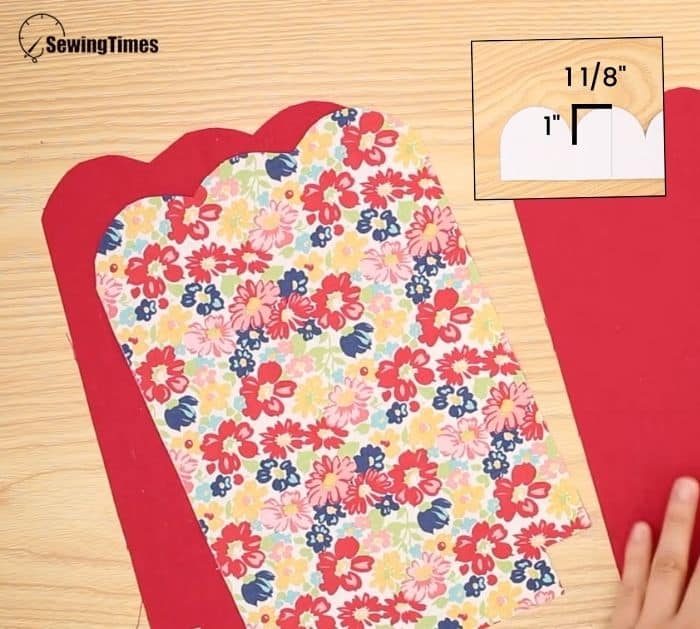
Step 2:
Fold in half and made a straight line on the fold. From the center, measure 1-1/8″ horizontally and mark. From that, draw a 1″ line vertically. Next, from that end to the top center, make a curve. Cut the curve, once you open it, it will look like a petal. Fold the paper on the ends of the petal, then cut the folded parts of the paper following the curve. Once you are done, you will have 3 petals.
Step 3:
Get one outer fabric, and place it right side down. Make a border for the two sides and on the top measuring 3/8″. Once done, place the petal pattern with the top on the borderline. Trace the curves. Next, on both bottom corners, draw a box measuring 1-1/8″ in all sides. Repeat for the other outer fabric.
Step 4:
Place both of the outer fabrics on top of the lining fabrics with the right side down, then cut the box corners. Next, cut the curve on top with a 3/8″ seam allowance.
[social_warfare buttons=”Facebook,Pinterest,Twitter,WhatsApp”]
Step 5:
Get the 1-1/2″ x 6″ fabric and fold it in half lengthwise. Open and fold each side in half again meeting in the middle then fold them together. Secure with pins and sew on the top and bottom.
Step 6:
Get one outer fabric and make a line from the top center measuring 3-3/4″. From that point, make a horizontal line. Place both ends of the strip aligned in the middle. The neds should extend a little bit on the horizontal line. Sew 3-3/4″ horizontally on the strip. Once done, fold the strip upward then secure it with pins. Sew again.
Step 7:
Place the other outer fabric on top of the other one, right to right. Measure the end of the flower pattern on the fabric on both sides. From those ends measure 5/8″ and mark. Leave that open while sewing the side and bottom border with a 3/8″ allowance.
Step 8:
Fold the bottom corners making a box. Then sew with a 3/8″ seam allowance. Flip the right side out.
Step 9:
Place the lining fabric on top of each other and sew the sides and bottom with a border measuring 3/8″ while leaving an opening on one side. Fold the bottom corners making a box, then sew.
Step 10:
Place the outer fabric on the lining and secure it with pins. Sew the petals on the curve lines with a 3/8″ allowance. Cut the seam allowance on the ends of the petal.
Step 11:
Pull the right side out from the opening and press with an iron. Sew the petals again and make a top stitch. Pull the other lining and sew the opening.
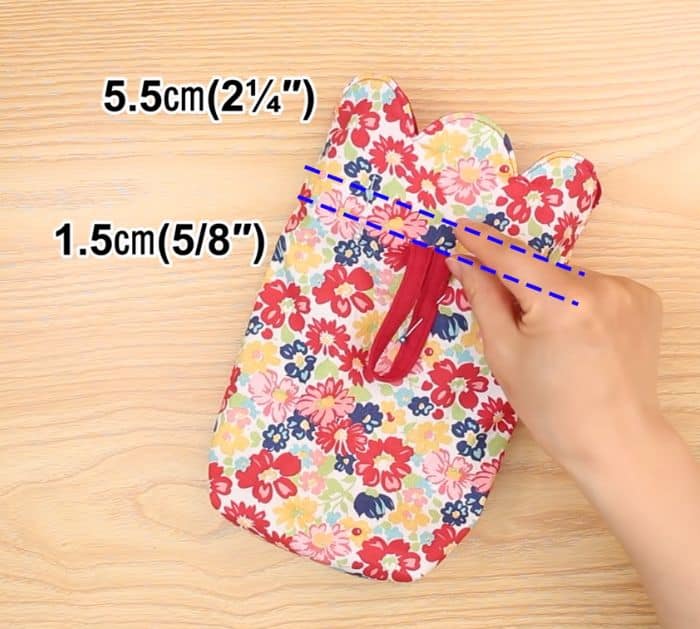
Step 12:
From the top of the petal, measure 2-1/4″ and mark. From that end make a line measuring 5/8″. Do this all around. Secure the strip hook with pins, then connect the lines that you marked, making 2 straight lines around. Sew the lines.
Step 13:
Insert the cords on the openings and tie them together. Your sewing project is done!
DIY Flower Pouch Bag