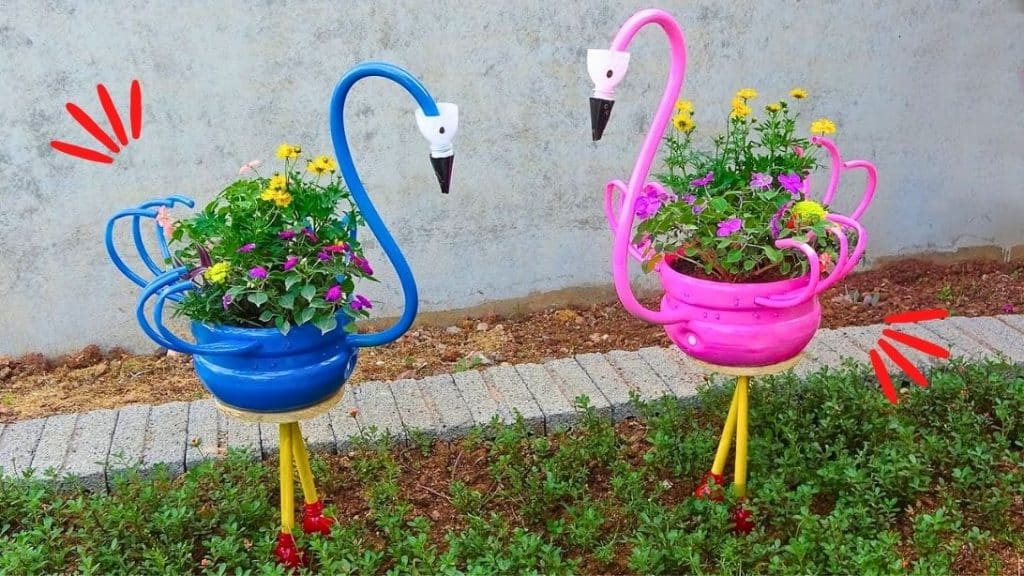
It’s time to upgrade your garden! How about you put these DIY flamingo flower pots? I bet this will be the talk of your neighborhood. Don’t worry – it’s easy to make. Just follow these step-by-step instructions by No1 Garden. I have to say this is one of the most adorable projects I have seen in a while that uses scrap objects. It’s perfect for your front yard or backyard.
Materials:
- gallon water bottle
- saw
- different sizes of hose
- thick wire
- scissors
- pliers
- zip ties
- wood
- plastic tubes
- spray paint
- plastic bottles
[social_warfare buttons=”facebook,pinterest,twitter,whatsapp”]
Instructions:
Step 1:
Cut the bottom half of the water bottle using a saw. Set aside the top part.
Step 2:
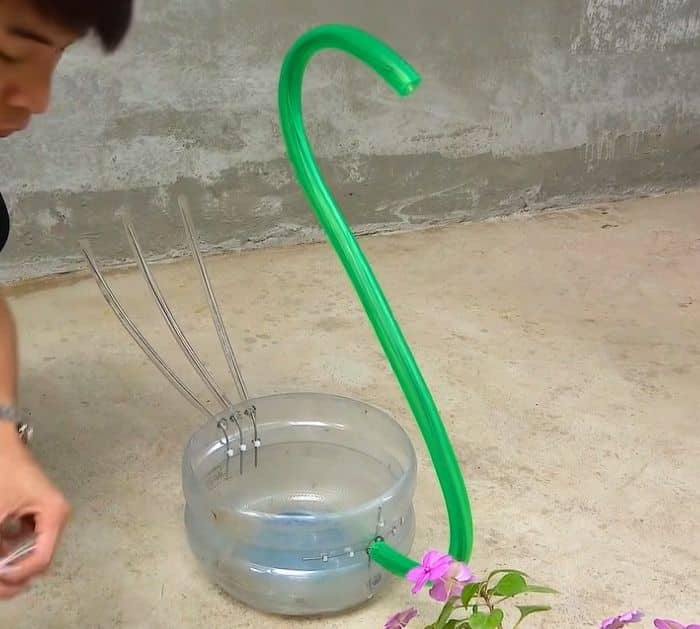
Cut the hose to the size you want for the neck of the flamingo. Cut 4 pieces of wire. It should be longer than the size of the hose.
Step 3:
Trace the hose in the middle of the bottom part of the plastic bottle, then cut it out. Insert the hose and bend the wires. Cut holes in the plastic bottle and zip-tie the wires. Cut excess zip-ties.
Step 4:
Fold the hose and form it into the neck of the flamingo.
Step 5:
Cut 3 pieces from the smaller hose for the tail of the flamingo. Insert long wires on each of the hoses. Repeat 6 more times but the hoses should be smaller.
Step 6:
Make holes on the opposite side of the water bottle and insert the 3 longer hoses. Bend the wires and zip-tie them. Bend the top part of the hoses. After that, cut 3 holes on each side, attach the remaining 6 hoses, and repeat the process.
Step 7:
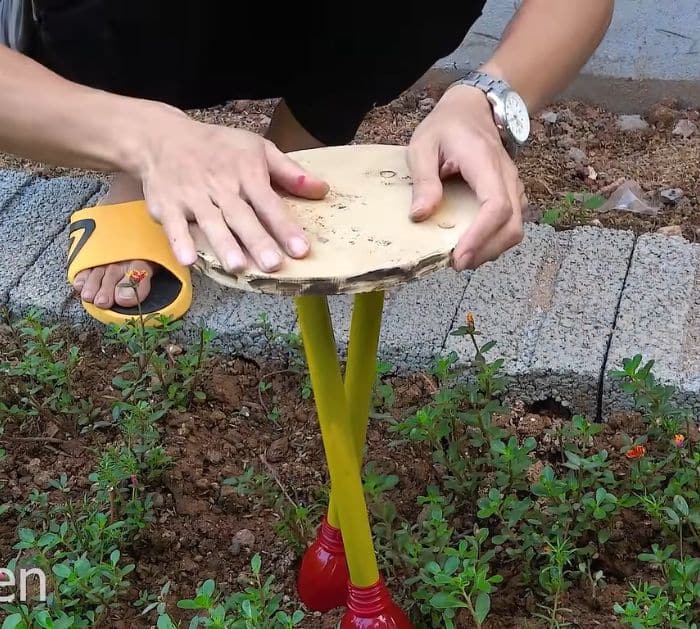
Cut a round wood and sand the edges. Cut two plastic tubes of the same size, then attach them to the wood using screws. Spray paint them.
Step 8:
Spray paint the flamingo pink.
Step 9:
Cut the top part of 3 plastic bottles and spray paint one with white and the others red. Draw eyes on the white one and attach it to the end of the neck. Add a black cone for the beak. Next, attach the two red bottles to the end of the tubes.
Step 10:
Hammer two thick wood sticks or metal rods onto the soil and place the legs of the flamingo.
Step 11:
Attach the body of the flamingo to the base using screws.
Step 12:
Add soil and flowers.


