Nothing pulls people outside like a crackling fire, and these 17 DIY firepits make it easy to build one that fits your yard and your budget. A DIY firepit is any fire ring, box or bowl you put together yourself, usually from retaining wall blocks, cinder blocks, poured concrete or welded steel, set on a level, fireproof base. Some are true weekend builds with a little digging and mortar, while others, like the tabletop gel fuel bowls, come together in an afternoon and move wherever the party goes. Several cost under $100, and one started with blocks a previous homeowner left behind. Before you dig, check your local fire code, call 811 to find buried lines and keep the pit well away from the house, fences and low branches. Then grab the marshmallows! Find even more ideas on the fire pits project hub.
1. Portable Fire Pit
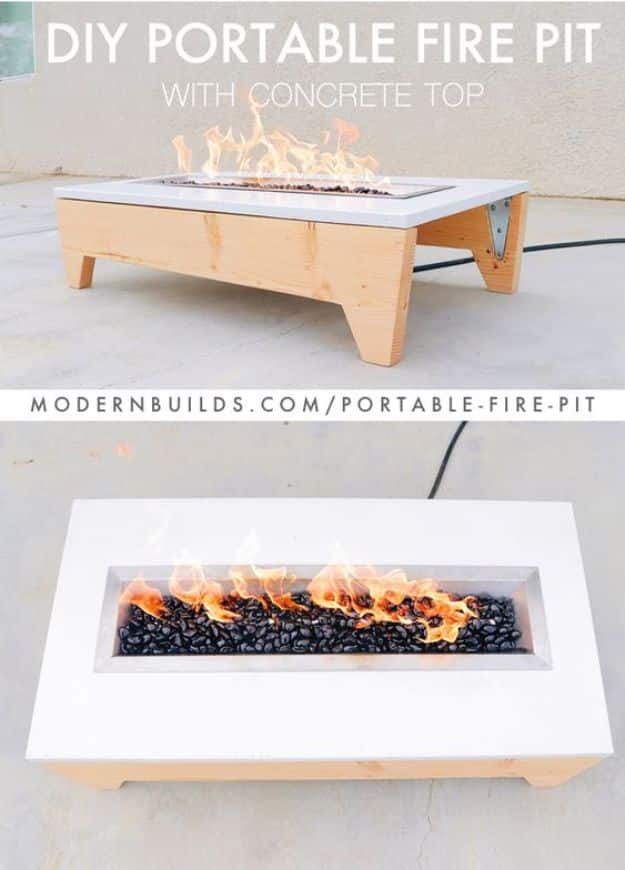
This portable fire pit pairs a smooth concrete top with a simple wood base, so it reads more like modern furniture than a campfire. The slab is made from GFRC, a glass fiber reinforced concrete that can be poured just 3/4 inch thick without cracking or breaking. Compared to regular bagged concrete, GFRC is not much harder to work with and gives a really polished finish. A long burner channel down the middle holds the fire glass and flame. The full build lives in a video, and its description lists every product and step.
Get the full tutorial at Modern Builds.
2. Modern DIY Welded Fire Pit
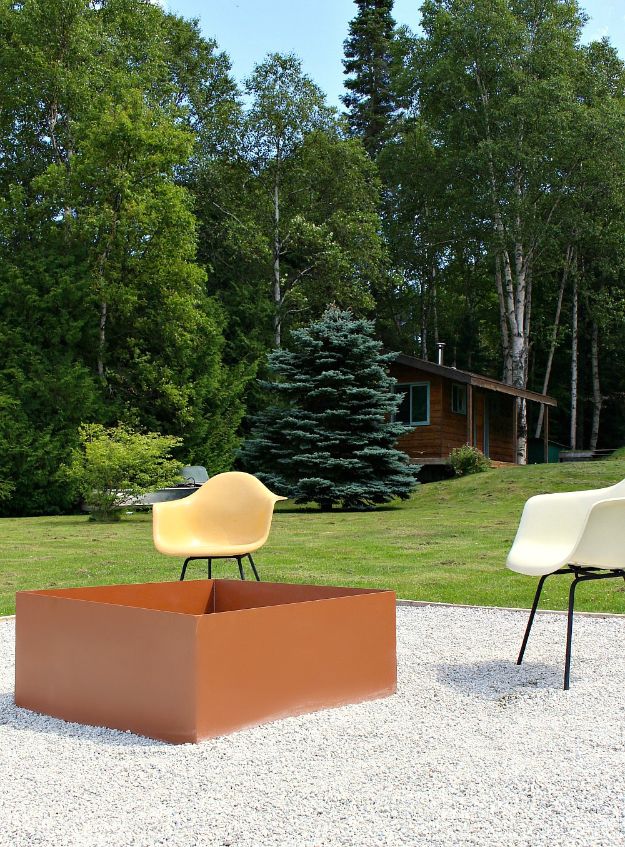
A modern DIY welded fire pit is a big steel box set in a clean bed of white gravel. Have a local steel fabricator cut the sheets to size, then hold two pieces at 90 degrees with welding magnets and tack them inside and out. Check that the box is square before welding the full seams. Cross bracing inside keeps it square and strong when you move it, and a few coats of high heat spray paint in aged copper slow the rust. The welding itself took no more than a couple of hours.
Get the full tutorial at Dans le Lakehouse.
3. DIY Brick Fire Pit For Only $80
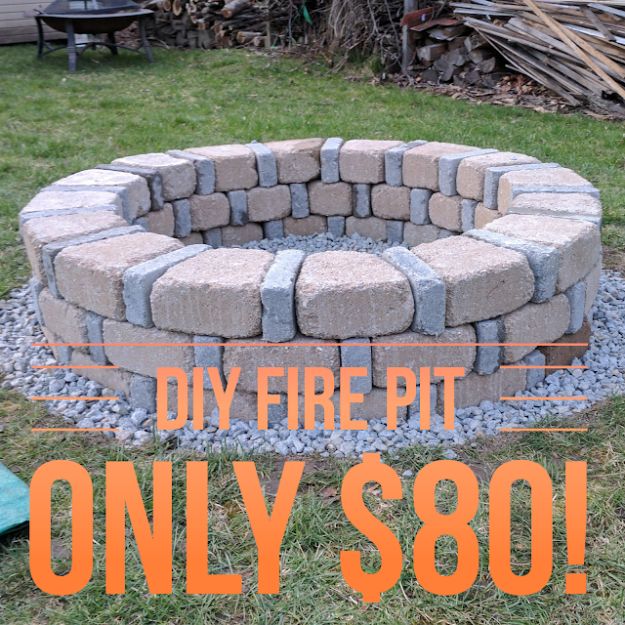
This DIY brick fire pit copies a two tone home store display for under $80, thanks to a sale on wall block. It uses 48 tan Belgian wedge blocks and 48 smaller gray ones, plus two bags of paver leveling sand. Cut the circle with a spade, leaving about 6 inches for a gravel border, and dig out a couple of inches. Pour in the sand, level it and lay the first row, then stack alternating tan and gray rows on top. Readers point out that gravel does not belong under the fire itself.
Get the full tutorial at danielamarie3.blogspot.com.
4. $75 DIY Fire Pit
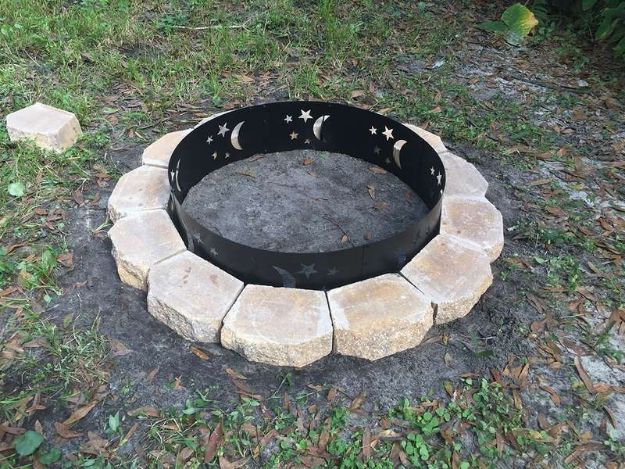
This $75 DIY fire pit protects cheap retaining wall blocks with a steel fire ring insert. A 36 inch ring with moon and star cutouts came in four pieces and got a coat of high temp grill paint to help it last. Pick a spot well away from the house, cut out the grass inside and around the ring, and pack the soil firm with the back of a shovel so nothing shifts later. Two rows of 13 blocks each, 26 in all, circle the ring with no mortar needed.
Get the full tutorial at howchoo.
5. Easy DIY Firepit
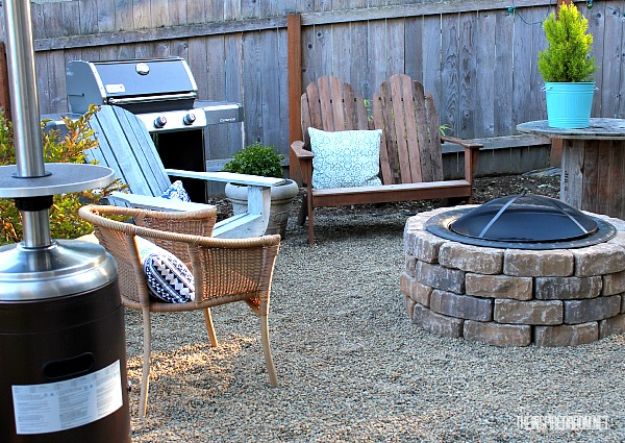
This easy DIY firepit uses 44 stacked stones and a metal fire bowl with a lip, a grate and a cover. Once the surface is ready, the build can take as little as 15 minutes. Start on a level, fireproof base such as pea gravel, cement or pavers. Lay the first ring, checking it against the size of the bowl, and level every row before starting the next. Stagger the stones for stability through four rows, with no mortar needed, then set the bowl on top so its lip rests on the stone.
Get the full tutorial at The Inspired Room.
6. Square Concrete and Stone Firepit
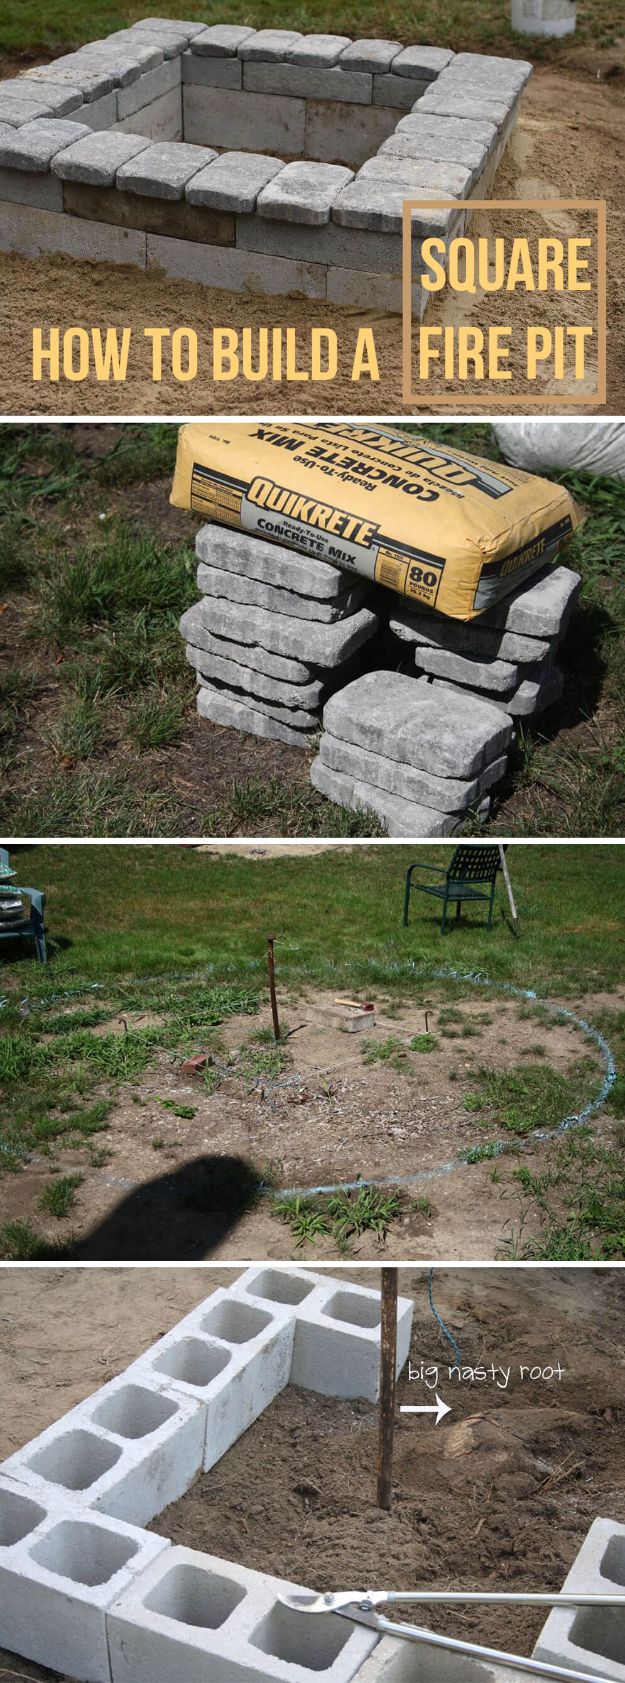
A square firepit was easier to build than a circle and cheaper too, since straight pavers cost less than curved ones. Cement blocks, rectangular pavers and crushed stone came to only about $75. Find the center point, spray paint a circle and dig out the dirt, then set full size and half size cement blocks to get the depth you want. The rectangular pavers go around the top for texture. Leave everything unmortared for a while in case the ground settles, and finish the area with pea stone.
Get the full tutorial at Carole Knits.
7. DIY Burning Bowl
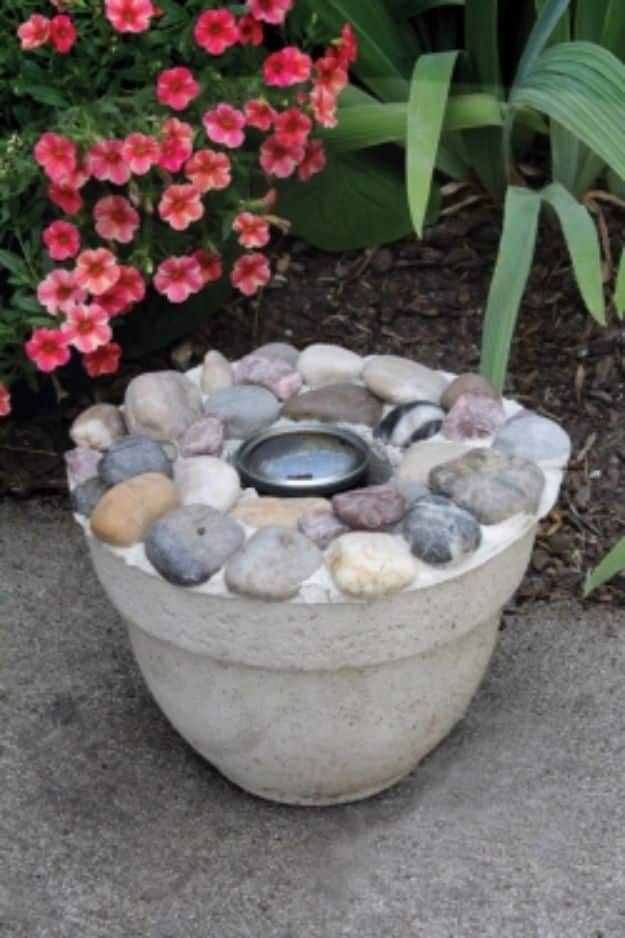
A DIY burning bowl is a small portable fire pit cast in concrete, and the mold is just a plastic bowl. Mix concrete in a plastic tub, spray the bowl with cooking spray and pour in the mix for the base. Spray a 3.5 inch can, press it into the center to the height of a gel fuel canister and pull it out after six minutes. Wait 12 to 15 minutes, flip the bowl so the base slips out and press river rocks around the rim. Let it dry overnight, then drop in the canister.
Get the full tutorial at Evansville Living Magazine.
8. Large Cinder Block and Stone Firepit
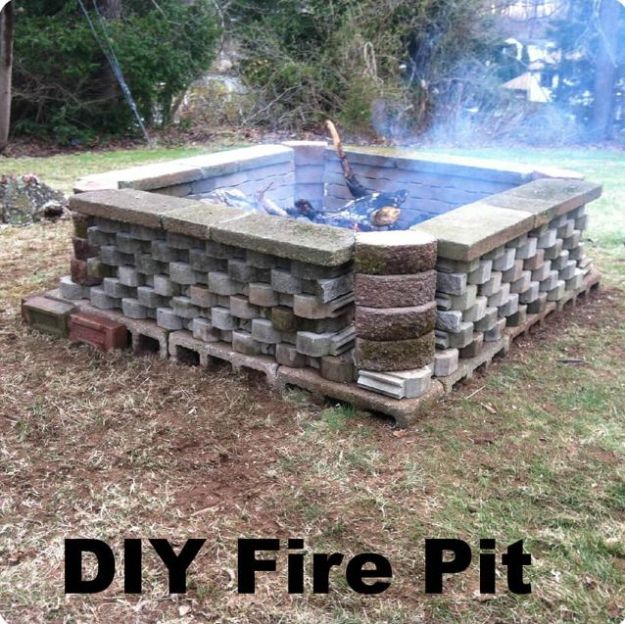
This large cinder block and stone firepit area came together from blocks left behind by a previous homeowner, so the total spend was under $20. Dig a small trench, then level and square cinder blocks in it for the foundation. Cement landscape edging forms the walls, held with landscape adhesive, and landscape blocks fill the corners. Cement blocks cap the walls, and a bucket of cement ties the walls and corners together. Old red stamped bricks make a border that hides the cinder block tops. Plan on about four hours, including scrubbing mossy blocks.
Get the full tutorial at Tools2Tiaras.
9. Simple Backyard Fire Pit
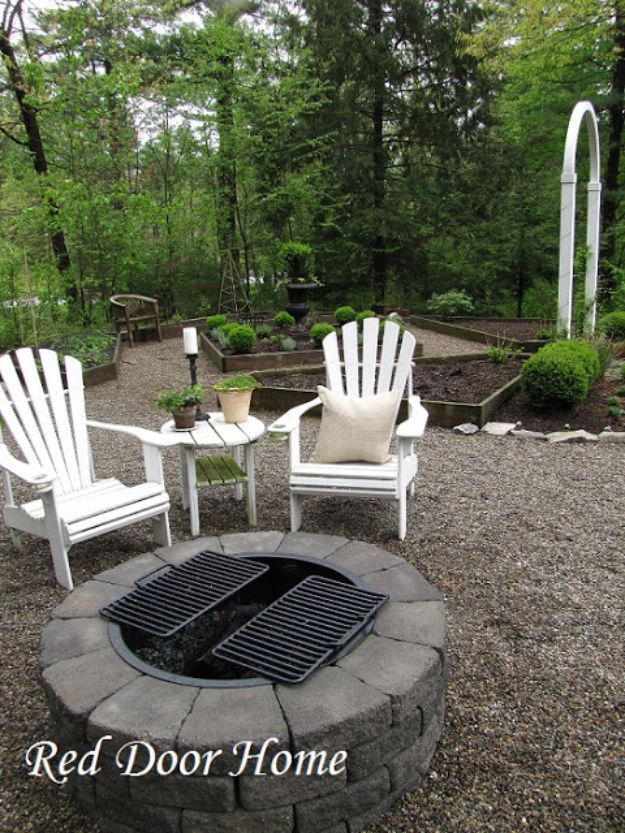
This simple backyard fire pit came as a kit with all the blocks and a metal ring, and the whole build took under an hour. Level the ground and pack it with a tamper. Use the ring as a template for the first course of blocks, then remove it and stagger the second course so no joints line up. Test the ring after each course and adjust as needed. Once the last course is down, drop in the ring and fill the pit about halfway with rocks. Masonry cement on the top two courses is optional.
Get the full tutorial at Red Door Home.
10. Backyard Fire Pit in 7 Easy Steps
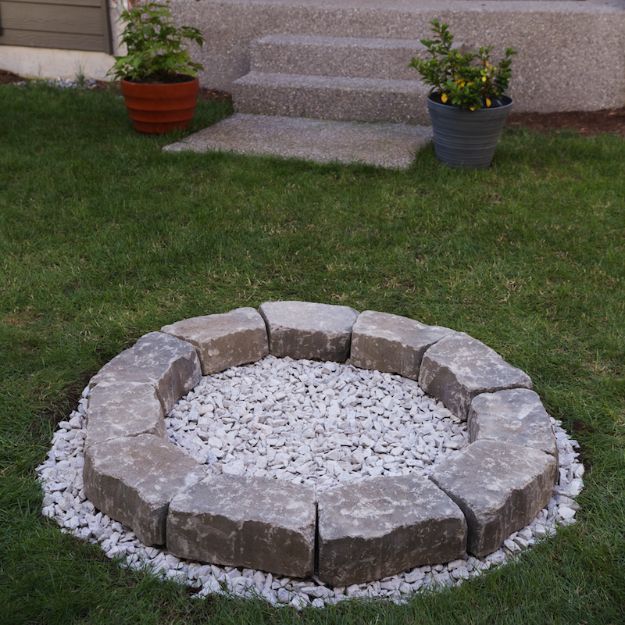
This backyard fire pit is built in seven easy steps. Check your local fire code first, then drive a stake where the center will go. Tie string to the stake and a trowel, and drag the trowel around to mark a circle about 4 to 5 feet across. Call 811, then dig out the grass 6 to 12 inches deep and tamp the soil. Level the base, spread a thick layer of gravel and stack retaining wall bricks or pavers at least 12 inches high. An inner layer of firebrick adds safety.
Get the full tutorial at Zillow.
11. DIY Zen Tabletop Mini Firepit
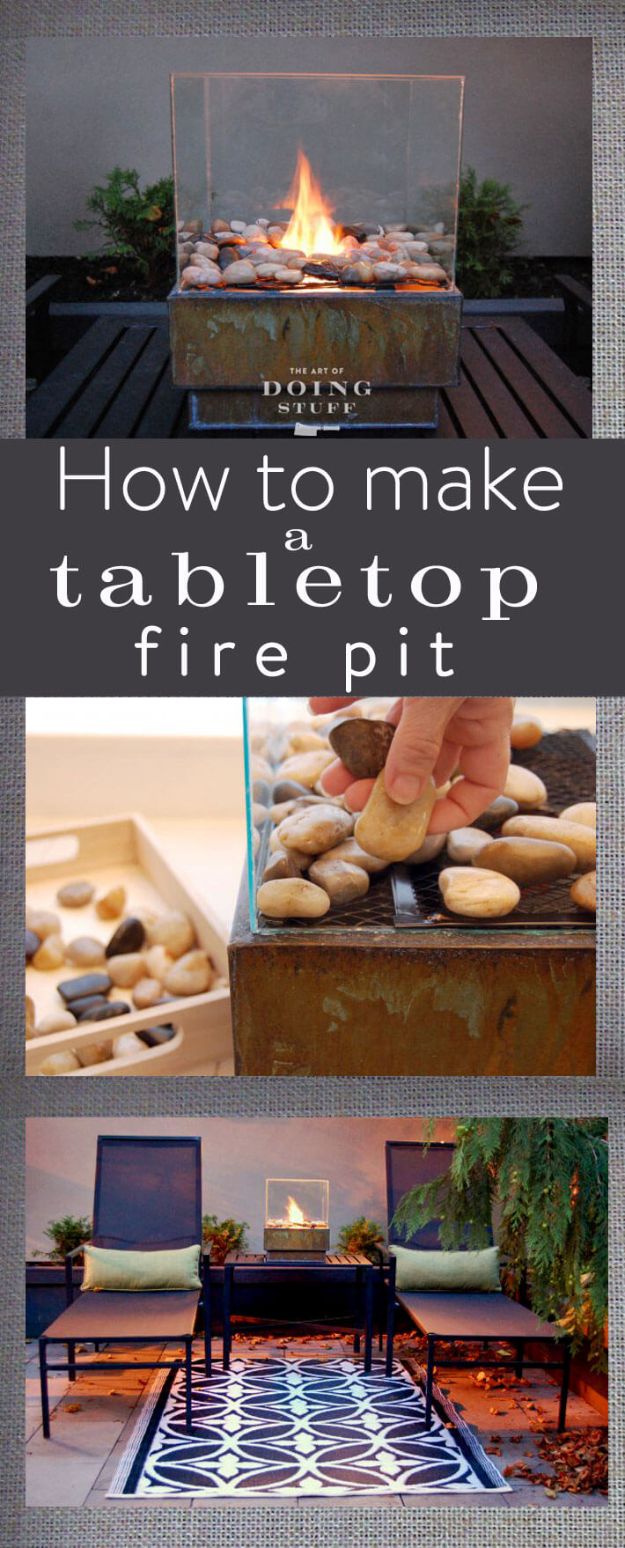
A DIY zen tabletop mini firepit costs about $25 and works outside or, with the right fuel, indoors. The glass walls come from four cheap picture frames, siliconed into a box that sits in a metal planter. A can of gel fuel made for gel fireplaces goes in the center, with mesh over the planter and heavy, dense rocks on top, leaving space for air. Clear the rocks away from the can before lighting it, since some rocks can shatter when hot. Each can burns about three hours, and the flames dance across the glass.
Get the full tutorial at The Art of Doing Stuff.
12. Fire Pit On A Budget
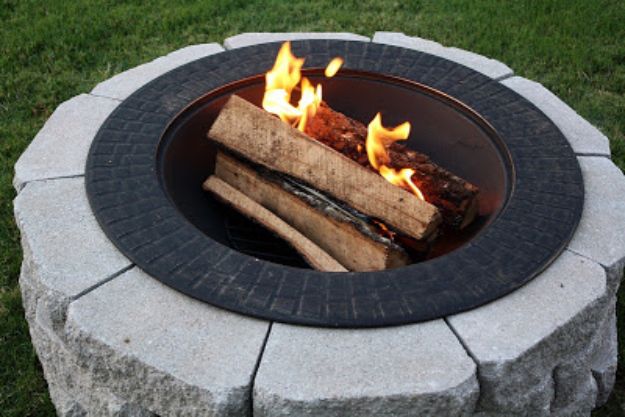
A fire pit on a budget starts with a ready made 32 inch steel fire pit bowl and a ring of landscaping bricks around it. The bricks make it feel built in and keep the bowl from tipping or getting bumped. Pick an even spot clear of debris and away from the house, then lay 10 bricks in a circle around the bowl. Stack three rows, starting each row off center from the one below so the bricks lock together. Set the base inside and skip the middle section so it does not sit too tall.
Get the full tutorial at Mommy's Kitchen.
13. Gas Fire Pit
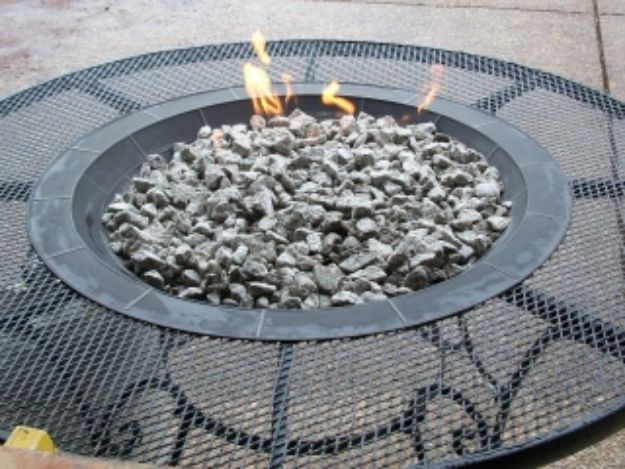
This gas fire pit started with a $1,200 price tag at the store, so it became a DIY instead. An $88 metal patio table and a $58 fire bowl make the base. Cut a hole slightly larger than the bowl in the center of the table, then weld a ring of bent flat bar to the support angle iron to restore the strength that was cut away. Bend malleable copper tubing into a coil, cap the end and thread it through the bowl’s drilled bottom. Feed it from a propane tank below and fill with lava rock.
Get the full tutorial at WcWelding.com.
14. Simple Summer BBQ Fire Pit
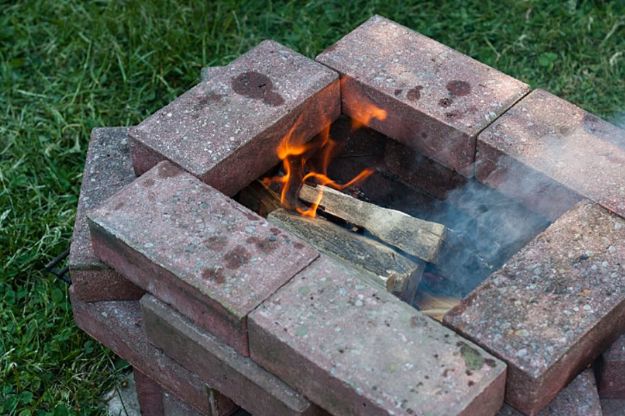
This simple summer BBQ fire pit is a square of red brick laid right on the lawn for cooking over an open fire. Stack the bricks in a low square ring, a couple of courses high, and leave the center open for wood. Wood smoke flavors everything, and the warmth is welcome once the sun goes down. The source links two published fire pit tutorials as the plans it followed. Check your city rules first; the source notes it is legal where it was built, but every town is different.
Get the full tutorial at BHH.
15. DIY Concrete Pumpkin Fire Pit

A DIY concrete pumpkin fire pit uses a $1 plastic jack-o-lantern candy bucket as the mold. Pull off the handle and make an inner mold from aluminum flashing, or a large cup. Rub petroleum jelly inside the pumpkin and on the outside of the flashing. Mix quick setting concrete, pour it almost to the rim and push the center mold down, weighing it so it stays submerged. Poultry wire or hardware cloth adds strength. Give it 48 hours to set before unmolding, then paint it orange and fill the center with gel fuel.
Get the full tutorial at ToolBox Divas.
16. Skim-Coated Cinder Block Fire Pit
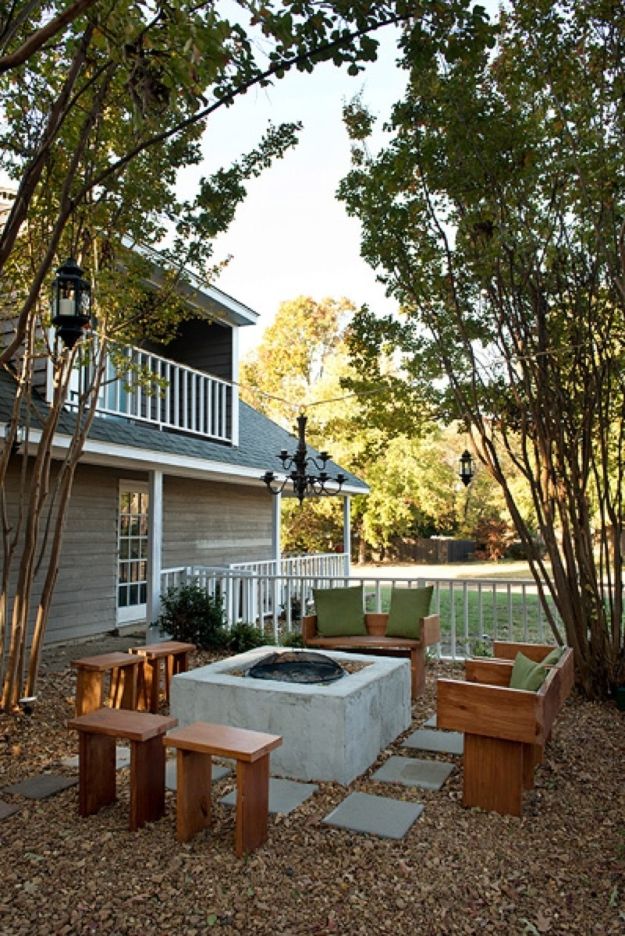
This skim-coated cinder block fire pit gets the modern concrete look without a big concrete pour. Dig a six inch trench and level the first course of 8 by 8 by 16 inch cinder blocks, about 30 blocks in all. Dry stack the rest overnight so the base settles, then mortar each block in place and top with cap stones. Skim coat the whole thing with mortar mixed to an icing consistency, leaving a little texture. Layers of gravel and sand insulate a fire bowl from a $39 kit. The total was about $160.
Get the full tutorial at Oh The Potential.
17. Build a Secret Backyard Fire Pit
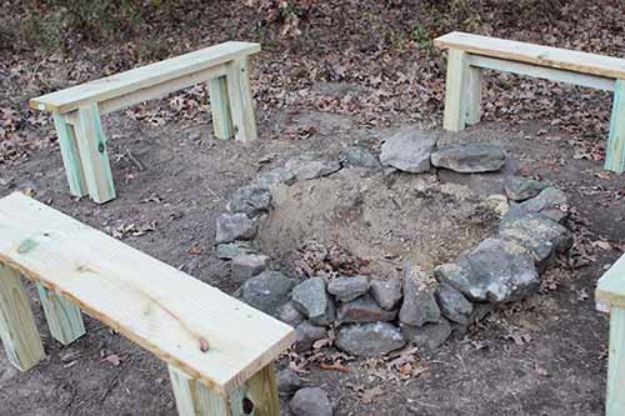
A secret backyard fire pit sits at the end of a wooded trail, built to look like a rugged state park campfire ring. Clear a 10 foot circle down to bare dirt, removing grass, leaves and low branches. Dig a hole about a foot deep, then ring it with medium and large stones, big ones on the bottom and small ones on top, filling the gaps with dirt. Use dry, dense rock and skip porous stones with voids or crystals. Simple benches from 4×4 legs, 2×4 rails and a 2×10 seat finish it.
Get the full tutorial at The Art of Manliness.