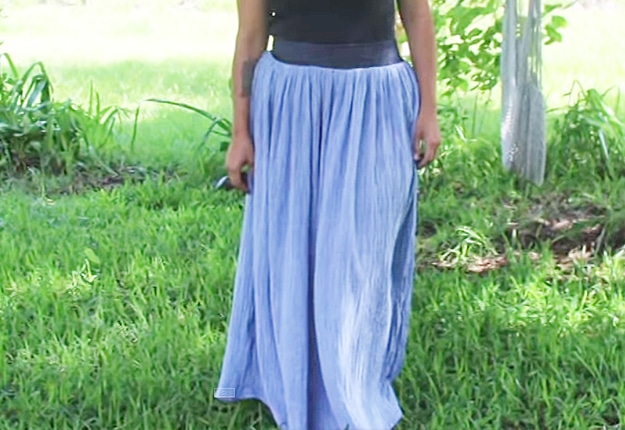
Love DIY fashion, but having a hard time finding the perfect project idea? This DIY maxi skirt tutorial is quick, easy and perfect for a new look without too much of an investment of time or money. The maxi skirt is super versatile and can be made from old fabric. Thrift store finds like curtains would work great for this one. All you need is a large piece of fabric you find beautiful. Look for an interesting texture and/or color to make your maxi skirt. This is an easy sewing project perfect for beginners, teen craft ideas and for anyone looking for something easy to make and wear today!
How To Make a Maxi Skirt
What you need:
- Fabric and a Super Stretchy Fabric for the waistband
- Tape measure
- Sewing machine used in video
- Ruffler Foot
- Rotary cutter
- Cutting mat
- Polyester thread
Here’s How:
Step 1
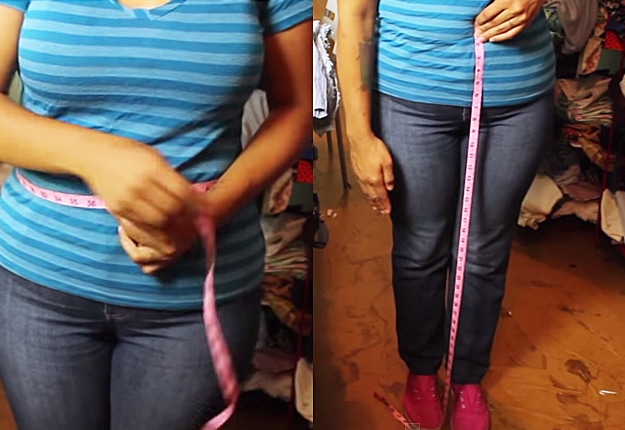
Take your waist measurement and the desired length for your maxi dress.
For Example:
waist measurement: 36 ïnches x 1.5; equals 54 inches; fabric width will be 54 inches
length measurement: 38 inches. Add 1 inch for hem allowance = 39 inches; fabric length will be 39 inches
Step 2
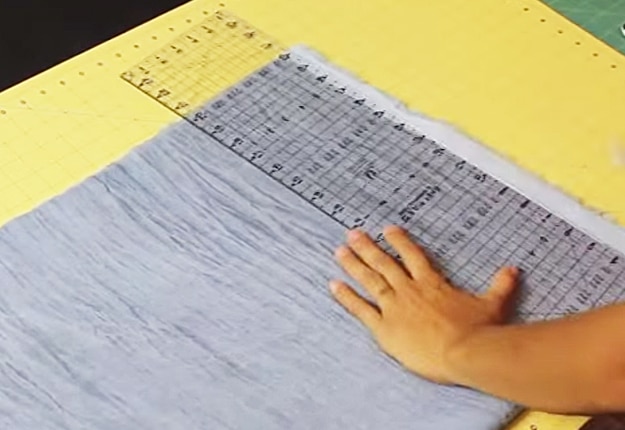
Cut 2 panels to size and cut selvages oo before you sew.
Step 3
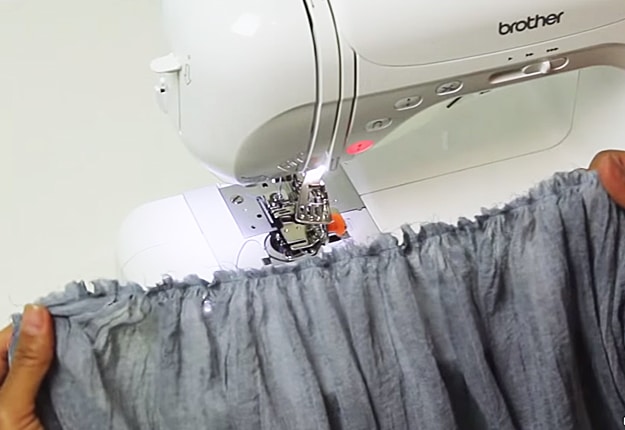
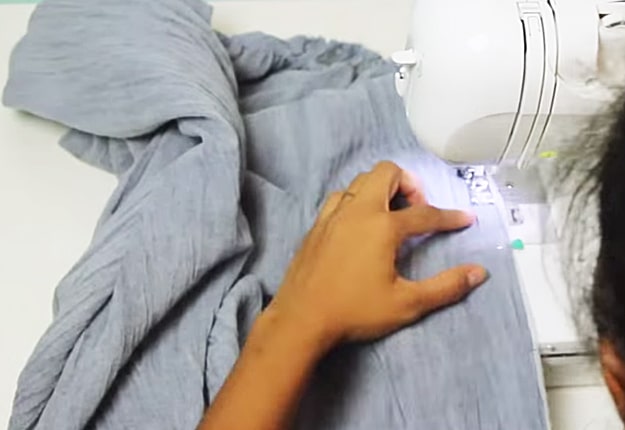
Using a rufflerfoot, gather the top edge (WIDTH) of each panel.
Step 4
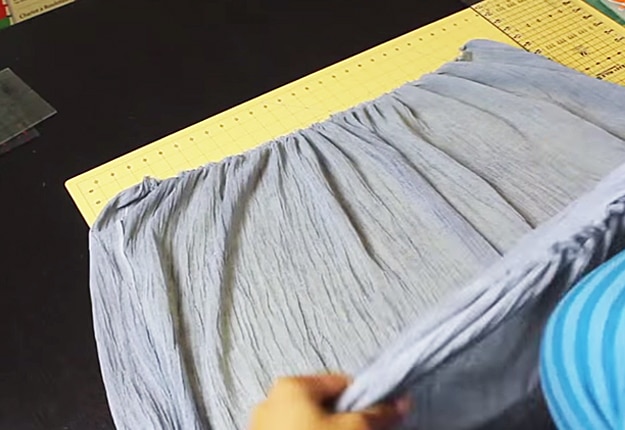
Once you are done ruffling the top edge of the fabrics, lay one on top of the other with the sides touching and place the pins along the edges on both sides.
Step 5
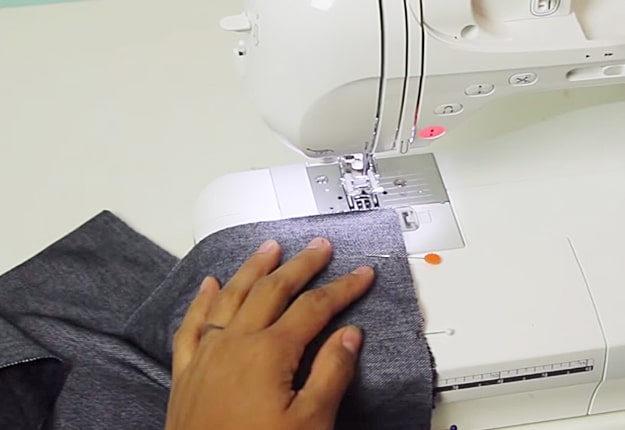
Sew up both of the long sides.
Step 6
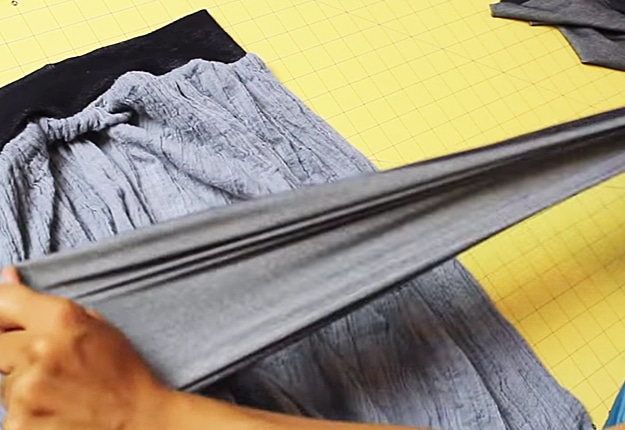
For the waist band, the fabric needs to be really stretchy. Make sure the stretchiest part is going side to side along waist measurement. Add an extra 1/2 inch for seam allowance.
Step 7
Now its time to stitch up the waist band. Fold the fabric lengthwise and match the edges and start sewing using a straight stitch. Give it a nice press using an iron once done.
Step 8
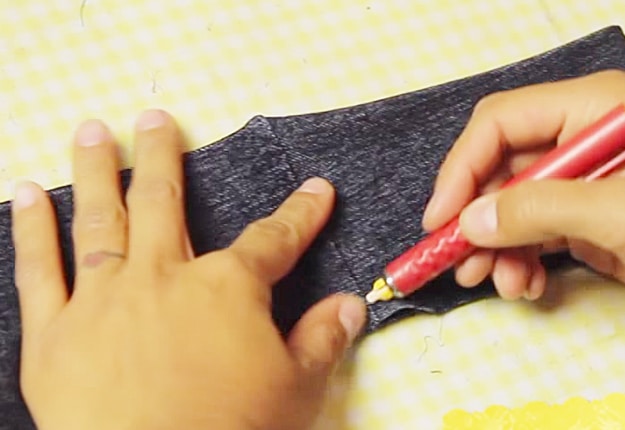
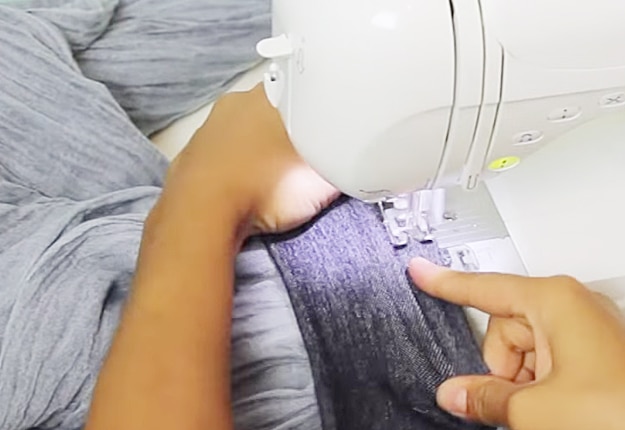
Mark waistband in quarter sections and mark the skirt in quarters too. Match them up and make sure the skirt is tucked under and the waist band should be going around it.
Step 9
Use seam allowance wide enough so you don’t see the gathering stitches. Only stretch the waist band as you sew and remember to use your stretch or zig zag stitch.
Step 10
Try it on and see if you are staisfied with the length. If so, stitch the hem at the bottom and you’re done!

