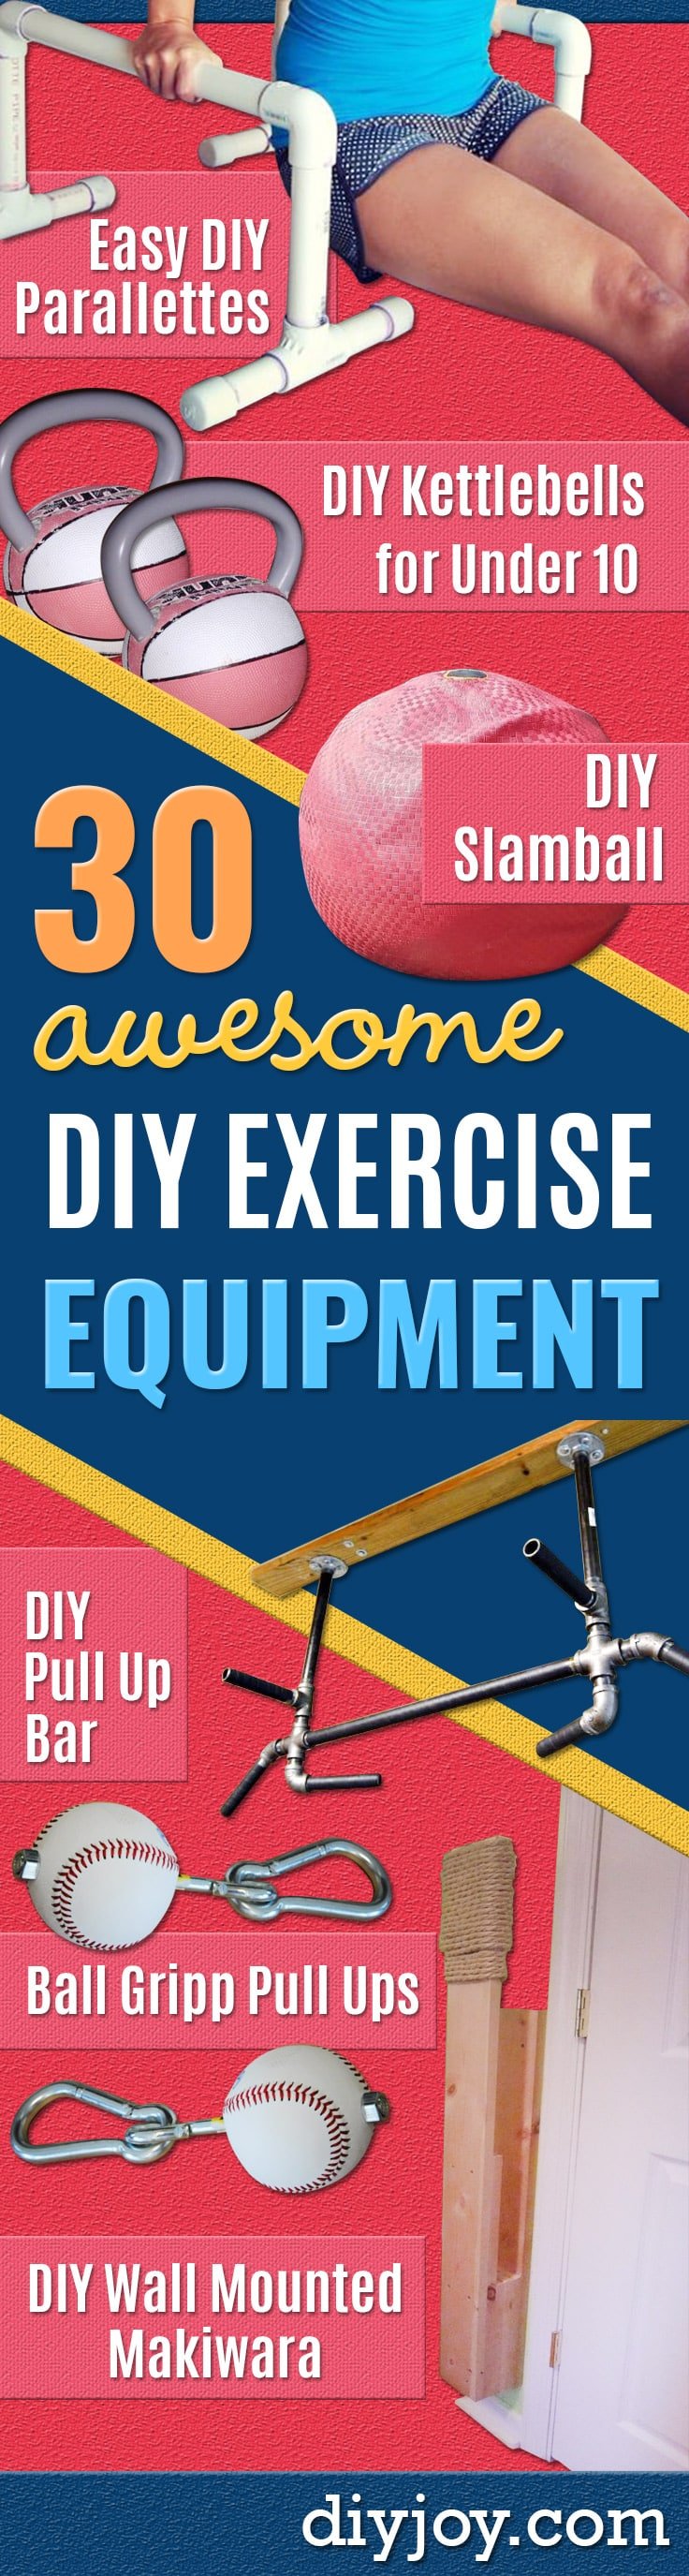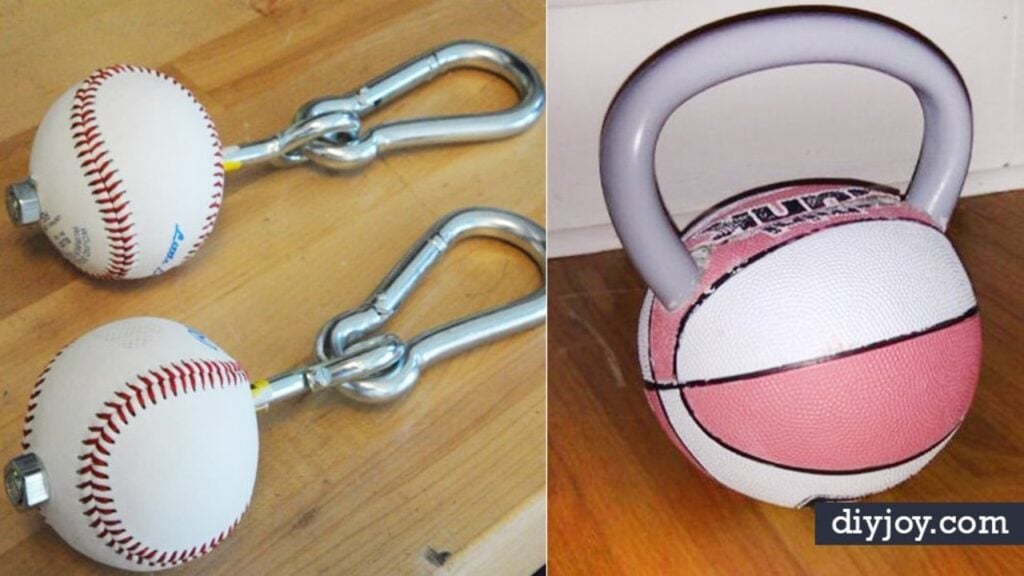
A commercial squat rack costs more than most people’s first car payment, and a slam ball is a rubber bag of sand with a $90 sticker on it. That is the whole reason this list exists. These DIY exercise equipment projects are the versions you build in a garage for the price of a hardware store run: parallettes cut from one ten foot length of PVC, stall bars off a basement wall, a squat rack standing in two buckets of concrete, a fifty foot length of retired fire hose that works exactly like battle ropes because it basically is battle ropes. Some take fifteen minutes. A few want a drill, a saw and a free Saturday. All of them cost a fraction of the catalog price.
1. DIY Slamball
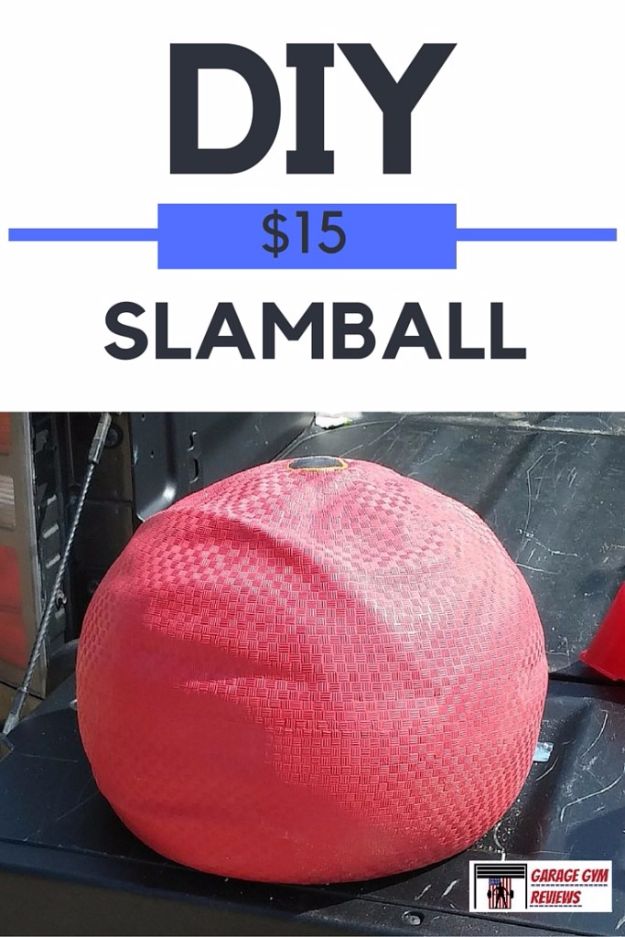
A red playground kickball filled with sand until it weighs as much as you can throw, which is the entire build and it lands between fifteen and thirty dollars. Cut one hole with an X-Acto knife, just big enough for a funnel, and use the biggest funnel you can find because a narrow one clogs. A sixteen inch ball takes up to a hundred pounds of sand. Sand the area around the hole so a tire patch will grip, glue the patch down with the rubber cement from the kit, and leave it five minutes before the first slam.
Get the full tutorial at Coop Mitchell at Garage Gym Reviews.
2. DIY Parallettes
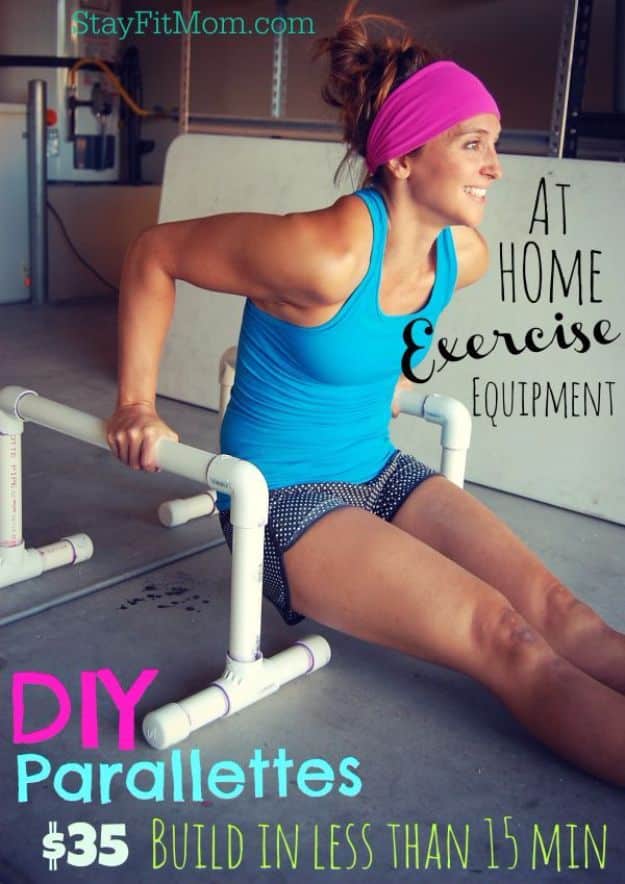
Two low parallel bars for dips, L sits and handstand work, cut from a single ten foot length of inch and a quarter PVC for about thirty five dollars and assembled in under fifteen minutes. Have the hardware store cut the pipe, which most do free: eight five inch pieces, four ten inch, two twenty inch. Add four tees, four elbows, eight caps, primer and cement. Dry fit everything before any glue goes on, because PVC cement grabs almost instantly and there is no second try. Let them cure an hour and a half before putting weight on them.
Get the full tutorial at Tracy Gifford at Stay Fit Mom.
3. DIY Climbing Peg Board
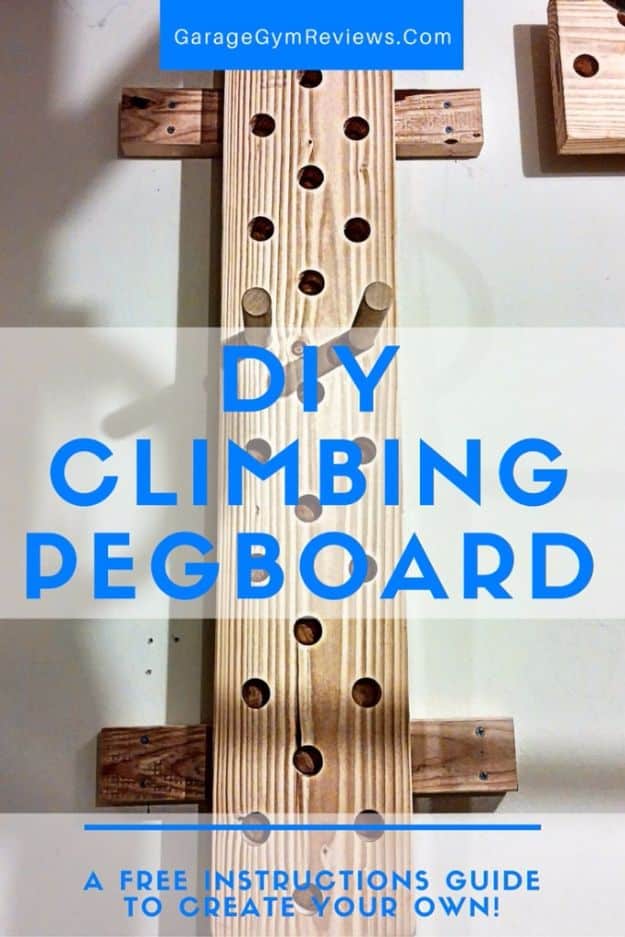
A vertical plank drilled with staggered holes, climbed by pulling two wooden pegs out and moving them up one hole at a time. It went mainstream after the CrossFit Games and the bought versions are not cheap, which is the argument for a homemade one. The real case for it is space: almost no garage has the ceiling height for a rope climb, so upper body pulling usually stops at a pull up bar. A pegboard adds a genuinely different and much harder pull, and it bolts flat to a wall taking up no floor at all.
Get the full tutorial at Coop Mitchell at Garage Gym Reviews.
4. DIY Wall Mounted Makiwara
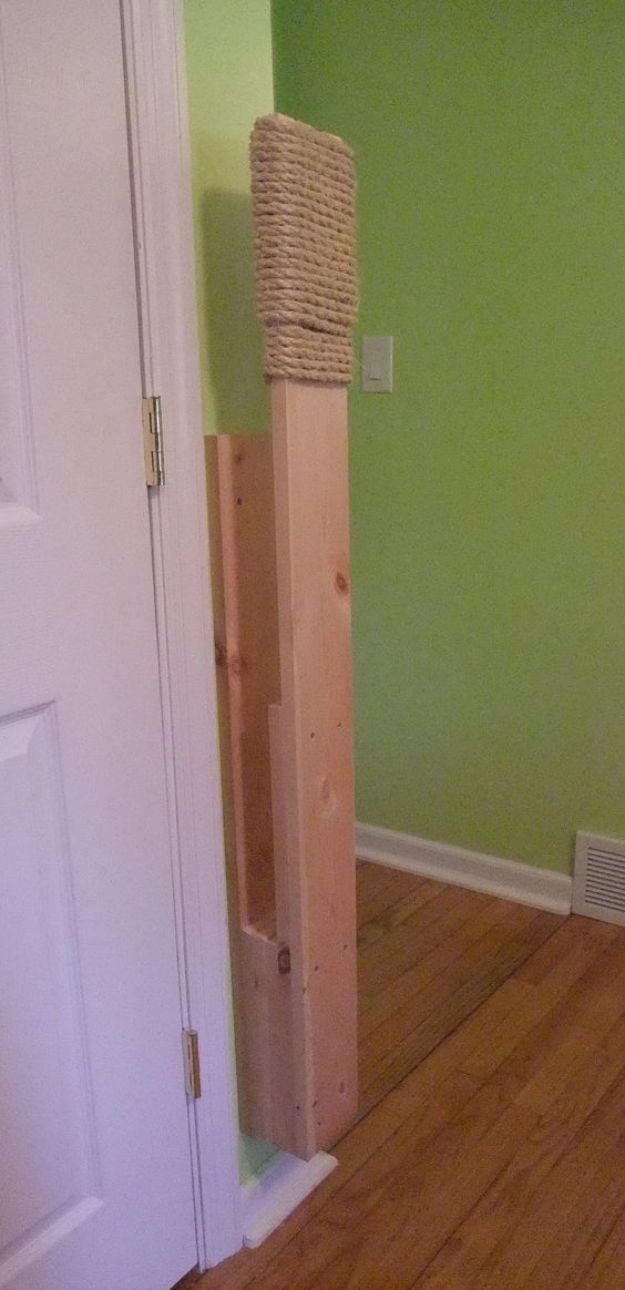
A padded striking board for karate practice, built from a twelve foot pine board cut into lengths of four, three, two and one feet, with fifty feet of sisal rope wrapped around the top of the four foot piece as the pad. It stands only five inches off the wall yet still flexes when hit, and the three foot board behind it spreads the load so the drywall survives. Tension changes with where you strike. The warning on the page is the useful part: start light, because its builder took the skin off a knuckle and lost three weeks.
Get the full tutorial at Aleksey at ABieneman's Blog.
5. Fire Hose Battle Ropes
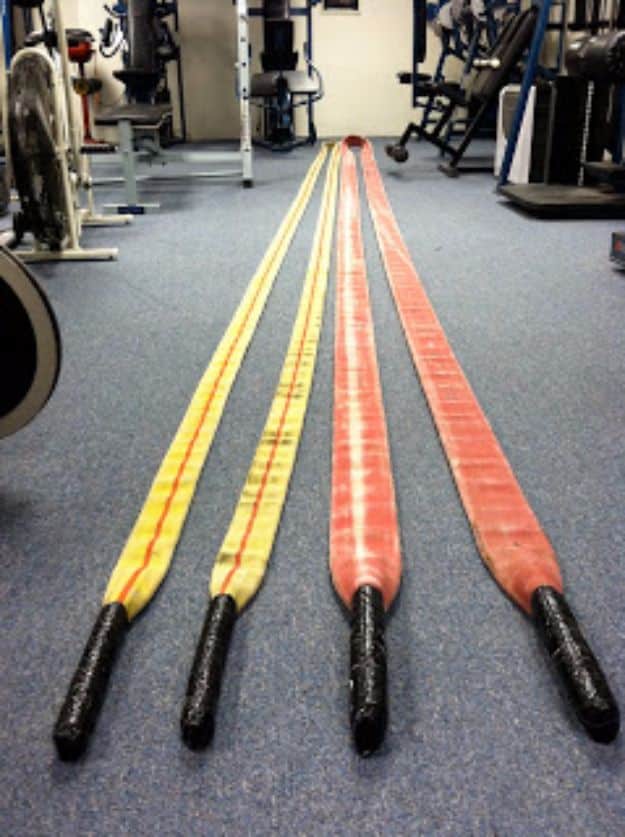
Battle ropes made from a fifty foot section of retired fire hose, which fire crews have lying around and which behaves almost exactly like proper conditioning rope. Two and a half inch hose is the size to use. Cut the couplings off, fold about ten inches of each end flat to form a handle, wrap it tightly with twine or small rope to build up a grip, then cover the wrap in duct tape. One and three quarter inch hose makes a lighter pair, which is the better starting point and a brutal second set once the heavy pair defeats you.
Get the full tutorial at Nathan Koch via Crossfit 4 Fire.
6. Homemade Free Weights
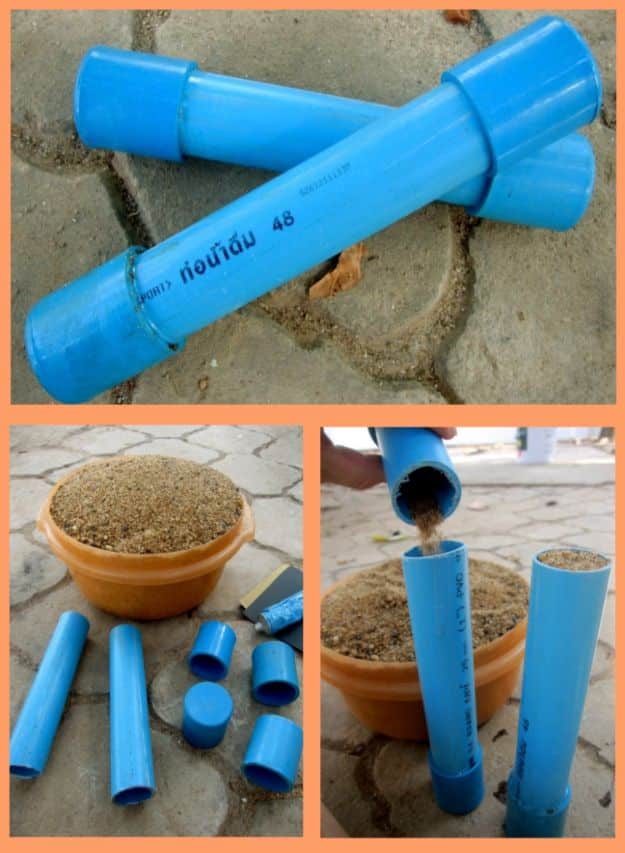
Dumbbells made from offcuts of PVC pipe capped at both ends and filled with wet sand, which is about as cheap as a weight gets. Sand the cut ends smooth first, then glue one cap on with PVC cement, fill, and cap the other end. The honest note from the page is worth repeating: these came out at roughly two pounds each, which is light. Wider pipe and dry sand pack heavier, and lead free shot or dry cement mix heavier still, but for circuit work with high reps two pound weights are exactly the point.
Get the full tutorial at Daphne at The Home Away.
7. Build Your Own Power Rack
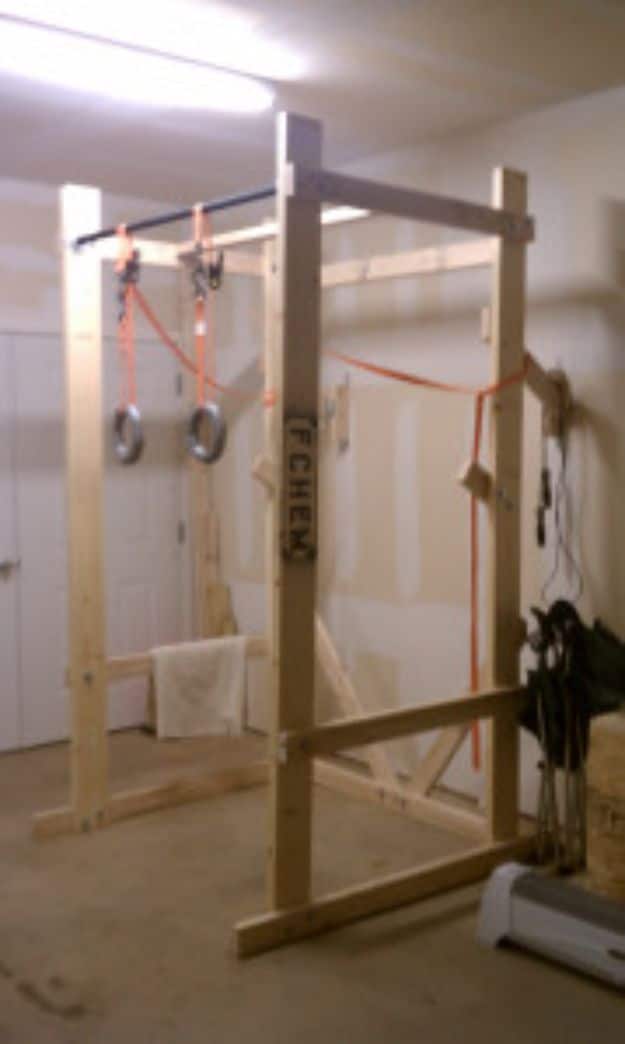
A timber power rack with a threaded pipe pull up bar across the top, built with bolts and no glue at all. The numbers on the page are specific: a top support beam and a permanent squat safety bar both cut at 43 inches, bottom beams cut at 56 so they stick out past the frame and steady it during kipping pull ups, and two bolts at each end set at 45 degrees to one another. The assembly order saves real work. Bolt one flange on, thread the pipe in, screw the second flange onto the pipe, then fix that flange to the second frame.
Get the full tutorial at Jerred Moon at End of Three.
8. DIY Agility Ladder
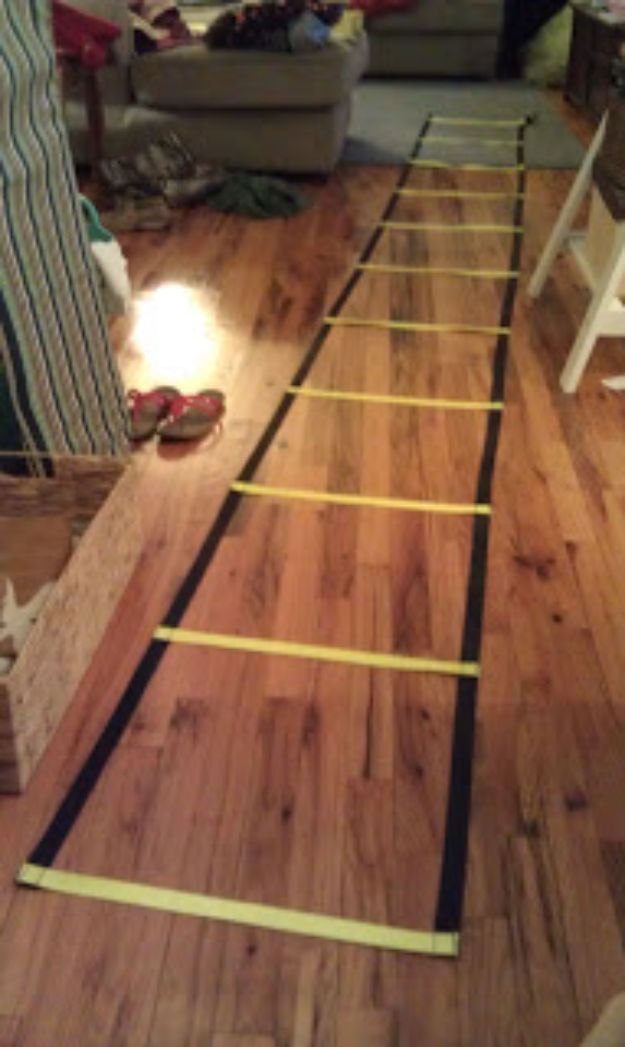
A footwork ladder sewn from nylon webbing, which packs flat, never tangles and costs about twenty seven dollars for two thirty foot rolls with webbing left over. Cut one thirty foot roll in half for the two side rails, then cut eleven eighteen inch strips in a contrasting color for the rungs. Chalk the eighteen inch spacings down both rails before pinning so the rungs land square. Sew each rung with three passes, forward, back and forward again, because a single seam is the one thing on a ladder people actually catch a toe on.
Get the full tutorial at Crafty Bridge.
9. DIY Squat Rack
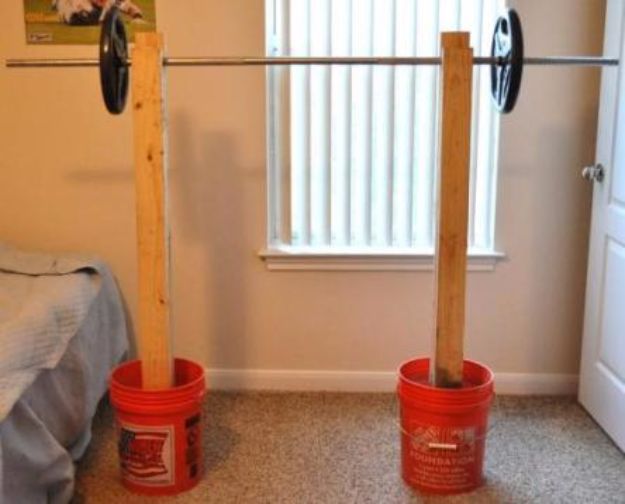
Two freestanding squat uprights, each one three two by fours glued and nailed into a stepped sandwich and set into a five gallon paint bucket of concrete. Total cost on the page is $38.23. Cut the boards against your own body: two at the height just below your shoulder, two at two inches more, two at two inches less, which is what creates the notch the bar sits in. Half a sixty pound bag of Quikrete per bucket, mixed with a rebar rod, levelled carefully and left a full day. Nailing and pouring takes about an hour and a quarter.
Get the full tutorial at The Globetrotting Guppy.
10. DIY Stall Bars
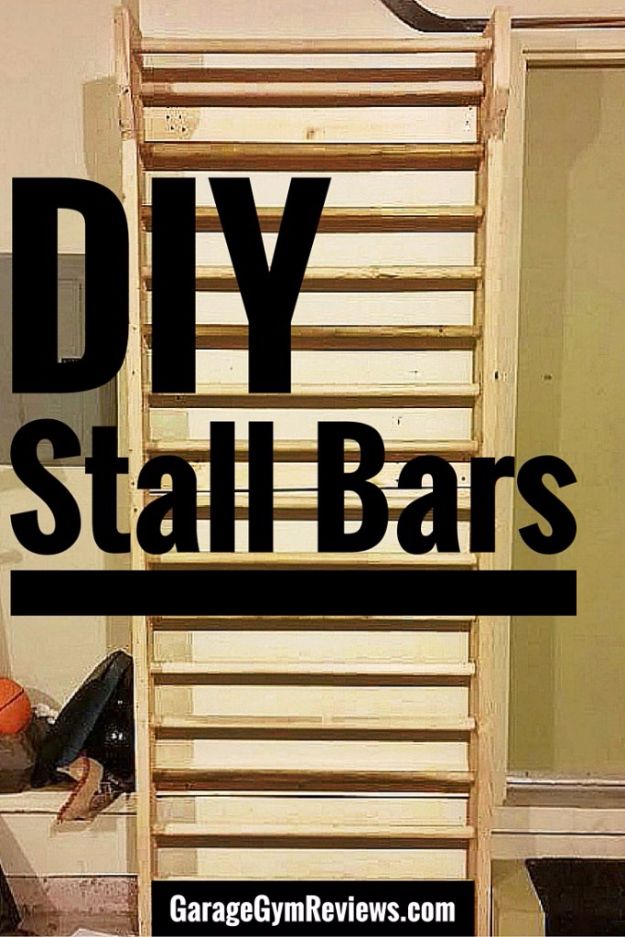
A wooden ladder fixed flat to a wall, rungs from floor to ceiling, which is what every gym had in the 1950s and almost none have now. They are used for hanging, stretching, hooking a foot in for core work and a long list of gymnastic drills. Almost nobody sells them, which is the argument for building one, and the frame is not complicated: two uprights, a stack of dowels, and mounting bolts into studs. The honest line on the page is worth passing on. Owning them does not make anyone graceful on them.
Get the full tutorial at Coop Mitchell at Garage Gym Reviews.
11. DIY Parkour Gym Equipment
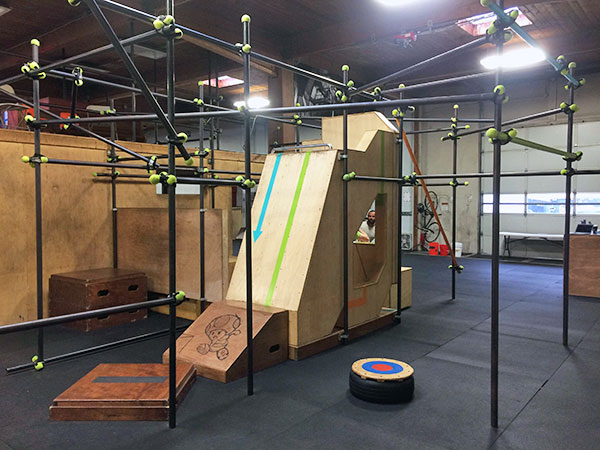
Vaults, rails and swing bars assembled from steel pipe and clamp fittings, which need no welding and can be taken apart and rearranged whenever the training gets boring. This one is a guide rather than a single plan, and it is mostly about not getting hurt. Pipe diameter is the trade off worth understanding: a bigger pipe builds a stronger, steadier structure but is harder to grip and swing on, so most good setups mix diameters, using the fat pipe for the frame and something hand sized for anything you hang from.
Get the full tutorial at Simplified Building.